I was intrigued by this clever idea from Clover to make a pincushion without sewing. The packaging says it is for fabric and I wanted to see if it would work with the stiffer canvas of needlepoint.
The Parts
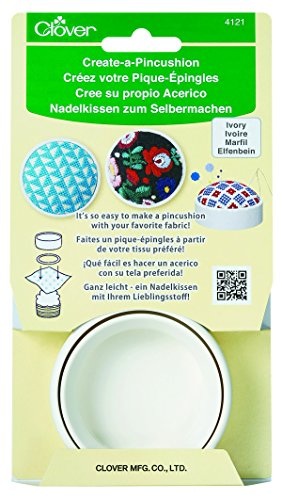
This pincushion creates a 2.5″ round pincushion, making a small pincushion. It consists of three parts. There is the base, in brown plastic with sides about .75″ tall. Around it you will find the second piece, a stretchy silicone ring. In order to assemble a cushion you will need to remove the ring. It fits tightly, so stretch it a bit with your fingers in order to remove it.
The final piece is the smooth outer ring, also in brown plastic. It has an inner lip on top to lock the cushion together. The cushion is also available in ivory/white.
The thickness of the plastic is good, so pincushions made from it will last. The color, however, is frankly fake. It’s crayon brown. Your result, even if you use a pretty fabric will be a pincushion that is practical and useful but not suitable for giving as a gift or of displaying your best needlepoint.
How to Assemble
The instructions on the package are minimal but this is designed to be easy to make. Fill the base plus a bit more with fiberfill or another stuffing. It will need to come up higher than the top of the base.
Place your fabric or stitchery on top of the fiberfill. The picture shows a square of fabric, but a circle will fit more neatly.
The silicone ring goes over the fabric and back into the top section of the base. Make sure it is firmly inside that section because this is all that holds the top in place.
Once this is done, place the outside ring on it.
Testing with Needlepoint

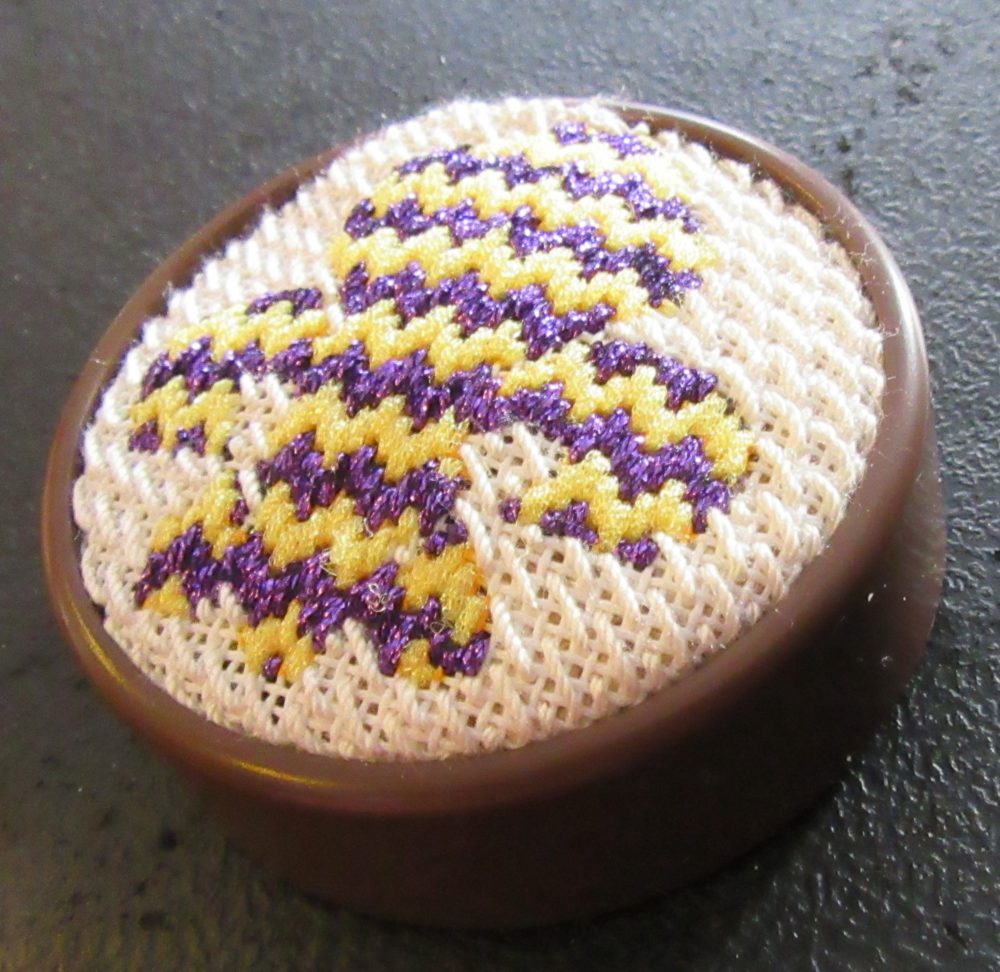
I used this small Fleur de Lis from Jude Designs for my pincushion top. The finished circle is 3″ with the ornament just under 2.5″ it fits just great.
18-mesh canvas or Congress Cloth is flexible enough to be used for these tops. I found it hard to get the ring around the needlepoint, I had to be very careful and only do a section at a time.
Putting on the outside ring was harder. You will need to push it down slowly and forcefully. I was unable to close it so that the silicone ring did not show at the bottom in places on my first few tries. In those I was pushing from the top. That will get you mostly finished. To close the bottom completely, turn the cushion over. Use scissors or a butter knife to push up the ring or other bits that are showing. Then push on the bottom to close the cushion.
There will be a gap between the base and the outer ring when finished.
If you are looking for a quick and inexpensive way to make a pincushion, this product is an excellent choice. I bought mine at Nordic Needle, but it is available on Amazon and sewing and craft stores.
Tips
Expanding the silicone ring can be difficult. If possible have a second person to help you.
Your top will fit more easily if the area is about a 4″ circle. The circle should be wider if more stuffing is used.
Tomorrow we’ll have a round-up of different tools for grabbing and pulling your needle to finish up of review week.

About Janet M Perry
Janet Perry is the Internet's leading authority on needlepoint. She designs, teaches and writes, getting raves from her fans for her innovative techniques, extensive knowledge and generous teaching style. A leading writer of stitch guides, she blogs here and lives on an island in the northeast corner of the SF Bay with her family
Leave a Reply