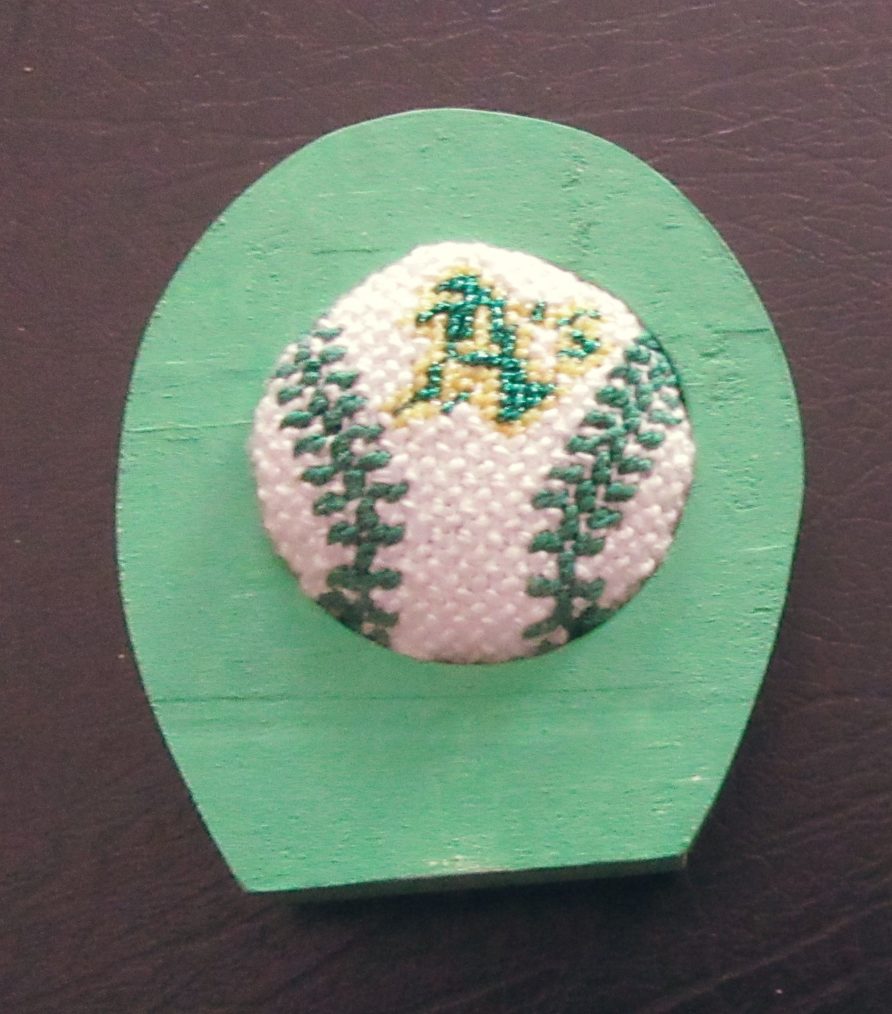
If you have rounds items that you need to cover with needlepoint, you probably will find yourself with problems. Namely, how do you get what is a flat thing, the needlepoint, to conform to the round surface. in my case this was a baseball needlepoint to go into a small stand-up with a round opening.
The process was complicated because the needlepoint is slightly larger than the opening, so it puffs out. Here’s how I finished my stand-up.
Trim your needlepoint about 1/4″ around the finished stitching.
Notch the edges all around through the unstitched canvas up to the stitching. This is the most important step. Notching, or cutting slits along the edges allows the stitching to bend and conform to the shape you are finishing.
Bend the margin inwards to soften the canvas. When you do, you’ll see how the slits allow the margins to overlap, creating clean curves.
Up to this point, the process is the same for all rounded openings or surfaces. After this, you will need to finish according to your item.
Here’s what I did for my stand-up:
I worked from the front of the frame with my folded needlepoint. I inserted the needlepoint and allowed it to bulge out (I’ll pad it in a later step). Using Turbo Tacky Glue I glued the unstitched edges to the inside of the opening. If your needlepoint fits the opening you do not need to do this.
After the glue dried. I used orts to stuff the back of my needlepoint and replaced the backing. Now I have a charming piece for my husband’s desk.

About Janet M Perry
Janet Perry is the Internet's leading authority on needlepoint. She designs, teaches and writes, getting raves from her fans for her innovative techniques, extensive knowledge and generous teaching style. A leading writer of stitch guides, she blogs here and lives on an island in the northeast corner of the SF Bay with her family
Leave a Reply