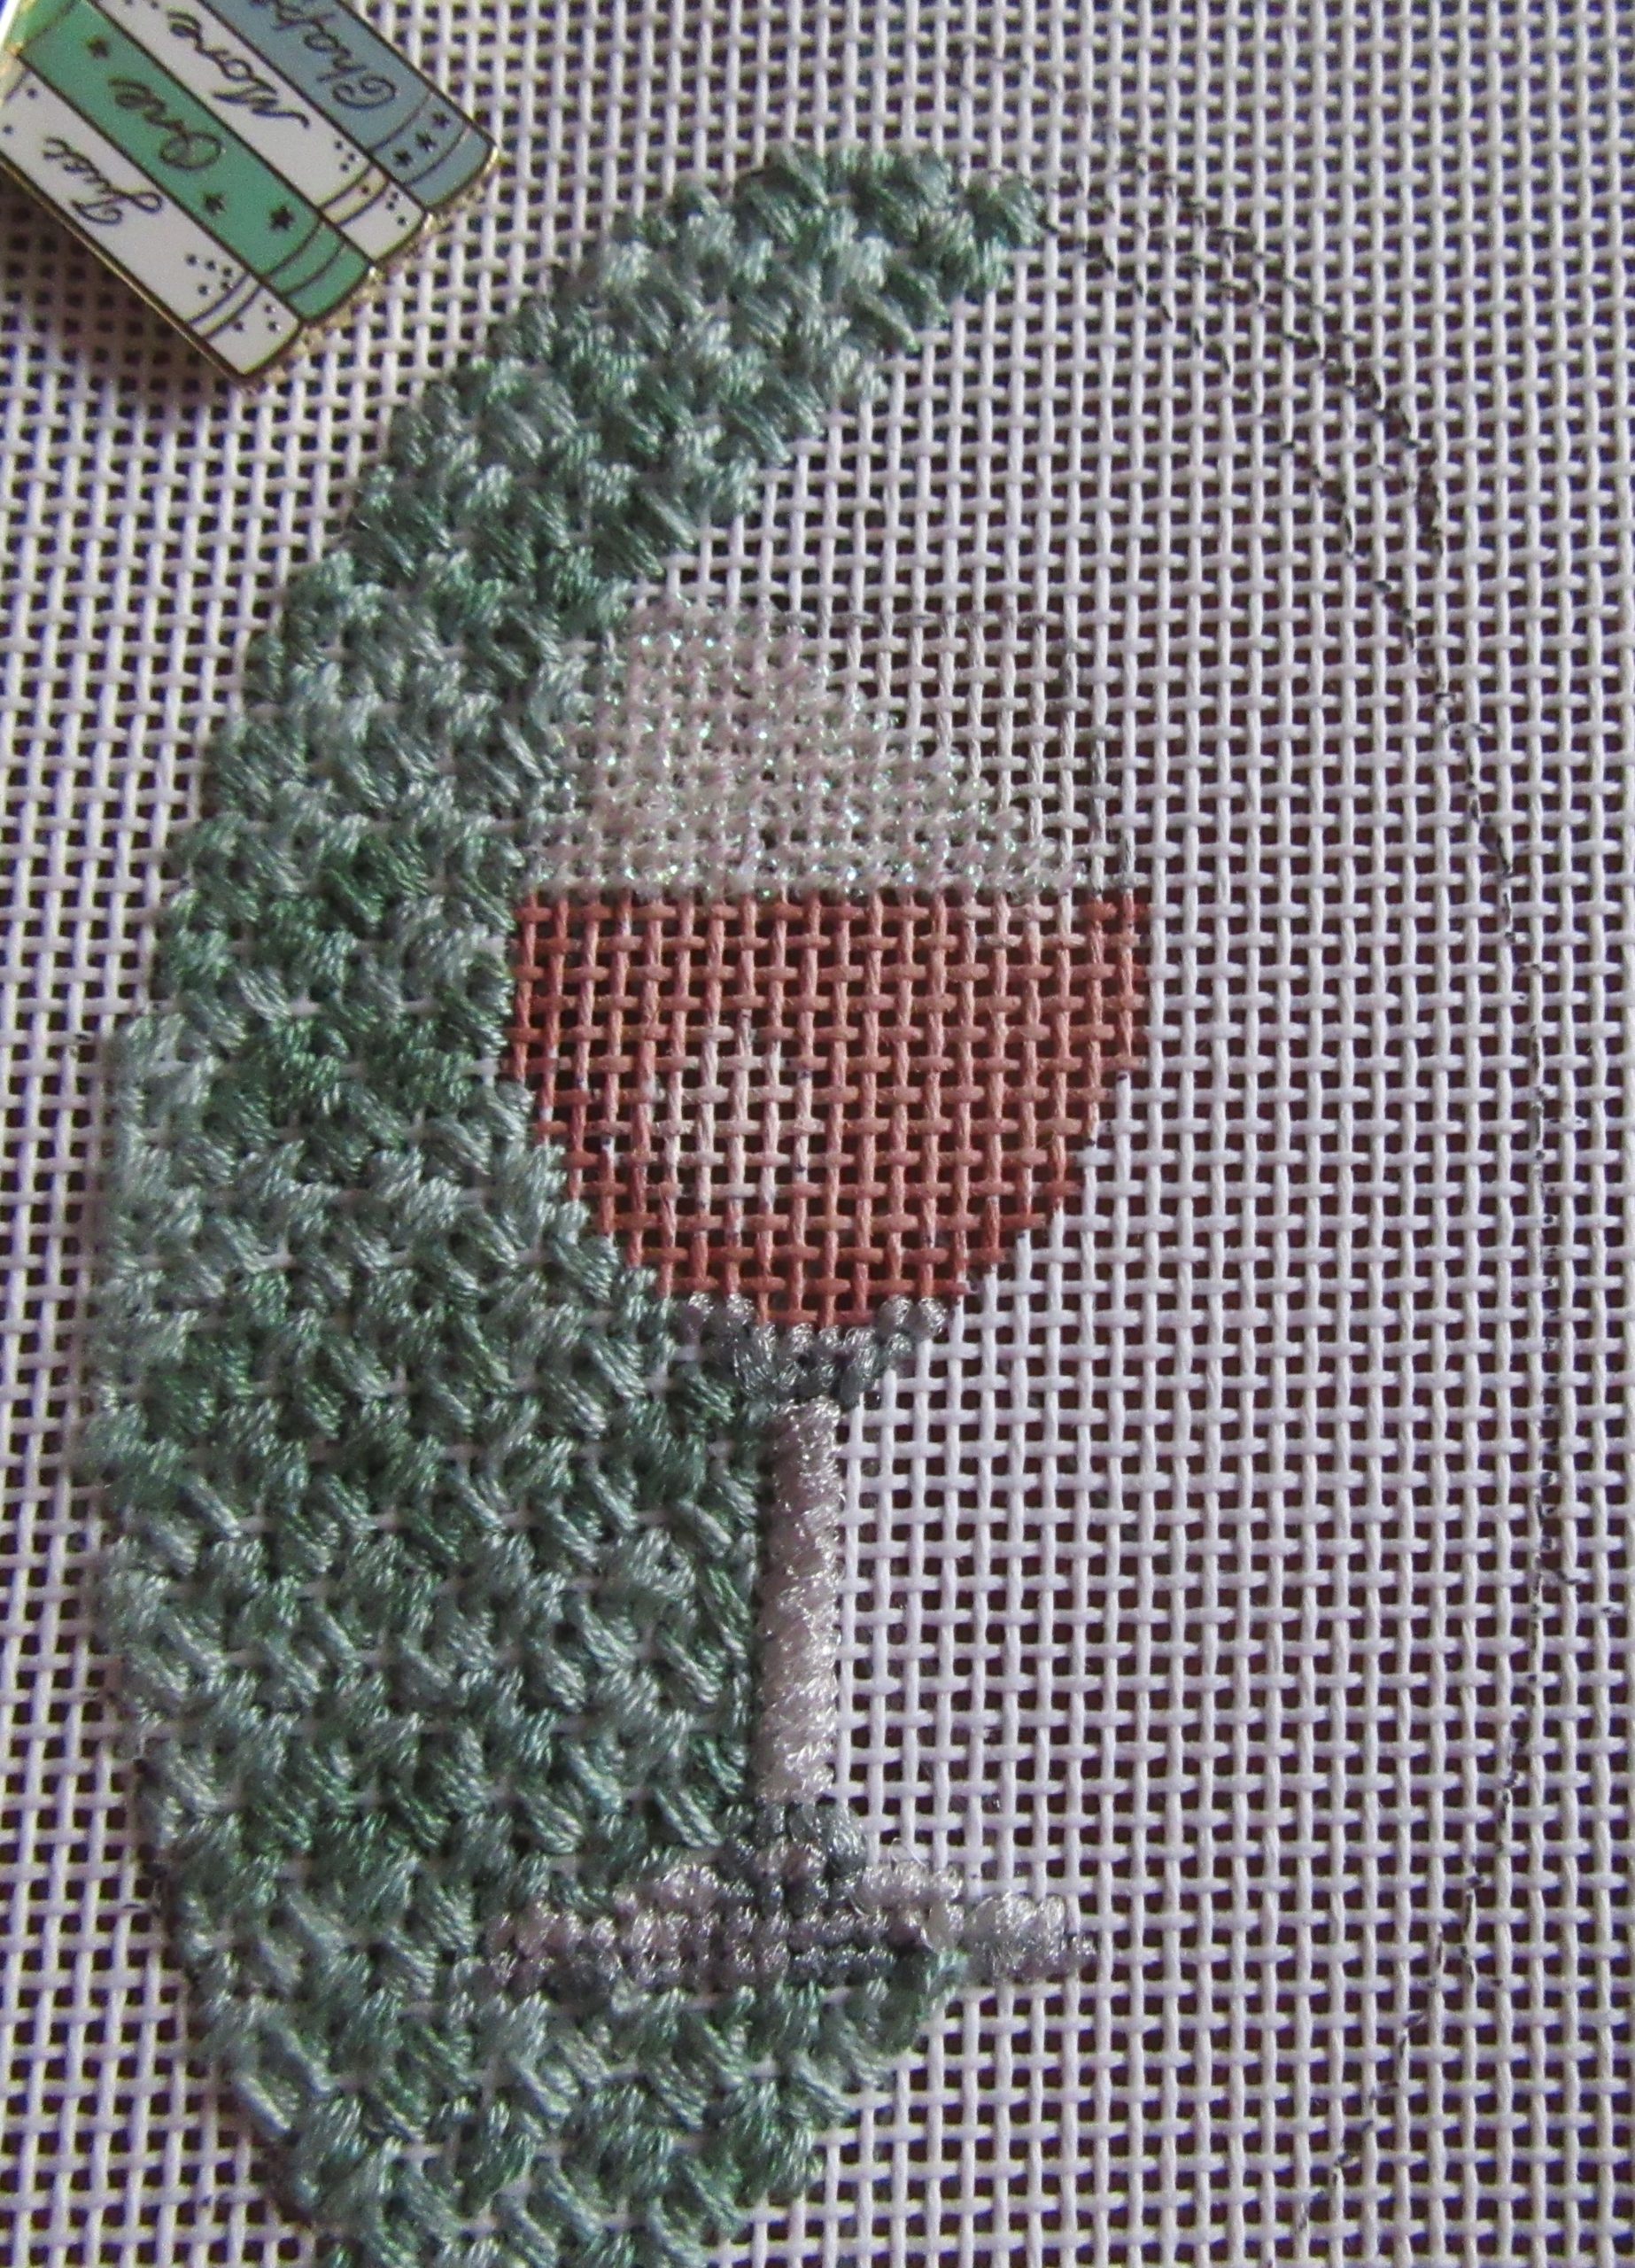
Glass can be hard to stitch. In past articles, we’ve discussed options for stitching windows. Today I’ll look at how to stitch a wine glass. You can see in this Bad Bitch Needlepoint canvas that the glass has three parts, the bowl, the stem, and the base. Each is treated differently.
The glass bowl is clear, just like a window and can be stitched the same way. I stitched it solidly, in Tent, using white Nordic Gold. You can see in the picture the difference between the stitched and unstitched bowl. The thread, because it is translucent, does not change the colors, but it does add the sparkle characteristic of glass.
When it comes to the stem, the glass is thicker. On the painted canvas the color is grey, in three shades. If you look at pictures of stemmed wine glasses, you’ll see this is how they look. They can’t be stitched in Nordic Gold because this thread does not have translucent shades in these colors. To stitch the remainder of the glass, another thread needs to be chosen. The other translucent threads are Water n’Ice and Flair. Water n’Ice does not have enough colors for the glass, so the only possibility is Flair.
I used two grey shades of Flair for the middle and dark shades of grey. I cut out the lightest shade of grey from a vintage card of Rhapsody for the lightest shade. As you can see, the colors of grey are very close. They are close enough that it allows the shading to e subtle and natural. The glass’s wide base and the place where the bowl and stem join are stitched in Tent with a few Reverse Tent stitches used to make solid lines. This method is excellent for thicker glass where you have highlights and don’t see through the glass clearly.
The stem required a different stitch. Like the base, it is stitch using Flair. Unlike the base, it is not shaded; instead, it is rounded and thick. If I had stitched it in Tent, the result would be too granular and would not look rounded. To get the solid, rounded look, I used Diagonal Gobelin. When stitched with flat thread, this stitch creates a seamless rounded effect.
This little canvas has lots of great ideas in it. Next Monday, the article will cover stitching the wine. Next Thursday, you’ll learn about how I’m creating an exciting finish for the ornament. Finally, as a bonus to the Erica Wilson SAL, you’ll learn about the background stitch.

About Janet M Perry
Janet Perry is the Internet's leading authority on needlepoint. She designs, teaches and writes, getting raves from her fans for her innovative techniques, extensive knowledge and generous teaching style. A leading writer of stitch guides, she blogs here and lives on an island in the northeast corner of the SF Bay with her family
Leave a Reply