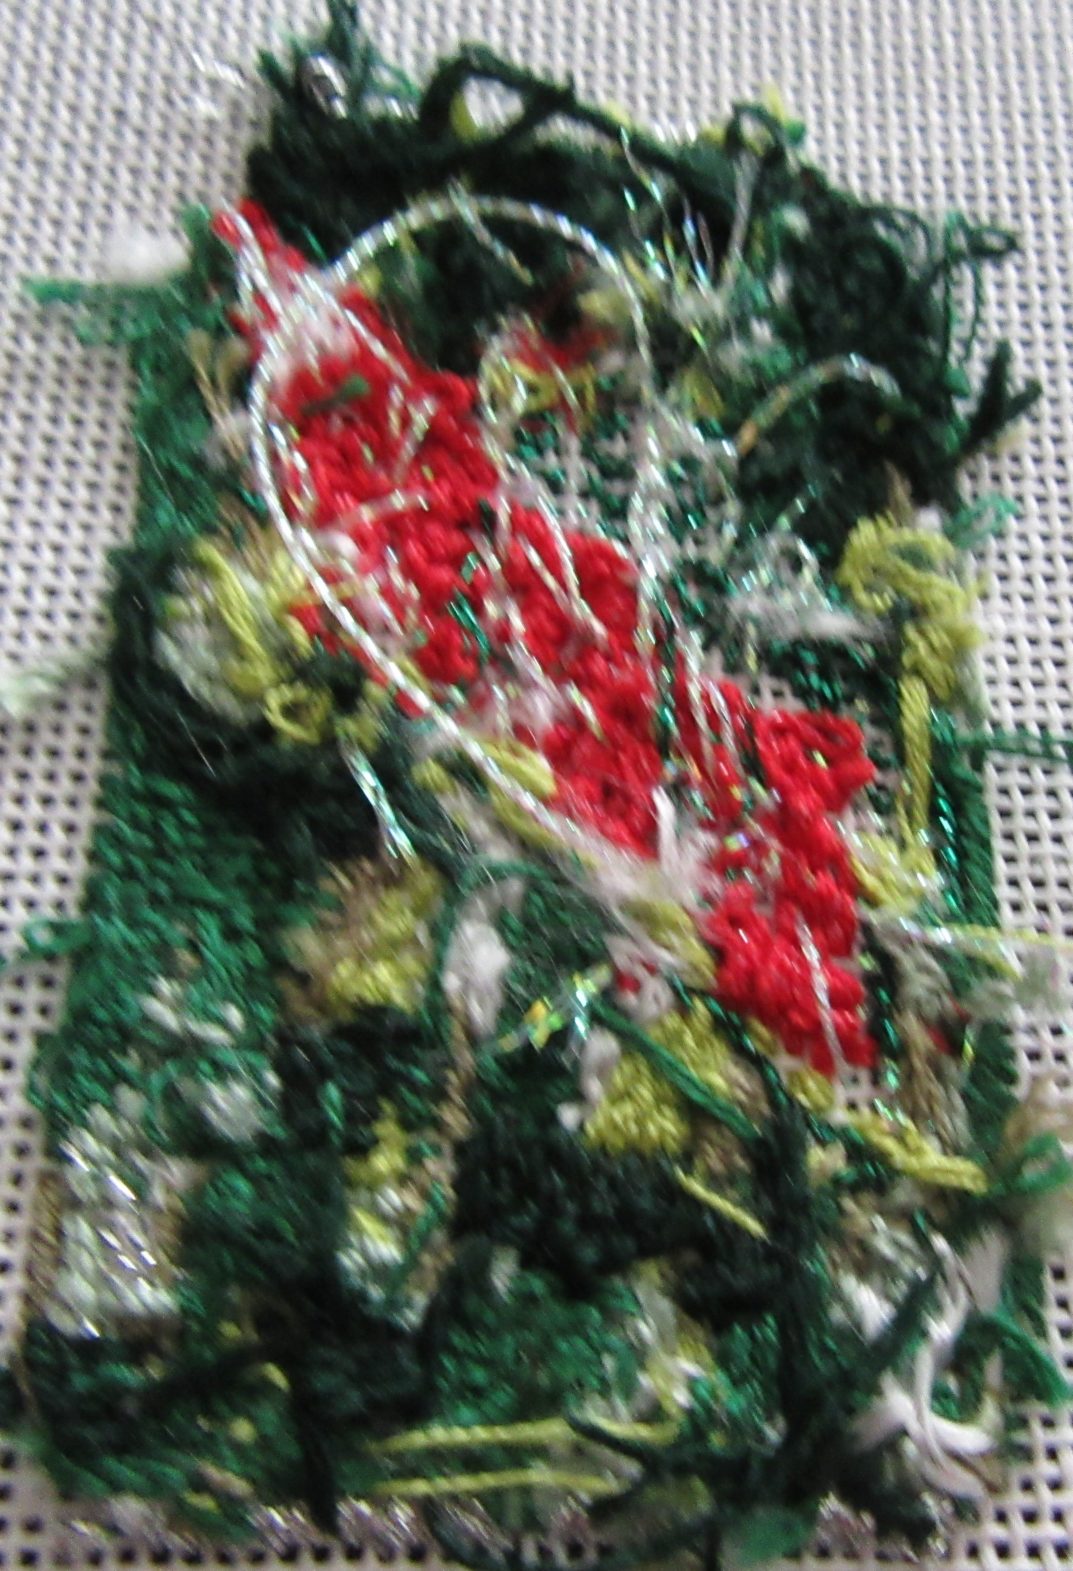
After my post about backs last week, a stitcher wrote in to ask what she needed to do to keep her backs neat. As you can see I don’t always follow these rules, but here are the keys to neat backs.
- Stitch from light to dark. – Doing this keeps both the front & back looking good. Stitching light after dark can result in dark fibers getting mixed up in the lighter thread and polluting the color. When light threads pass behind an area where a darker thread is carried across the back, it will create a shadow on the front of the canvas. if you stitch light to dark, this will not happen.
- Don’t drag your thread more than 1/2″ away to stitch a new area. – Moving your thread across an area, stitched or unstitched, more than 1/2″ not only looks messy (you can see it in the photo above), it can also change the tension on your stitch. Better to end the thread and start again in the new area. This is one of the areas where I mess up often, largely because I’m lazy.
- Make your stitches with good coverage on the back. – If you take the longest way from the end of one stitch to the beginning of the next, you’ll get good coverage. Your needlepoint will look fuller, stitches will cover more completely, and the needlepoint will wear better. How do you know if you are not doing this? You’ll see lots of bare canvas on the back that is not bare on the front.
- Pierce your beginning tails. – If you use Waste Knots or Away Waste Knots to start your threads, make sure later stitches pierce the thread coming from the Waste Knot. I find that often the thread scurries away so I can’t pierce it. If this is happening I’ll hold the thread in place on the back so I can pierce it. If you use an L Stitch to start your threads, piercing will happen as you make the L.
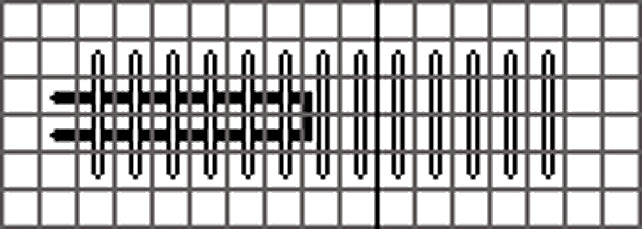
- Strongly attach beginning and ending thread – Waste Knots and L Stitches do this, but what if you start or end you thread by running through the backs of stitches? Then you have to be careful or the thread can pull out. The best way to do this is to do some form of the Bargello Tuck, pictured below. By changing direction, you are looping around one or more stitches and securing the thread in its position. This is another one of the things I often forget to do. Just remember, your thread needs to go over at least one stitch before it goes back under the stitches, otherwise the tail pulls out.
- Cut off thread tails. – Many bad things, besides the mess, happen if you do not do this as you stitch. First, if you do not secure your threads at the beginning and the end, cutting off the tails swill make the stitches come out. You won’t have a long enough thread to fix this. Second, and this one gets me constantly, those unsecured ends get caught in the new stitches and pull out of the canvas with them. They show on the front and can be a real problem to remove.
I hope this helps you keep your backs neat, it certain;y has helped me to correct my bad habits.

About Janet M Perry
Janet Perry is the Internet's leading authority on needlepoint. She designs, teaches and writes, getting raves from her fans for her innovative techniques, extensive knowledge and generous teaching style. A leading writer of stitch guides, she blogs here and lives on an island in the northeast corner of the SF Bay with her family
Thank you!!!! These are suggestions/ideas that aren’t always taught but are learned from fellow stitchers. I learn so much when stitching with others, but that is too infrequently, sadly. I find that these little tips, or hints aren’t written anywhere I can find, but they add to the quality of a finished piece infinitely! My mother in law was such a fine stitcher of all types, and the first thing she did when she saw a project I was working on was to inspect the back of my work. Hmm, that was embarrassing! However she did teach me how to ‘feel’ my threads and learn which way was proper to pull it thru the canvas if I didn’t pull it off the spool and know which end was which. Thank you for a great post!!