It used to be that needlepointers often got their projects from books. Vintage needlepoint books have tons of great projects where you can easily put your own stamp by your choice of mesh, stitches, and threads. Unhappily, all too often we hesitate because we don’t know how to read the charts and drawings.
Today we’ll look at several kinds of charts and pictures, see examples, and learn how to use them. To apply this information to your project, look for the heading that most closely resembles what you have.
Berlinwork Charts
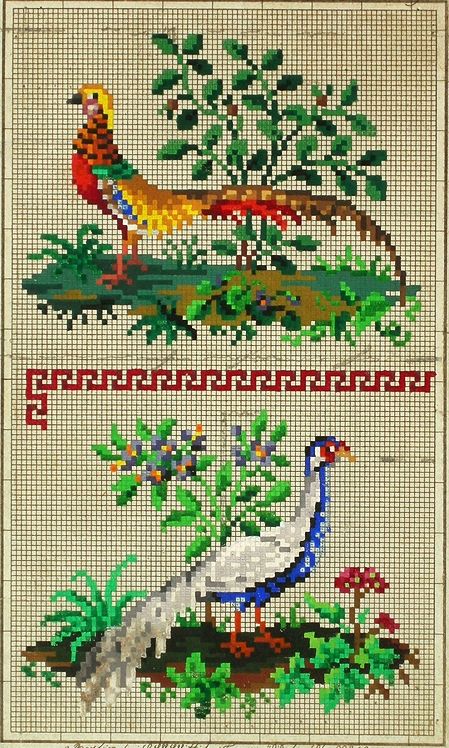
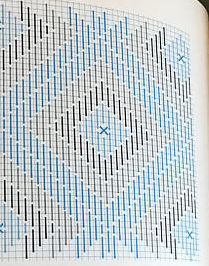
Berlinwork, that iconic style of needlepoint, had its heyday in the mid-1800’s. These designs were stitched exclusively from hand-colored charts that were done on gridded paper. In Berlinwork, the colors fill up the squares and are true to the color thread used.
These two things are the challenges with these charts. Because there are no symbols inside the squares, it can be hard to tell how many stitches to make. In addition often the paints used caused the grid lines to fade. Because the colors can be quite close to each other, it can be hard to distinguish colors.
These charts are stitched like other whole stitch charts; one grid square is equal to one Tent Stitch. Use the grids and colors around bigger areas in a single color to judge the size of these areas. You can also often find these blocks without grid lines in black and white charts from the mid-1900’s, treat these the same way.
Hand-drawn Charts with Symbols
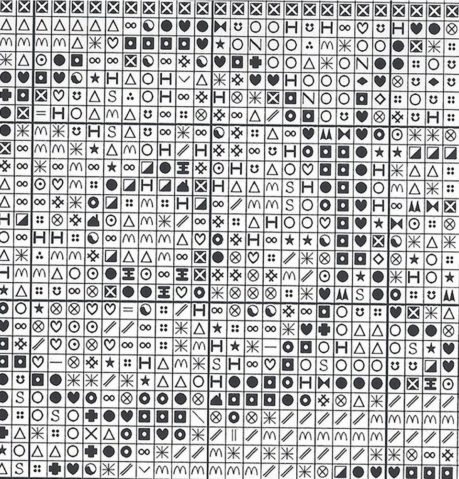
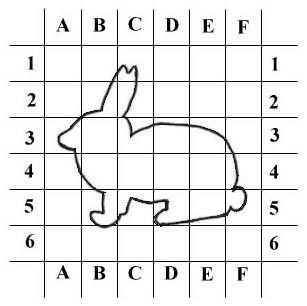
Before we could create charts on the computer, charts were drawn by hand. Many older needlepoint books have these kind of charts. Unlike computer-generated charts, they do not use color and the symbols may not each be uniform. In general though, designers strove to make these charts readable making them large and on grids. The symbols appear inside the grid boxes. Early computer-drawn charts are like this as well.
These charts are stitched like other whole stitch charts, one grid square is equal to one Tent Stitch. Ignore the grid lines, they are there to define each stitch.
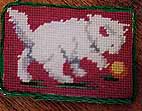
Pictures of Finished Stitching
These kind of charts are relatively rare. Elsa Williams’ famous Bargello book only has pictures of finished stitching for its projects. Although these designs look scary, they are easier to stitch than you might think if you have some needlepoint experience.
That’s because you probably know the size of the smallest pictured stitch. If it’s Tent Stitch, the size is one intersection. If it’s Brick Stitch, then it’s two threads. If it’s Bargello, it’s four threads. This information is enough to allow you to work out these patterns, but if you are unsure, try it on a doodle canvas first.
Using these kind of patterns was the way many of us learned Bargello.
Charts without Grids
These charts are fairly rare and probably the hardest to use. Although I have seen Tent Stitch charts like this, I mostly associate it with Barbara Snook’s book on Bargello. In either case you will need to supply your knowledge to create the grid lines that are missing on the chart.
The easiest way to do this, and the most time-consuming is to rechart the design onto graph paper. That’s not bad if the design is a simple Bargello line but for larger pieces it’s like stitching the piece twice.
Her’s my quick-and-dirty method for stitching these. I always make sure I have plenty of extra canvas in case I don’t get the design centered. Then I look at the chart for an area or item where I know the size; letters are great for this. That’s where I begin to stitch. As I stitch I look at the chart constantly and use the size of my known areas and the symbols around other areas to decide the size of open and stitched areas. Stitching a chart such as this does not go quickly!
Line Drawings on Grids
Now we all have printers that can do tons of things. We also have software that will do the enlarging for us. As a result, drawings with grids seem rather quaint. But before we could do that by computer, making an enlarged copy was done by hand. That’s the reason for the grid lines.
To transfer a design this way, mark your canvas in grids what ever size they need to be in order to divide your finished project size into the same number of squares as the drawing. Going grid by grid, redraw the drawing freehand onto the larger grid. Being terrible at drawing I never actually tried this, but that is the process. Today, ignore the grid, enlarge the drawing to the desired size and transfer it to your canvas.
Line Drawings without Grids
More common than drawings with grids are ones without them. These drawing are usually the same size as it is in the project. Copy the drawing onto paper and transfer the design.
Charted Stitch Projects
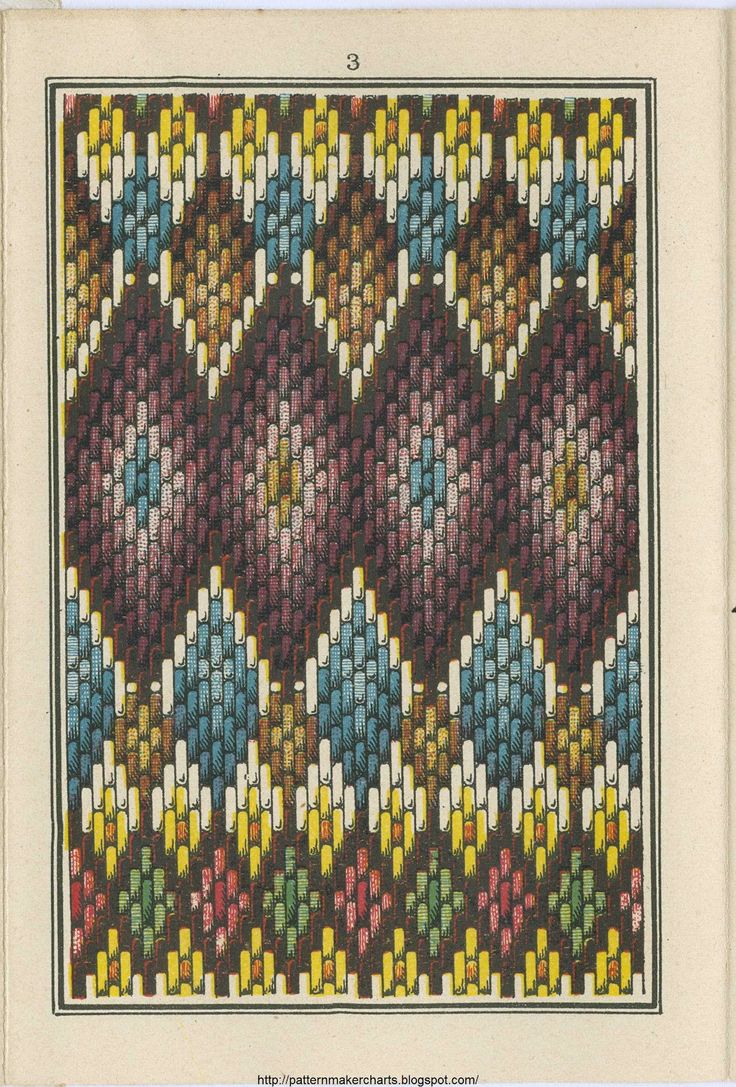
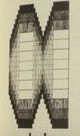
In older books where decorative stitches are used they are represented by lines. Most of the time they are not the thicker lines we are used to in modern stitch diagrams, which we know how to read, but thin lines with little space between stitches. It can be very hard to figure out where one stitch ends and the next begins.
When the lines are thicker or in several colors, these charts are easier to use, but often they can be very challenging.
These charts require careful study and working them out on a doodle cloth. Begin by studying the chart carefully. Are there places where the breaks are more obvious? Use those to guess where the other breaks will be, then examine those grid squares for breaks. When you find it, circle it so you won’t forget. Go over the entire chart this way, marking in some way where unclear breaks between stitches occur.
Only then proceed with stitching.
Did I miss any? If so, add a comment.

About Janet M Perry
Janet Perry is the Internet's leading authority on needlepoint. She designs, teaches and writes, getting raves from her fans for her innovative techniques, extensive knowledge and generous teaching style. A leading writer of stitch guides, she blogs here and lives on an island in the northeast corner of the SF Bay with her family
Old, new, whichever kind of pattern….I have trouble following patterns where each square (usually colored in) represents one thread of the canvas. This is for bargello and other stitches, not tent stitches. I find it hard to count and place stitches on the diagonal for 4 way bargello especially. Dorothy Kaestner’s pattern books use this method. Is there an easier way then re-charting the patterns?
Four-way Bargello and Bargello charts, watch in tomorrow’s article for help on this, it’s a great question.
Keep stitching,
Janet