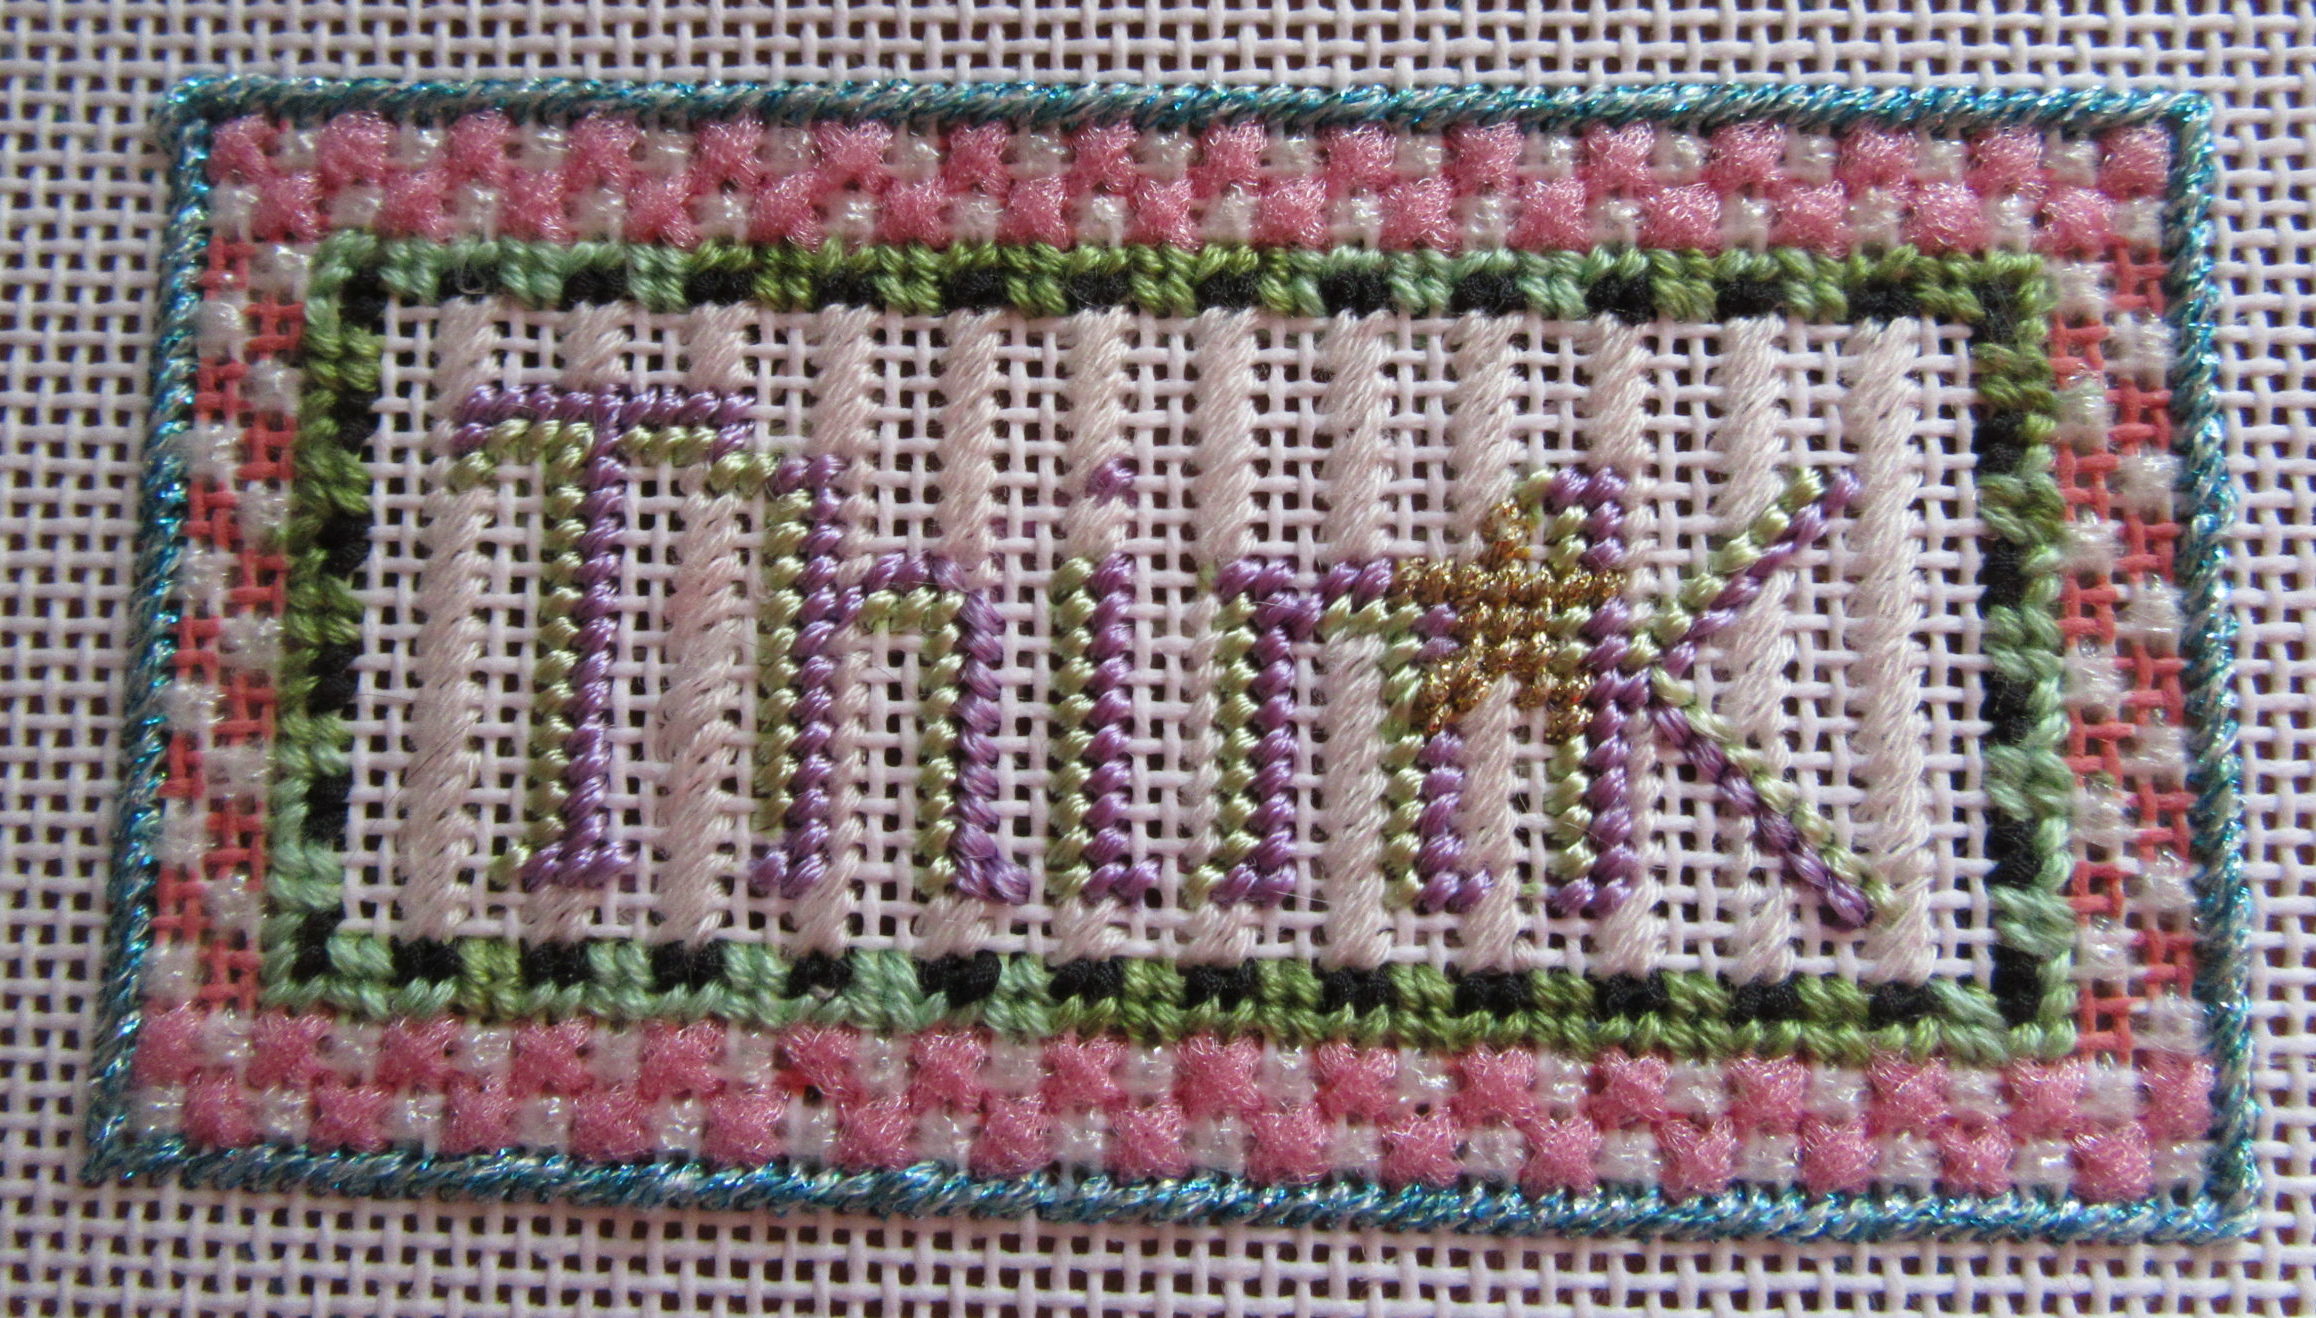
Often we find ourselves with canvases, like this one, with strong geometric components. These kinds of designs present interesting possibilities for using different dyelots. In this Kathy Schenkel canvas, you can see that the pink on the short sides has been left off. That’s because I was running out of thread.
Checks present an interesting way to deal with dyelots. Here are some great ideas:
- Matching sides
- Row by row matching
- Alternating
Matching sides:
If your geometric area is a border, there are different sides. Rather than just starting in one place and going around the border until you run out of thread, try stitching opposite sides, as I did with Think. Going around the border could result in only one side not matching or having an obvious change in the middle of a side. If you stitch matching sides, then your changes will match as well, creating a symmetric border. A similar look if your border is square or rectangular is to stitch two adjacent sides in one dyelot with the other two in the second dyelot.
Row by row matching:
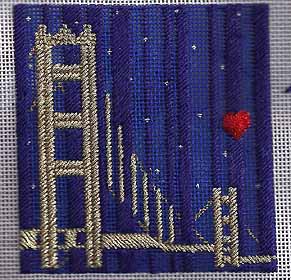
I could have taken this approach with Think as well. It’s a great strategy for geometric backgrounds or large geometric areas. The idea, seen in the Golden Gate Bridge background above, is to alternate rows in the two dyelots. It’s also a fantastic way to deal with striped backgrounds with dyelot problems.
When you have a checked border or something that goes around, you don’t just stitch in rows; you stitch in rounds. I could have stitched the inner row of pink boxes in one dyelot and the outer row in the second dyelot.
Alternating:
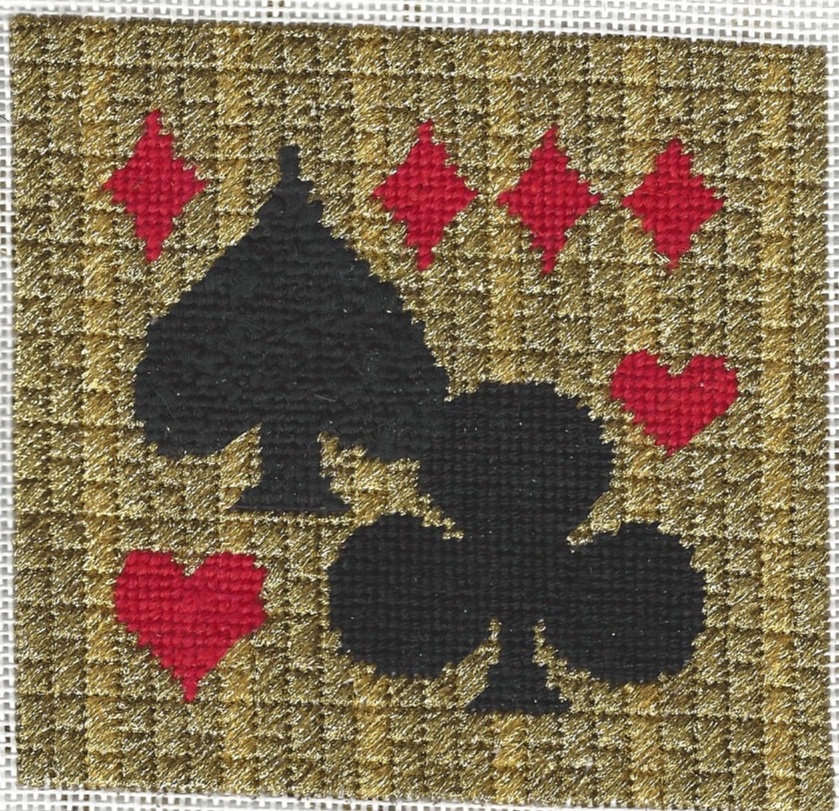
Many stitches lend themselves to an alternating treatment. You’ll want to use a stitch where the units are discrete and easy to count. They do not have to meet in an even grid; you only need to count the space between units. Once you have settled on a stitch, you stitch it as if it is the first step in a needlepoint damask — you stitch every other unit. Once you have finished this step, you can consider if you have enough thread to fill in some more units with the original dyelot. This way you create a regular pattern, making the changes look planned.
In the vintage Amanda Lawford canvas above, I took this approach. Wide Diaper is used throughout. I made three columns in one dyelot, followed by one in the second dyelot. If I had not known the background was blank white canvas, I would think the stripes were an original part of the design — it looks that intentional.
The key to all these is to be sure that your dyelot change looks planned. If it’s planned, it will look as if you meant it to look this way, not as if you just ran out of thread.

About Janet M Perry
Janet Perry is the Internet's leading authority on needlepoint. She designs, teaches and writes, getting raves from her fans for her innovative techniques, extensive knowledge and generous teaching style. A leading writer of stitch guides, she blogs here and lives on an island in the northeast corner of the SF Bay with her family
Leave a Reply