We have just three patches left in this sampler. Using the every other week schedule we’ll be finished in mid-November. I hope you have been enjoying the stitches in this great sampler. After this project is completed, we’ll start up with two new project series in January. There will be two per month, one from each series.
As previously announced, the first series will be small quilt-based designs that are “quilt portraits.” That is they are needlepoint versions of real quilts. These small projects can be finished quickly and are designed to use up your scraps of thread.
Also, the second series will be stitch guides for the great minis from Mindy’s needlepoint. These little designs are only about 2″ square, so they are a perfect showcase for small stitches.
In addition, and only occasionally, I’m going to have some simple projects using color schemes that are out of the ordinary. But let those be a surprise for now.
Yoshigire Patch

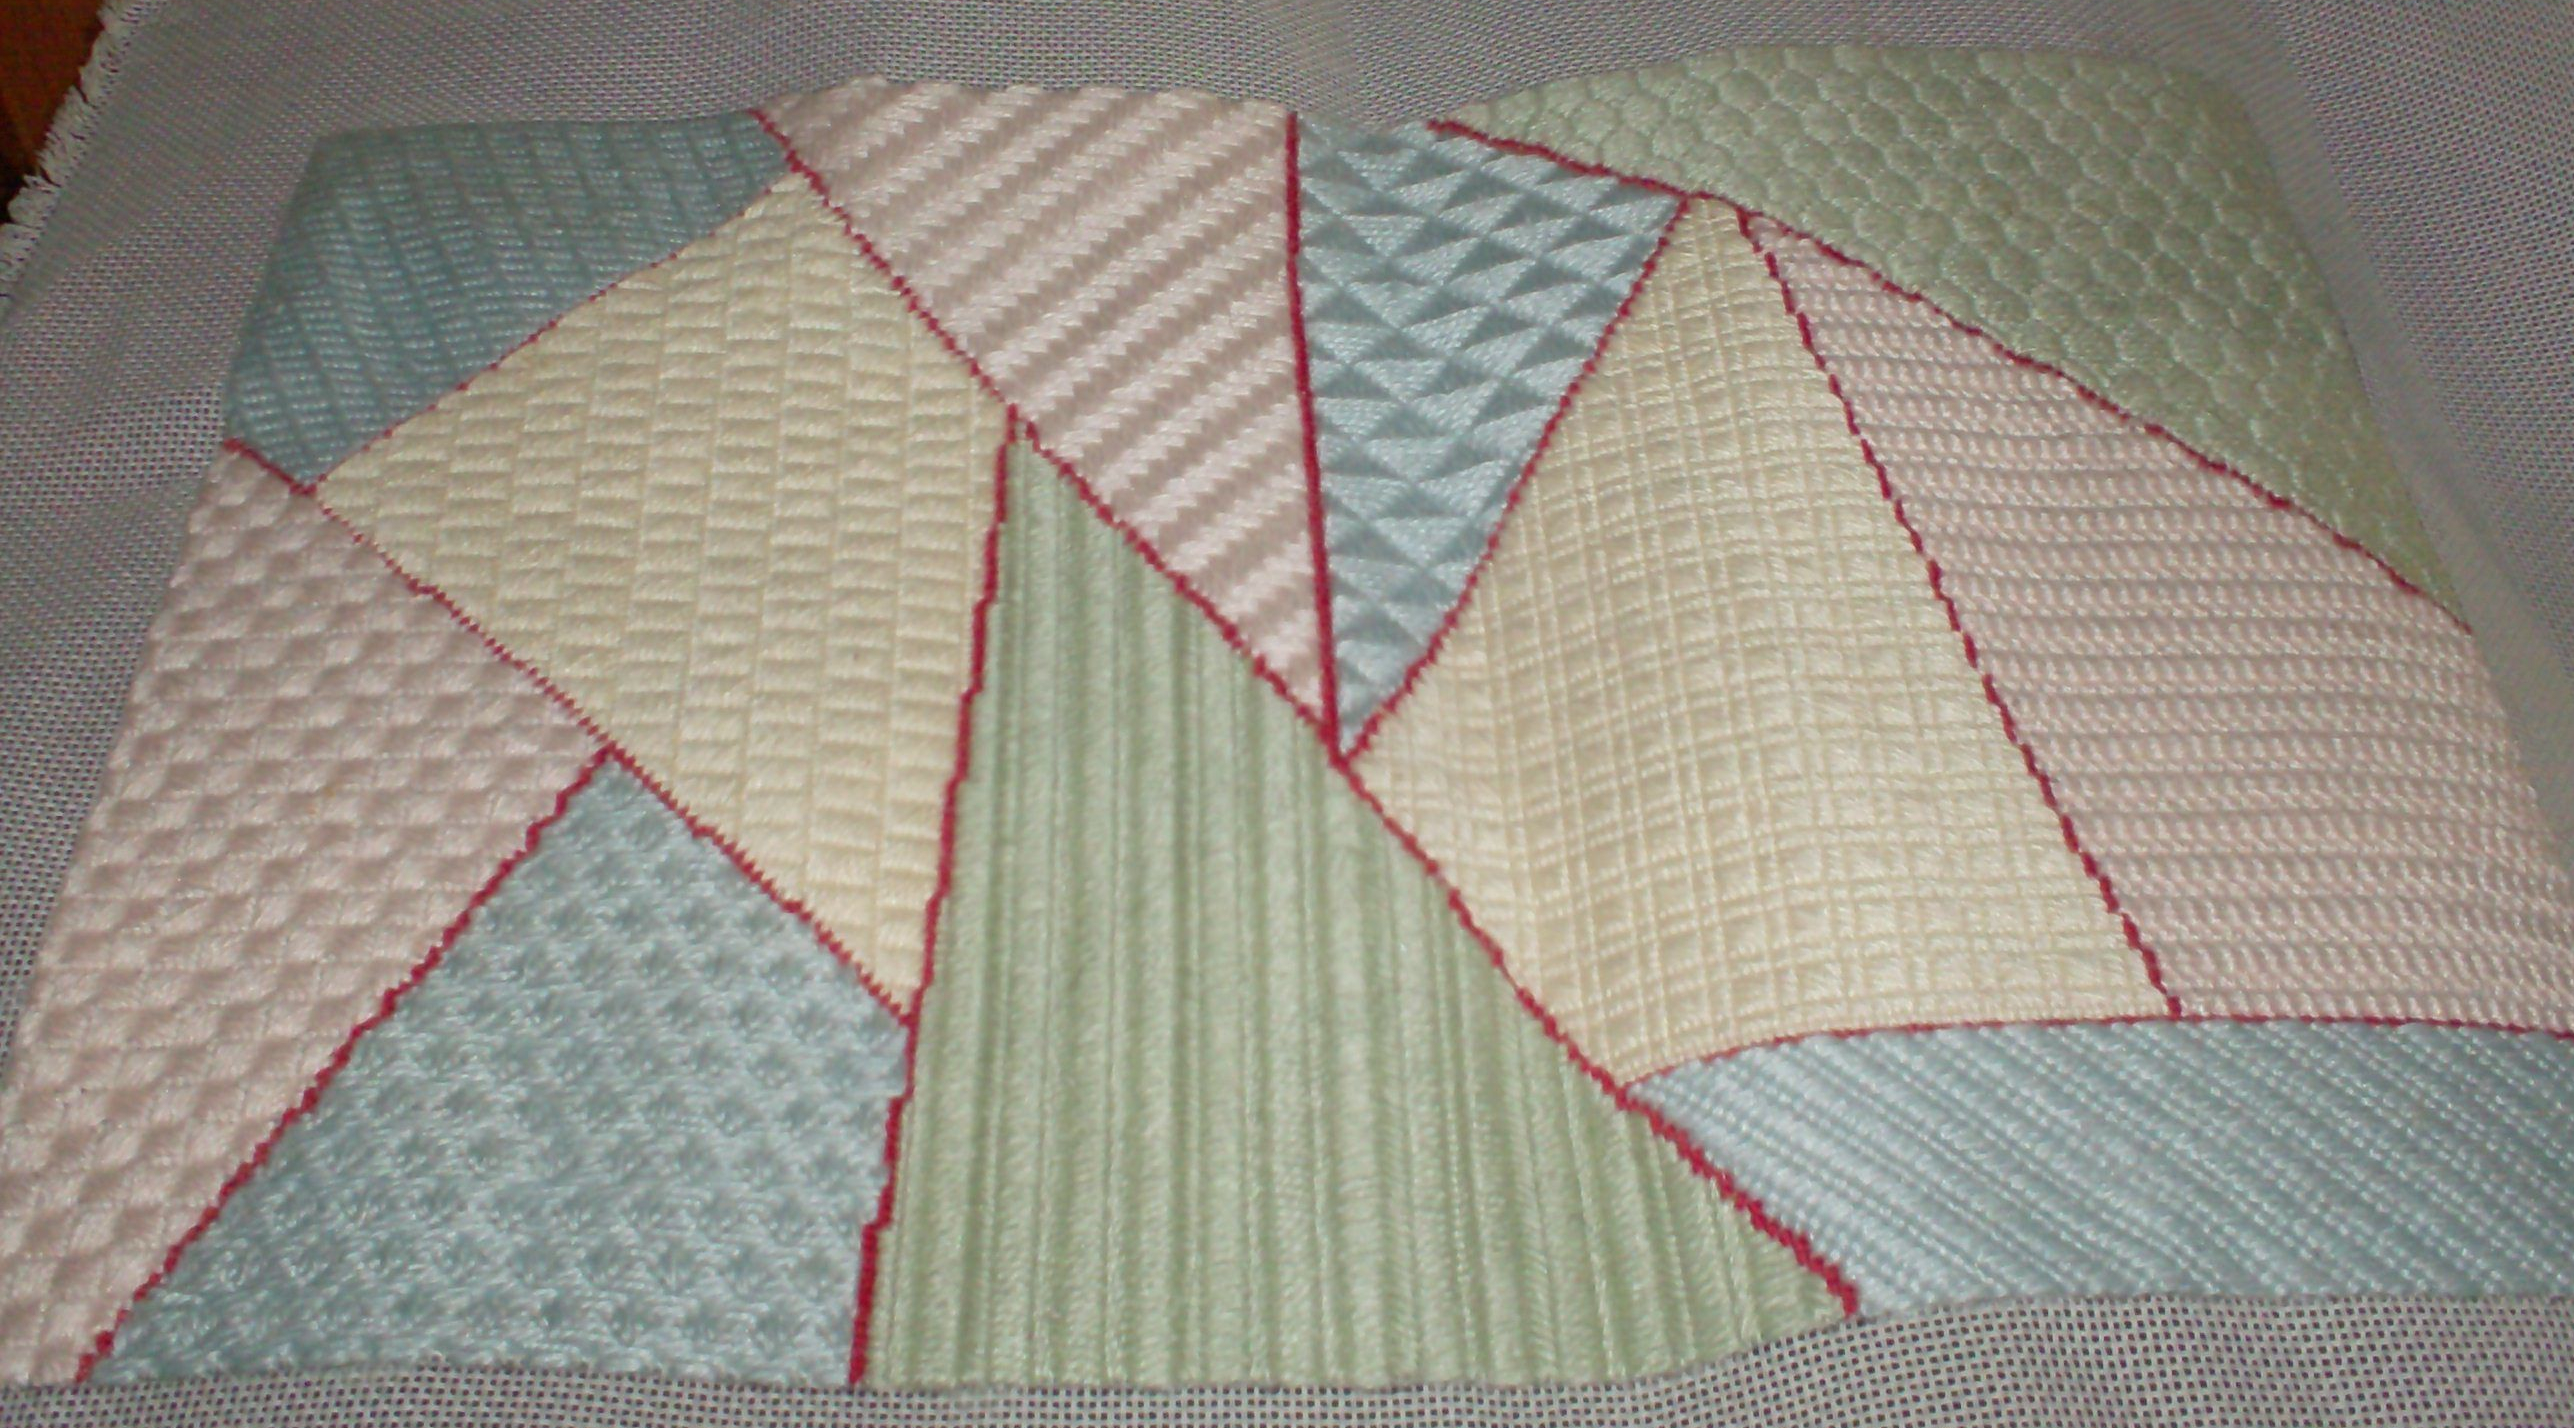
Today’s patch in the Yoshigire Free Needlepoint Sampler is one that got skipped. It’s another straight stitch with a bold look. Larger samplers like this one have the big patches that as a result give you plenty of space to try out larger stitches.
This stitch makes a very bold diamond pattern. Because of this it could be a great stitch for a large focal point. It also makes a great background in more subtle threads.
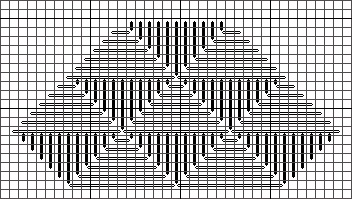
This stitch, called Satin Triangles, is from a great book, The New Dictionary of Needlepoint and Canvas Stitches. This is a book which can be found in used book stores (I found mine there) and is worth seeking out. There are large, clear pictures and diagrams and it has a nice selection of stitches.
The stitch is made up of alternating triangles of Satin Stitches. As a result, half with the stitches are horizontal and half are vertical.
You will stitch the narrow, mostly triangular patch next to our yellow patch (5). You can begin with a triangle going in either direction (I did a horizontal triangle). Stitch the triangle and then fit in the other triangles going in a horizontal row.
The question of where to start this stitch is somewhat problematical. This stitch is easier to stitch in one direction, starting at the bottom and working up. This is because the top of the vertical triangles tuck under the bottom stitch of the horizontal triangles. So if you work down, you will need to move stitches. Therefore if you do not want to have to do this, start at the very bottom of the patch. If you don’t mind doing this, start somewhere in the middle of the row at the widest part of the patch.
Work up from your initial row and fill in the patch. Now, if needed, work down from the initial row.

About Janet M Perry
Janet Perry is the Internet's leading authority on needlepoint. She designs, teaches and writes, getting raves from her fans for her innovative techniques, extensive knowledge and generous teaching style. A leading writer of stitch guides, she blogs here and lives on an island in the northeast corner of the SF Bay with her family
Leave a Reply