Drapery rings, especially wooden ones, have great appeal as a way to finish needlepoint. They are inexpensive and standard sizes. They come in a variety of finishes (you can also change the color easily), and it is very easy to find them.
If you buy the ones with eyelets, you even have the place for the ornament hook right there. Buy the unfinished wood ones if you are going to color them yourself, or if you will be using them as the inside (second method below). This company, The Finial Company has a huge collection of rings, in resin, metal, and wood. Some of them would be lovely just framing an ornament.
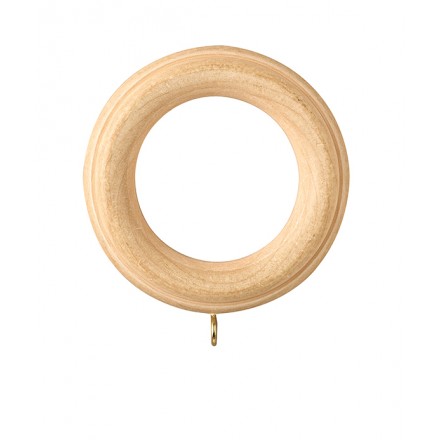
They come in various sizes, measured by the diameter of the inside. The ones I have are 2″ (all measurements are based on this ring).
Ring as Ornament Frame
For this method you will need stitched needlepoint about 1/4″ wider in diameter than the inside dimension of your ring. You will also need a piece of felt or Ultrasuede 1/4″ smaller than the outside diameter of the ring.
Cut out the needlepoint a thread or two beyond the stitched area. Run a thin line of glue on the back of the ring. Center the needlepoint face to the wood in the ring, making sure the top center of the stitching is below the eyelet. Press down to glue the needlepoint in place. Let dry.
Run a thin line of glue on the back of the needleepoint. Place the felt or Ultrasuede on it. Let dry. If you like finish the raw edge by gluing on trim or ribbon.
Wooden drapery rings are pretty thick for their diameter. If you want to use this method, you might consider using metal or resin rings with eyelets, not clips.
Ring as Interior of Ornament
This method is more complicated and uses the wooden ring to create a hard interior edge for the ornament.
You will need:
- stitched ornament 3 1/8″ in diameter
- drapery ring
- paper towels for stuffing
- felt or Ultrasuede circle 3 1/8″ in diameter
- decorative trim
- turbo tacky glue
Begin by cutting our the needlepoint 1/2″ inch beyond the stitched area. Mark the compass points of the needlepoint on both sides. Clip the unstitched edges of the needlepoint circle so that it will fit neatly around the ring.
Turn over the needlepoint and place the ring on the back. Place it so that the mark at the top is at the eyelet.
Using your glue, glue the needlepoint to the ring by gluing down each bit of the edge. Do only a few at a time, and hold them in place until the glue sets. Let dry.
Scrunch up a paper towel and stuff it inside the ring. Push it down, so that the needlepoint blogs out just a bit, creating a rounded effect. Do not use stuffing here; it will so through the needlepoint.
If needed, add another paper towel, so that the interior is fully stuffed.
Glue the felt onto the back of the ornament by running a line of glue around the back of the ring and placing the felt on. Let dry.
You will notice that there is unstitched canvas showing all around the ring. The trim will cover that. Turn under one raw edge of the trim and glue it to the edge at the eyelet. Fold over the trim so the edge is now finished. Going slowly, lay down a line of glue on the unstitched edge and press the trim on it. Continue in this way until you are about 1 inch from the eyelet.Cut the trim to about 1.25″ Turn under the extra 1/4″ and glue to the rim. Glue the remainder of the trim with the finished edge to the ring.
Now you have lovely ornaments ready to hang!

About Janet M Perry
Janet Perry is the Internet's leading authority on needlepoint. She designs, teaches and writes, getting raves from her fans for her innovative techniques, extensive knowledge and generous teaching style. A leading writer of stitch guides, she blogs here and lives on an island in the northeast corner of the SF Bay with her family
Thanks for sharing. I have never thought of this as an option. Now, granted I haven’t made any ornaments, I think that is about to change.
Could you post a couple pictures of the FRONT of finished ornaments for perspective?
Thanks again.
Christa
I don’t have any pictures right now, but I’ll add some to this post once I get them.
Keep stitching,
Janet
Thanks in advance!