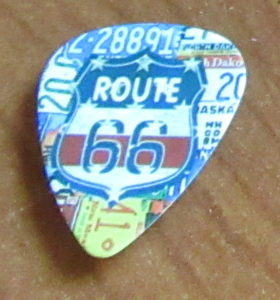
Making your own magnetic needle minders can be a great and rewarding task. And the process of finding items that make great magnets is like a small and happy treasure hunt. Today I’ll have basic instructions on making magnets and then talk about several different types of items that make great magnets and how to prepare them.
General Magnet instructions
What makes a good magnet front?
Ideally, the front for your needle minder should be flat both front and back and stiff. It can bend, but it should not crease, break, or go limp. Paper does not work unless it is around something that won’t crease such as foam (see the dollhouse miniature magnet below). Fabric will not work unless it is treated to be stiff or put on a button or bottle cap.
Although flat front and back require the least work, the fronts can be carved (charm magnet) or slightly curved (the cameo magnet). You do not want items that have much of a curve because needles tend to fall off them.
Magnet Backs are best if flat, but as long as what is interfering can be broken off or removed, you are OK.
Asembling your Magnet
- Find your magnets. These should be strong ceramic or rare earth disks, squares or bars. They should be as large as possible to fit the back of the decorative front. This is because only the area with the magnet under it will hold needles. The magnet for the back of the canvas does not have to match it in size, although often it does.
- If you are using ceramic magnets, smooth and clean the edges with a rag.
- Prepare the decorative front by removing any protruding items on the back (see specifics below).
- Separate the magnet pair and put the back magnet in a safe place.
- Using Super Glue or ES-3000 glue the magnet to the back side of the decorative front. Hold until the magnet bonds. Let dry magnet up for several hours or overnight until cured.
- Put the reserved second magnet with the front. Use it immediately or add it to your collection.
Specific Types of Magnet Fronts
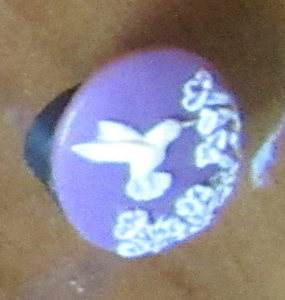
Kelmscott-style cameos: Kelmscott specializes in making needle minders with lovely antique-style cameo fronts. These in many different styles and colors are available on Etsy. Because these are just the cameos and are not in any kind of jewelry setting, the backs are flat. They require no extra preparation, just get a magnet matching in size, glue, and go.
Napa Needlepoint
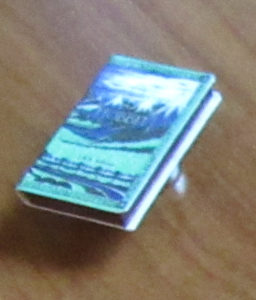
Dollhouse books & packages: The dollhouse scale of 1 inch equaling 1 foot means that dollhouse items are perfect for using as needleminders. While any dollhouse object that is flat such as plates or some kinds of food would work as minder fronts, I love to use books and food packages (boxes). These are made by gluing paper over a foam or cardboard core, so they are not as sturdy as many other items.
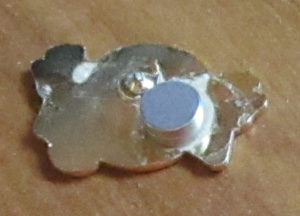
Enamel pins: I love using enamel pins for needleminders. These pin fronts are the source of many magnets that you can buy. If you are buying pins to make magnets look for pins that are the tie-tack style. I have found these easier to prepare.
You will need to break off the pins, and their housing if possible, to turn these into magnets. I use needle nose pliers and bend back and forth until it breaks near the bottom. Sometimes the entire pin housing comes off but this depends on the pin manufacturer. You can also use this method to remove backs from pierced earrings to use them as minder fronts.
You can see from the picture what these backs look like. If you have a high-speed drill (like a Dremel) you can probably grind down what is left before gluing.
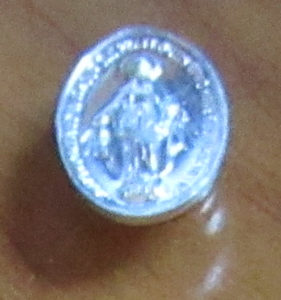
Charms and medals: Both of these will have loops at thetop for attaching to a bracelet or chain. Although I have some magnets where this is left intact, it looks best if removed. You may be able to cut it off with wire cutters. The stumps or the ring will need to be smoothed with a high-speed drill.
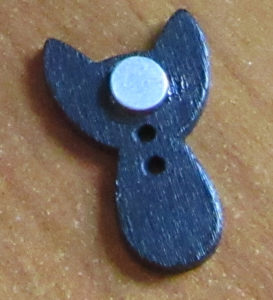
Buttons: Any button that has holes in it for attaching, can be used as a magnet front. The picture is from the back so you can see the holes. Because these buttons usually have flat backs, you do not need to do any extra prep. It’s up to you whether you want to put the magnet directly under the holes or not.
About Janet M Perry
Janet Perry is the Internet's leading authority on needlepoint. She designs, teaches and writes, getting raves from her fans for her innovative techniques, extensive knowledge and generous teaching style. A leading writer of stitch guides, she blogs here and lives on an island in the northeast corner of the SF Bay with her family

Leave a Reply