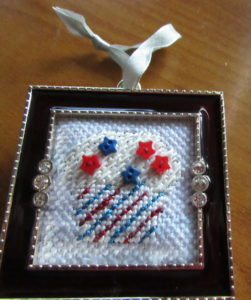
It’s no secret that I love the Studio Decor ornament frames (find them at Michel’s) to finish gifts and ornaments quickly. I’ve used just about every self-finishiung product for ornaments out there and I’ve finished my own ornaments the old-fashioned way as well. I’ve made mini-socks and pillow ornaments. I’ve used button forms and twig leafs. So I have tried them all. And my favorites are these frames from Studion Decor. They are inexpensive and so easy to make.
Today we’ll go step-by-step in an illustrated tutorial to show you how to do this.
- Disassemble the frame, by moving the clips and remove all tags.
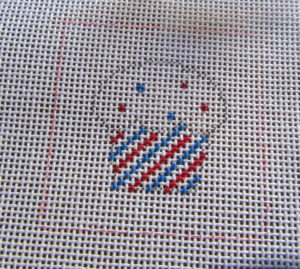
- Use the clear covering of your ornament to trace the outline for your stitching, above. Stitch the ornament.
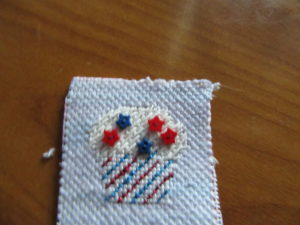
- Cut out the stitching at the edge so there is no blank canvas, above.
- Test fit the needlepoint into the frame, above. Trim if necessary (the needlepoint willl puff out a bit).
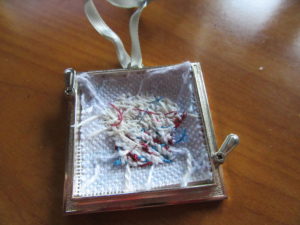
- Put one of the two cardboard fillers behind the canvas, above. If you have open areas in your needlepoint, put paper behind the needlepoint, then the cardboard.
- Put the velvet back on and secure it with the clips. above.
- Your ornament is ready to hang, top of article.
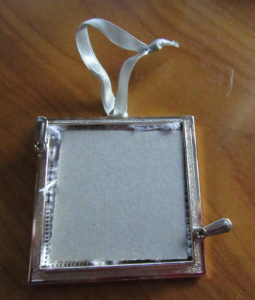
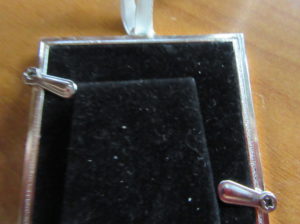
Like the idea but don’t want ornaments? Studio Decor also makes mini picture frmes, some really adorable and photo cubes. All are easy touse for needlepoint and whip up in a jiffy. My finishing basket is always full of a ton of these!
About Janet M Perry
Janet Perry is the Internet's leading authority on needlepoint. She designs, teaches and writes, getting raves from her fans for her innovative techniques, extensive knowledge and generous teaching style. A leading writer of stitch guides, she blogs here and lives on an island in the northeast corner of the SF Bay with her family

[…] metal Studio Decor ornament frames that make it so easy to finish your needlepoint (see the tutorial here) are back in stock at Michel’s. There are ones with the year on them to use for this […]