For years I have wondered if you could finish needlepoint effectively using embroidery hoops. These hoops can crush needlepoint stitching where the parts of the frame meet, but could they be used to finish a needlepoint that is exactly the size of the hoop? Because hoops come in many sizes and there is quite a culture of decorating hoops, I thought this would be an exciting option for self-finishing.
A kit from Churchmouse Yarns in Seattle I bought on eBay was perfect for this. It had everything, including the hoops and some finishing instructions. All I added was the dark wood frame from the Etsy store Modern Hoopla.
Here’s how to do it (tips are in italics):
Before starting to finish, remove your needlepoint from the stretcher bars. Hold the needlepoint in your hands and crumple the unstitched edges to soften the canvas. Needlepoint canvas is very stiff, and whatever you can do to make the canvas softer will make the finishing easier.

Cut out a wide margin around the needlepoint to make it easier to finish.
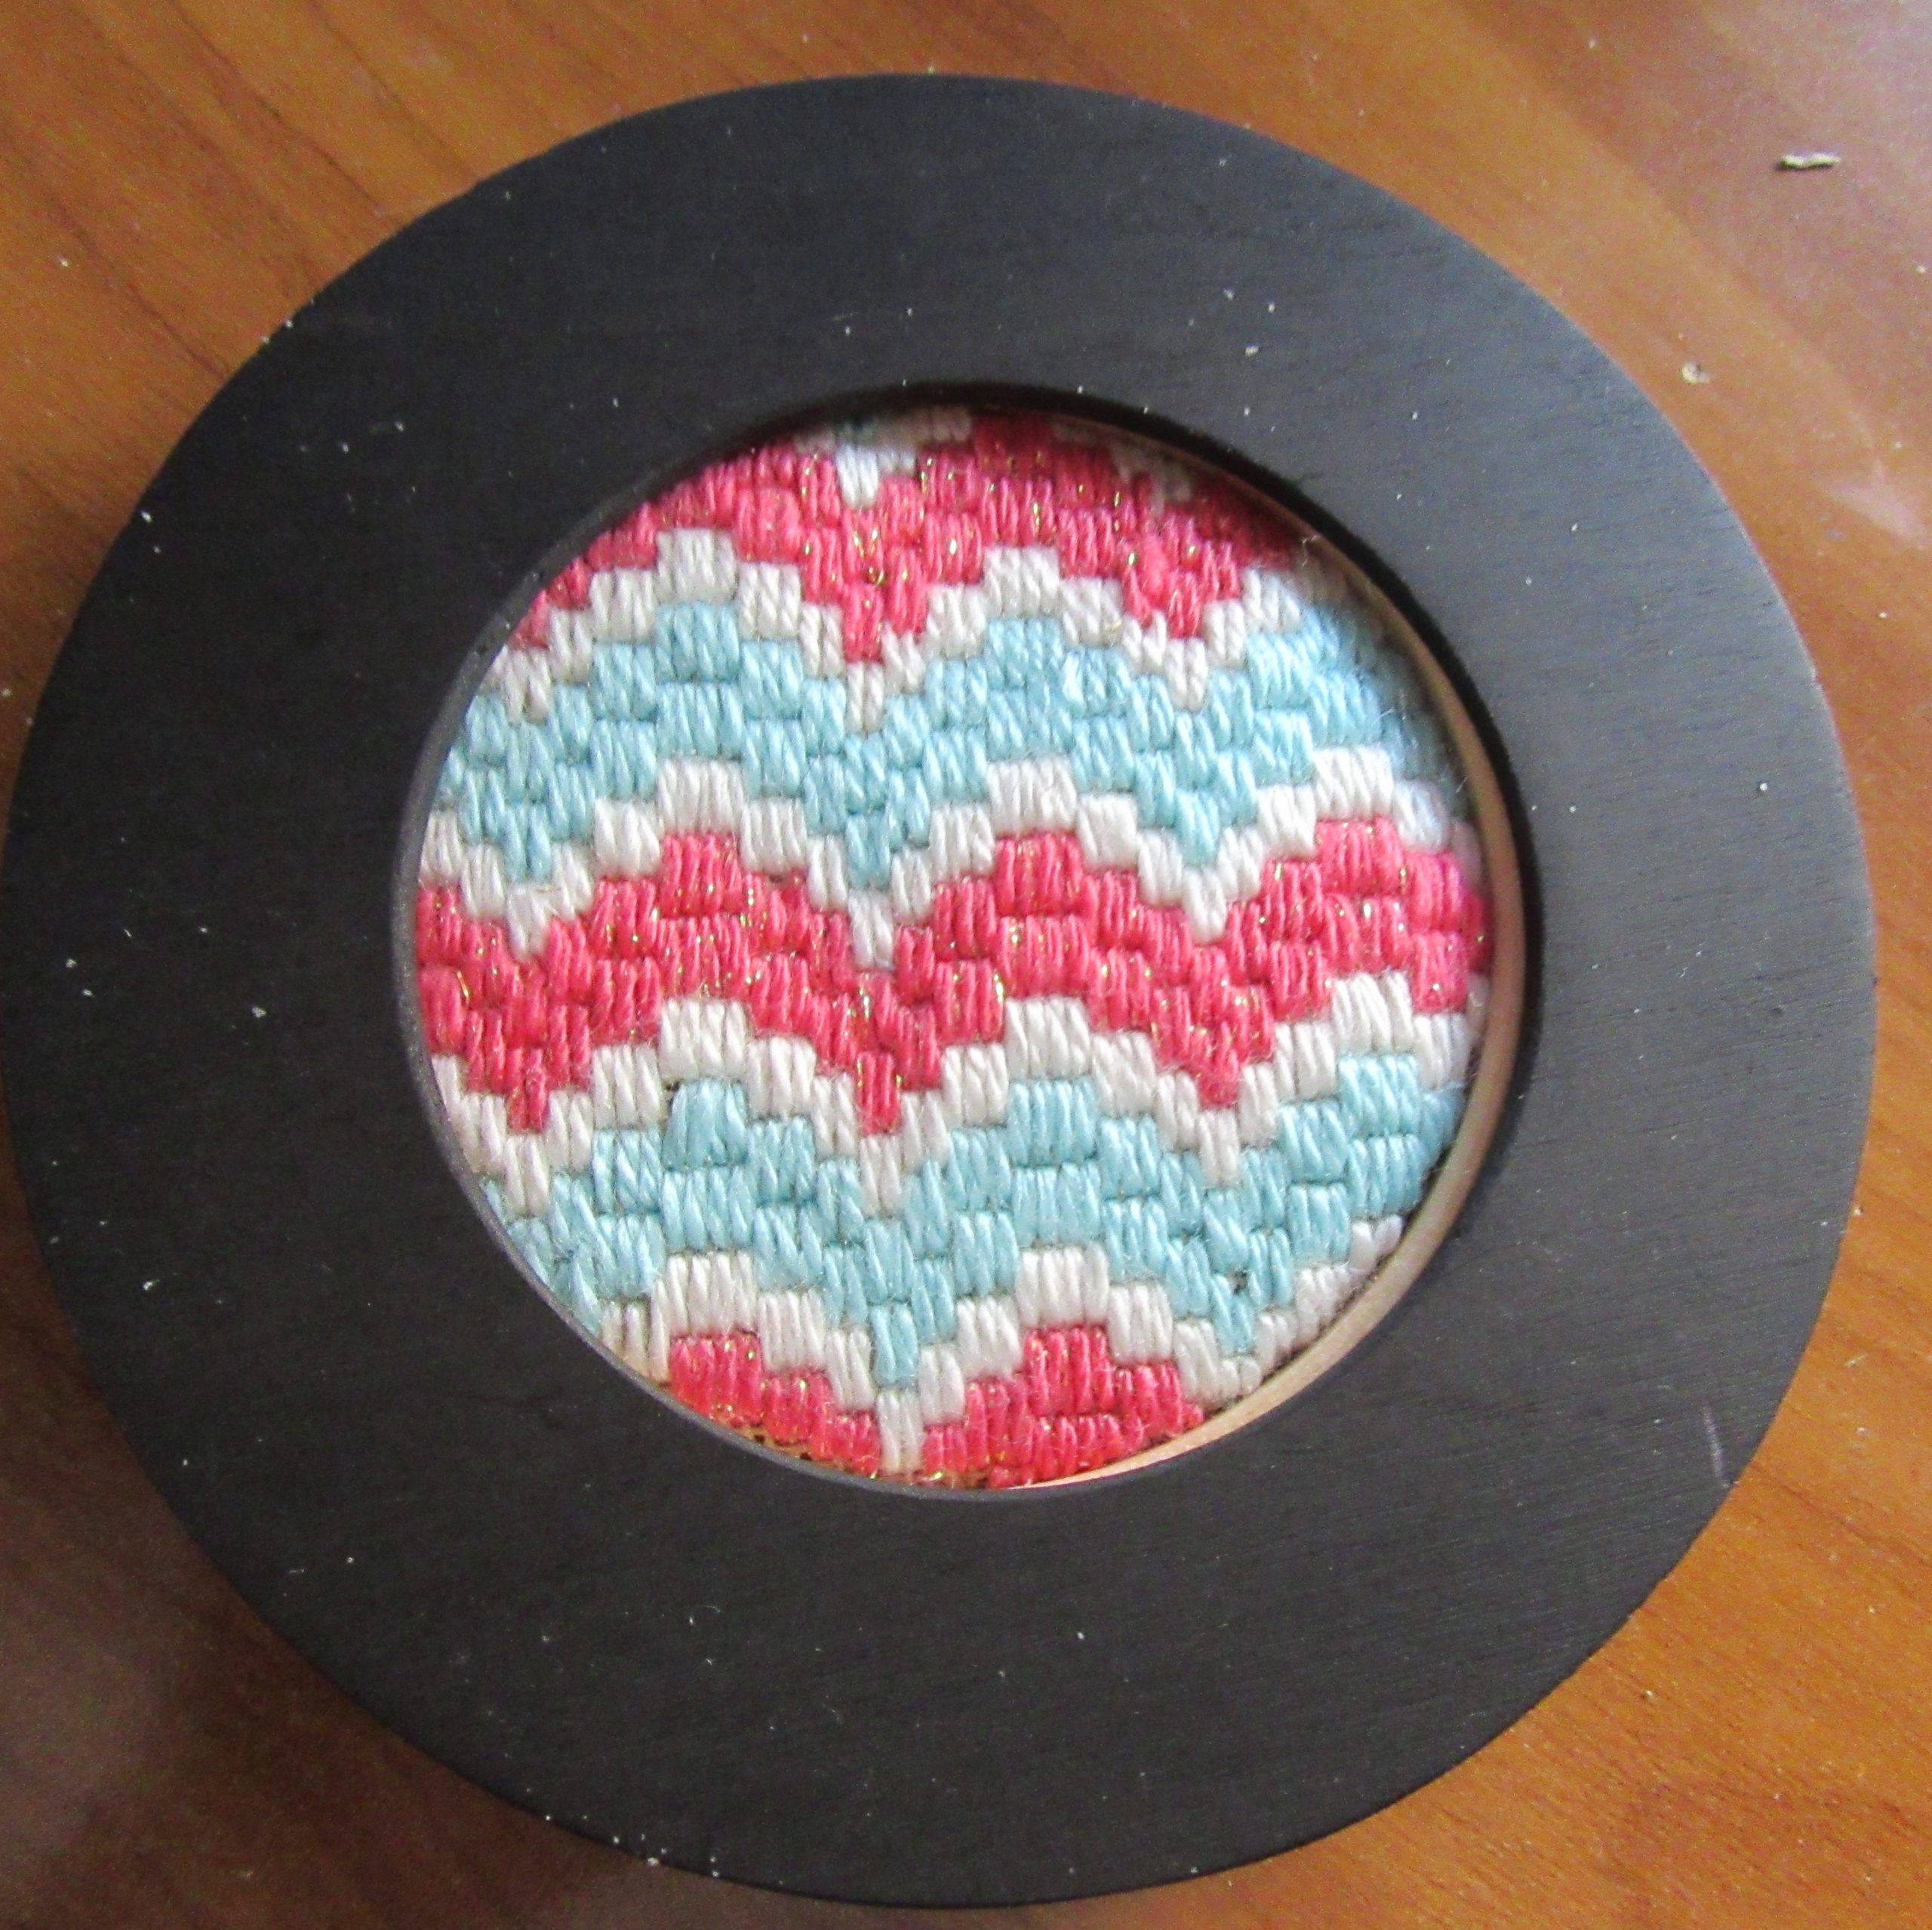
Place the needlepoint on a table face-down and put the inside of the frame on the needlepoint so that your stitching is centered inside the hoop, above. You may need to turn over the needlepoint while holding the frame to check the placement.

Remove the screw that holds the outside of the frame tight completely from the hoop. This is important because it will allow you to open the frame enough to get the hoop onto your needlepoint with the inside of the frame.
Turn the needlepoint over and place the outside of the frame, above. This is not easy to do. Open the hoop as far as you can. The frame will try to spring back. You may need to do this several times to get it right.
Put in the screw and tighten it, so it is holding the outside hoop together.

Hold the pieces together and tighten the screw as tightly as you can above. It will not close completely because the needlepoint canvas is thick; this is OK.
I chose to put the needleppoint into a more finished frame. Many companies make these. They are designed to hold embroidery hoops and have a notch cut out to hold the screw assembly. They are also thicker than regular frames to accommodate the thickness of the embroidery hoop.

Place the needlepoint into the frame with the screw inside the notch, above.

Your hoop is likely significantly smaller than the frame’s opening. Therefore, you will need to secure it in place. This is done using shims, small pieces that go in these spots. My frame came with seral strips of cardboard for this. I folded them in half and placed them around the hoop, above. Folding these in half is important because it will allow the shims to adjust in width to make a tight fit. If your frame does not come with these, you could make your own using corrugated cardboard.
As you can see, the back is not pretty. The first step to finishing it was to flatten the shims. To do this, I left the needlepoint under some books.

To finish, I made a circle of felt (UltraSuede will also work.) a little smaller than the outside of the frame. I ran a line of glue (Turdo Tacky Glue) around the edge. Be sure to include the area with the notch in this. I placed the felt on the back and adjusted it to cover everything, above. I pressed it down. It is not perfectly flat, but it is much better than before. My project is ready to hang.
What do I think of this method?
While the result looks pretty good, it has not been my favorite method to finish. I found it hard to get the needlepoint tight enough, so I felt comfortable. I found putting the outside of the hoop difficult because it required considerable strength to open and coordination to assemble. The result in the frame looks good, but I thought the project without the frame looked messy and unfinished. I will use it again, but I don’t think it will be often.

About Janet M Perry
Janet Perry is the Internet's leading authority on needlepoint. She designs, teaches and writes, getting raves from her fans for her innovative techniques, extensive knowledge and generous teaching style. A leading writer of stitch guides, she blogs here and lives on an island in the northeast corner of the SF Bay with her family
Without doubt, I continue to learn wonderful new ideas from your daily posts. Thanks, Janet!