Often when we think about samplers we picture the traditional cross stitch sampler, stitched in lines with alphabets and motifs. If you are like me that seems limiting for the wealth of needlepoint stitches. Many other stitchers do as well.
Early in my stitching life I bought the first edition of The Needlepoint Book. Jo’s colorful patchwork samplers in the book inspired me to create my own on a family vacation. I wanted to learn lots of new stitches and, armed with several shades of wool my mom & I had dyed ourselves, I stitched. It was all rectangles and squares in shades of rust.If I still had it, it would seem dull. But I did learn plenty of new stitches!
I see samplers as a way to try out new stitches to make them your own. Originally samplers sevred as examples as well as practice, so creating spot (little areas of stitches) and line samplers acted as your notebook. Today because we have plenty of diagrams in our books and even on our phones, samplers are freed to become clever works of art.
The pictures you see throughout this post are some of the many stitch samplers I have designed.
Starting Out
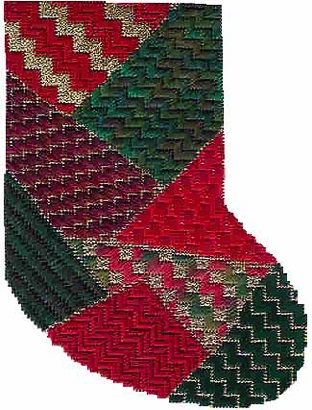
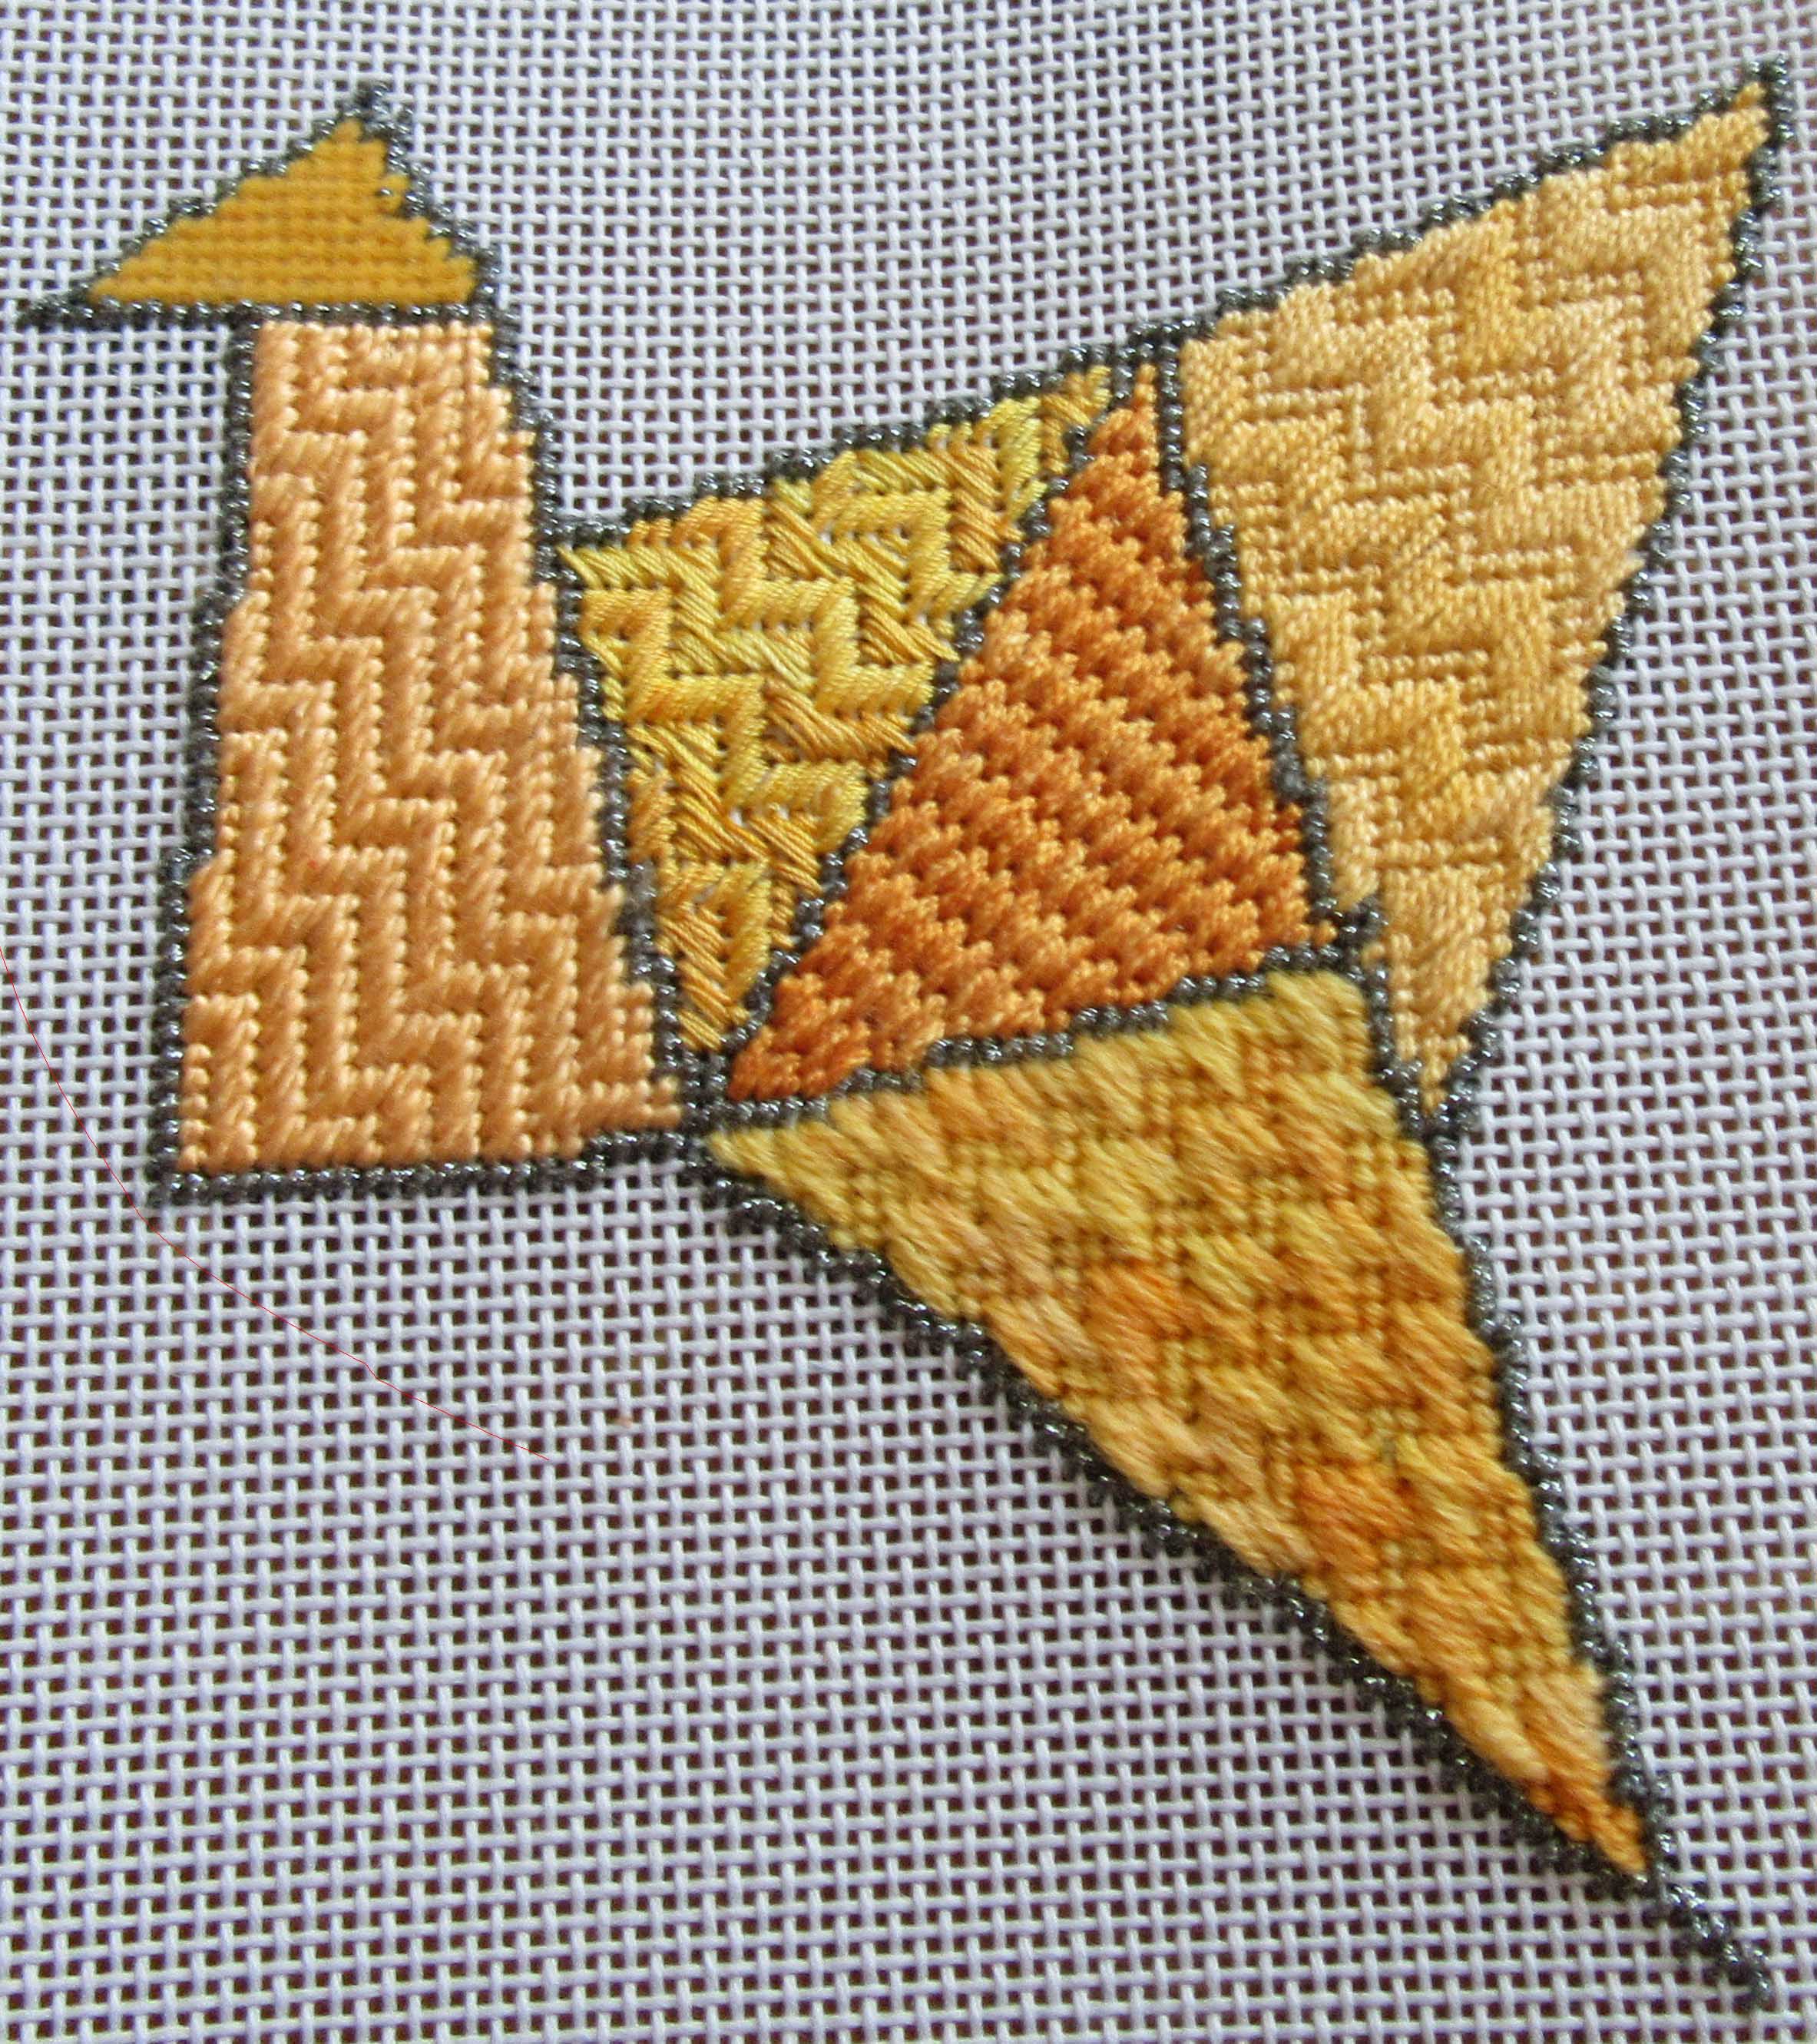
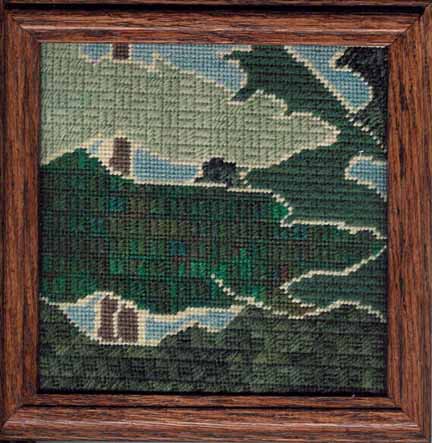
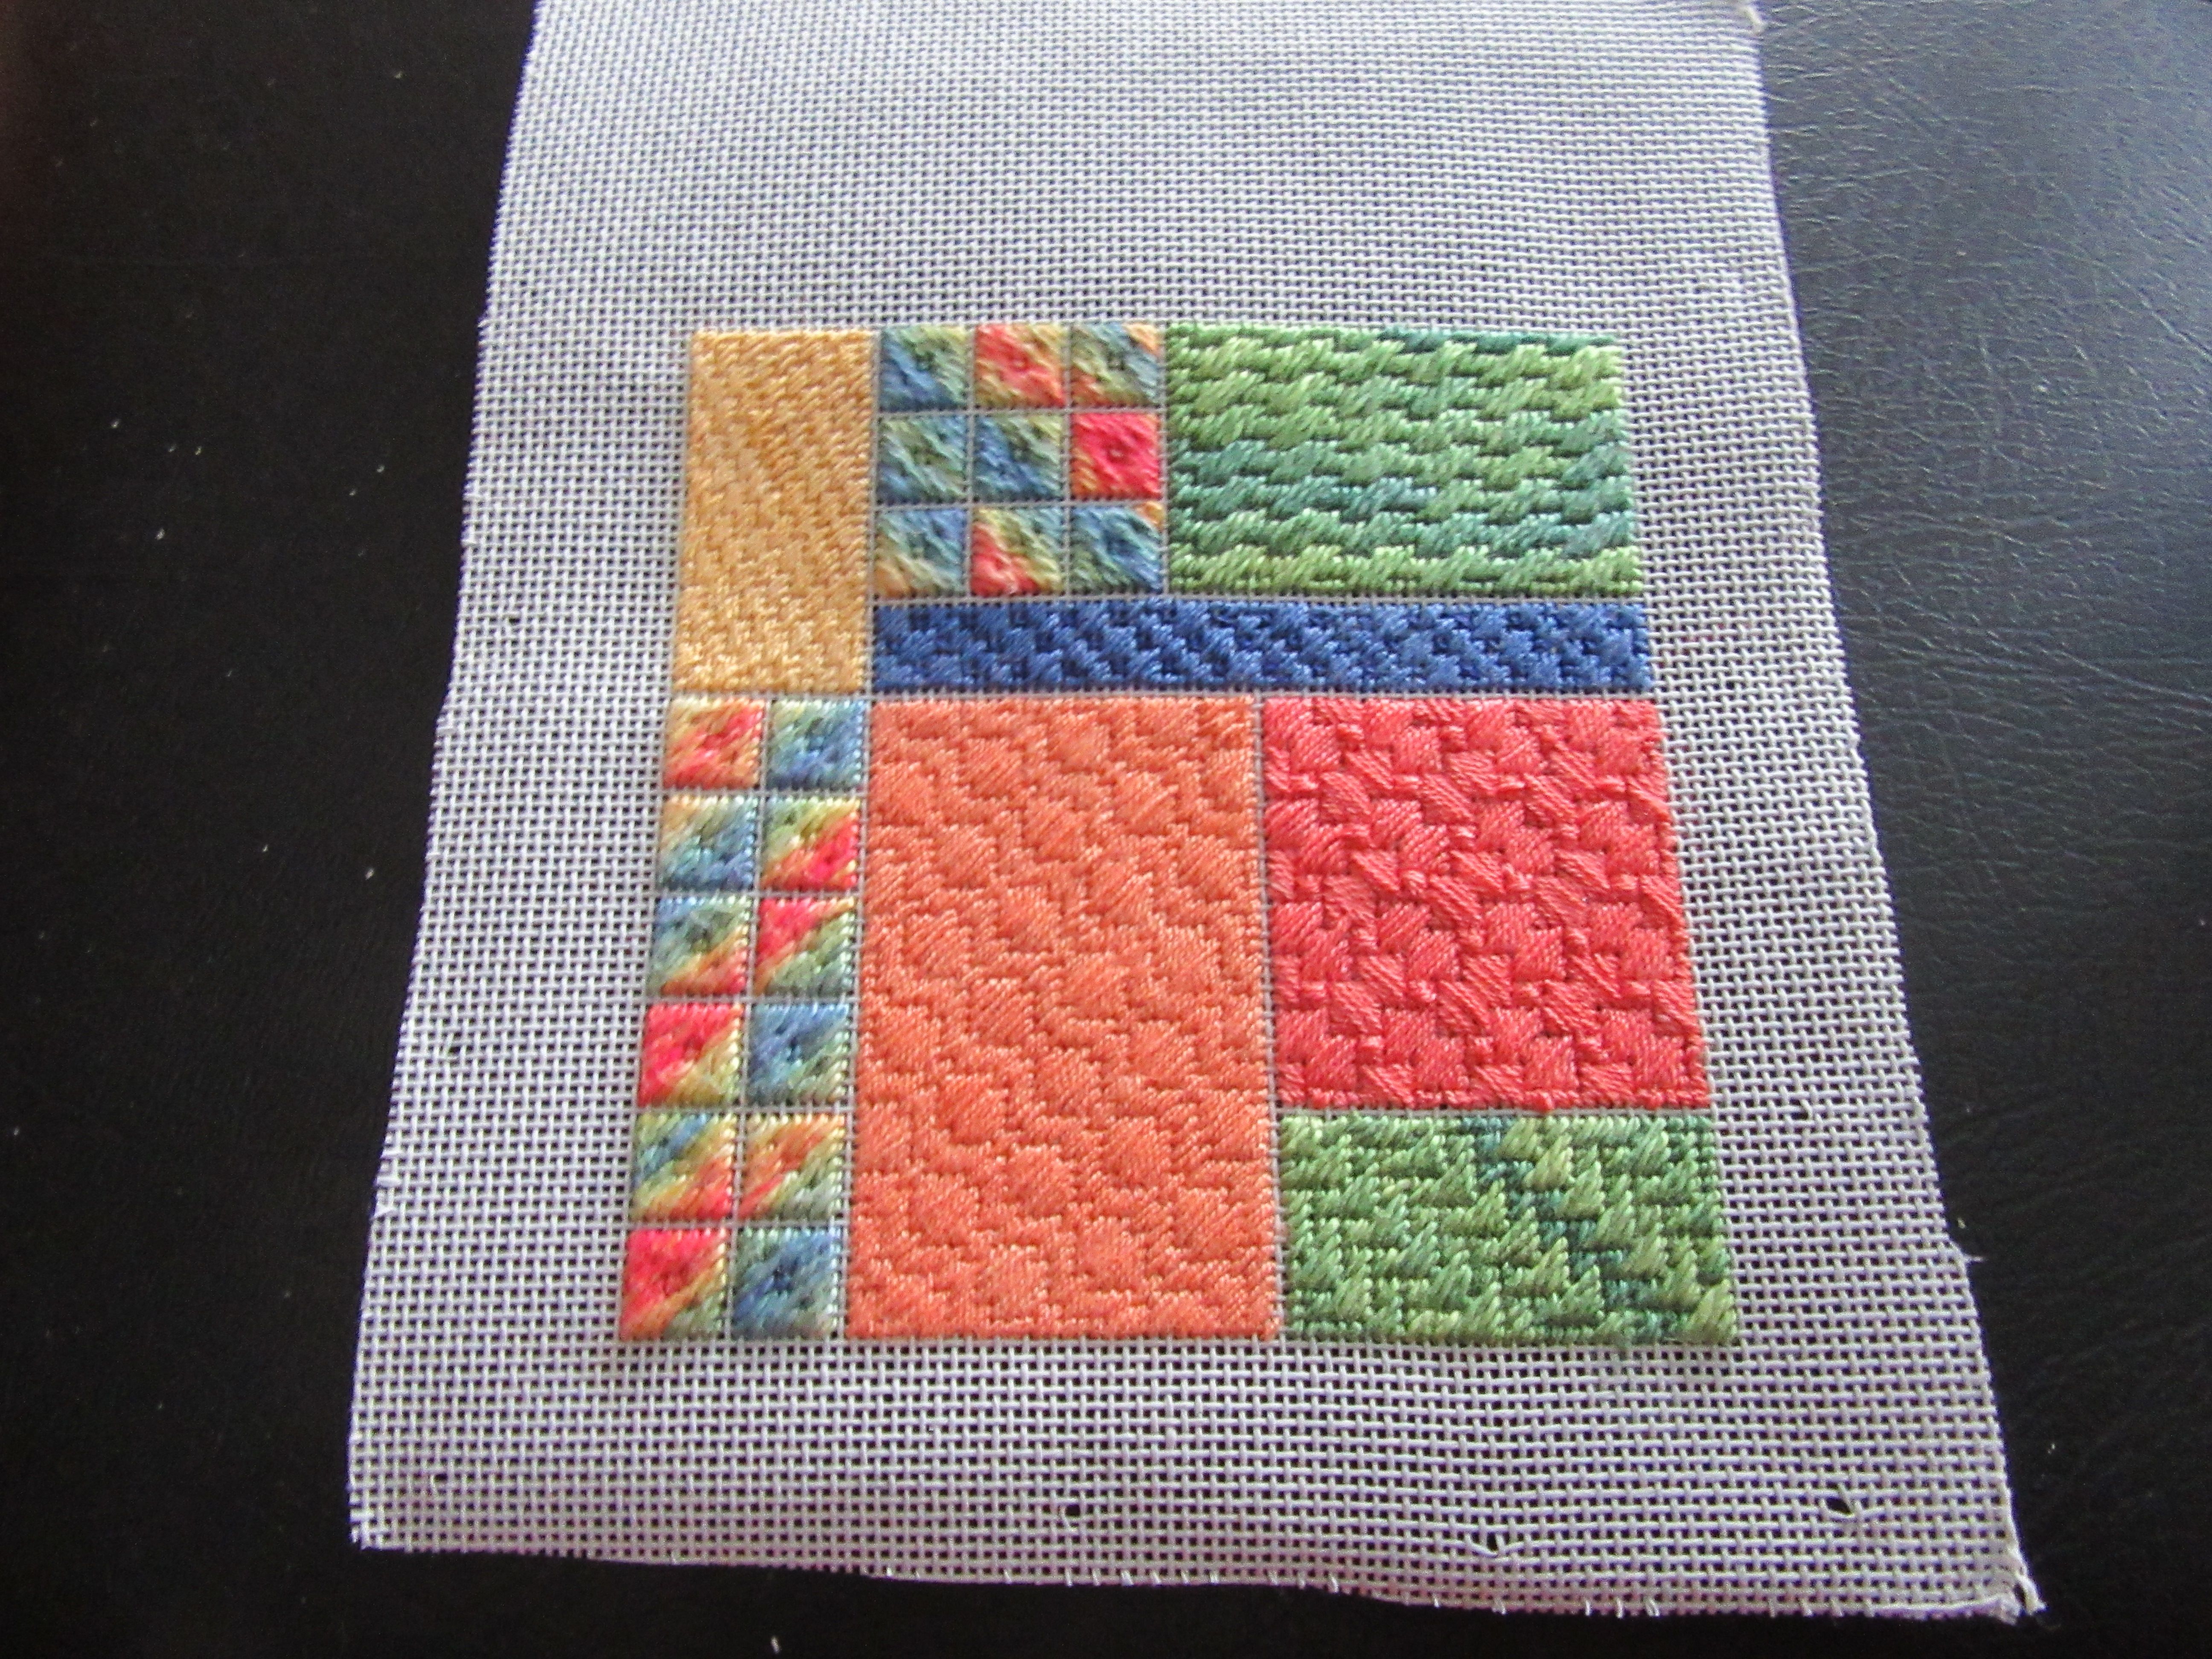
Once you have decided you want to make a creative sampler, you need to think about the design you’ll use. I have made samplers based on line drawings (origami bird), ceramic tiles (trees), patchwork quilts (upper bright square), and scrapbook layouts (lower bright square). I have also made a couple of samplers that took Christmas stockings and divided them up into irregular patches. Anything that you can either draw on canvas or easily count will work.
Samplers work best for me if they will include a limited number of stitches. I pick designs that have between six and fifteen areas to stitch.
Once I have decided on a design and have transferred it to canvas if needed, I put it on stretcher bars.
Picking Threads
Next comes my favorite part, picking threads. I might pick out a multi-colored thread and then pick threads to coordinate with it as I did in the next two samplers.

Another technique I use often is to pick several threads in the same or similar colors and use them. The bird and trees samplers are examples of these.
The third method you see in the Christmas stocking. Here I used a color scheme, the complementary pair of red and green, to make the sampler.
I always include a few more threads than I think I will need in my project bag. This way if a color or thread isn’t working out. I have a substitute right at hand. Before I started doing this many samplers never got finished because the thread wasn’t working.
Pick threads you like and are comfortable using because the sampler is going to be a showcase of stitches.
Picking Stitches
The last step is picking stitches. For a good sampler the stitches should be related in some way. The best results happen when you pick stitches in the same family or of the same type. The least successful samplers I have made were when the connection between the stitches was not strong.
Ideally you should have a few more stitches than you have areas. This is especially important when you are learning new stitches. Sometimes you just won’t get a stitch at that moment. While it’s fine to move to another area and come back to the stitch, you also might want to replace it.
Every sampler should have some stitches that are familiar. These become little rewards for me when I complete a section that had a new stitch.
With so many great ideas out there, it’s easy to create stitch samplers that are unique.

About Janet M Perry
Janet Perry is the Internet's leading authority on needlepoint. She designs, teaches and writes, getting raves from her fans for her innovative techniques, extensive knowledge and generous teaching style. A leading writer of stitch guides, she blogs here and lives on an island in the northeast corner of the SF Bay with her family
Leave a Reply