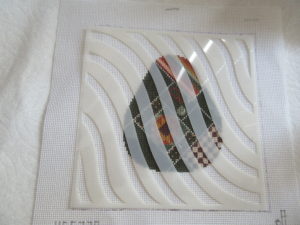
One thing I love about needlepoint is the texture from threads and stitches. One thing I don’t like about needlepoint is that the threads and stitches have to do the heavy lifting of giving texture all too often. For decades I have looked at different ways to add interest to backgrounds without stitching.
One way to do this is by using stencils to create the background. The two projects pictured in this article show two canvases where I have done this. Using stencils, acrylic hobby paints, artist’s tape, and narrow brushes, I added a layer of color to these canvases that will form the base of the backgrounds.
Can I use any stencil?
Not all stencils will work. A stencil with a small texture, such as these polka dots will be mostly lost against the mesh of the canvas. A stencil of figures, such as this animals stencil from Hero Arts, won’t work for many designs, but may be perfect for others.
Instead, look for designs that are medium-to-large scale such as stripes, geometric patterns, and designs that look like printed fabrics. The avocado used Hero Arts’ Flowy Stripes stencil (find it here). Stencils designed for other crafts, such as quilting or sashiko, can also be used. The Chinese character background used the Higaki Sashiko stencil from The Red Thread.
Once you have found your stencil and picked out your paint color, you are ready to go.
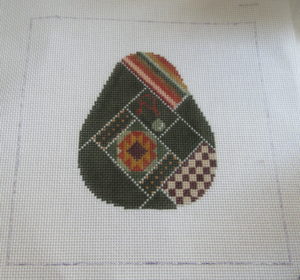
If needed, mark the outline of your finished project size on your canvas using a permanent extra-fine marker made for fabric, above.
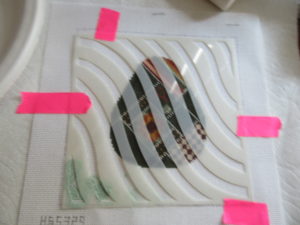
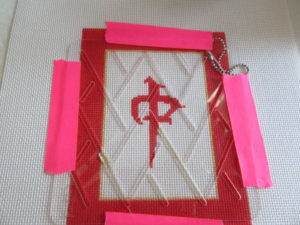
Once this is done, place your stencil over the canvas and tape the edges down. This is important because it keeps the paint from seeping under the edges of the cuts. If your stencil is nearly the same size as your background, you will want to tape on the edges only, above top. If your stencil is bigger than your background, you can be more generous with the tape, above bottom.
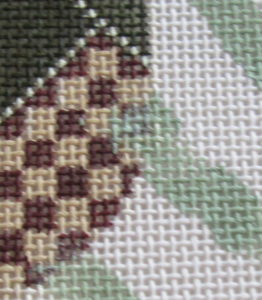
Once your stencil is taped down, you can begin to paint. Dip your brush into your undiluted craft paint. Pounce it up and down on some newspaper until it is almost dry (very little paint left. Pounce it onto the openings of the stencil, being sure to get to the edges of your design. Paint carefully around any of the design that is already on the canvas.
It is OK if some of the paint gets on your focal point, above, you’ll be stitching over it. Once painted, carefully remove the stencil.
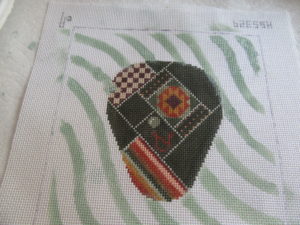
If your stencil is smaller than your marked outline, you will need to either reposition the stencil or fill it in freehand, above. If you reposition, wait until the paint is dry before continuing.
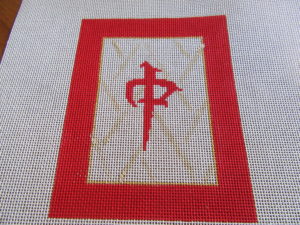
In the avocado, I used a pale green. I’ll be stitching over both colors of stripes in shadow stitching. For the Chinese character, below, I used pale pearlized paint. I will be using a darning pattern, but I have not decided on the thread.
About Janet M Perry
Janet Perry is the Internet's leading authority on needlepoint. She designs, teaches and writes, getting raves from her fans for her innovative techniques, extensive knowledge and generous teaching style. A leading writer of stitch guides, she blogs here and lives on an island in the northeast corner of the SF Bay with her family

Leave a Reply