You know that you can miter straight stitches at corners to make them neat (learn how-to here). Did you know that you can also miter diagonal stitches in your border?
The result is a border that wraps prettily around the center.
The first step is to draw diagonal lines at each corner from the inside corner to the outside one, below.
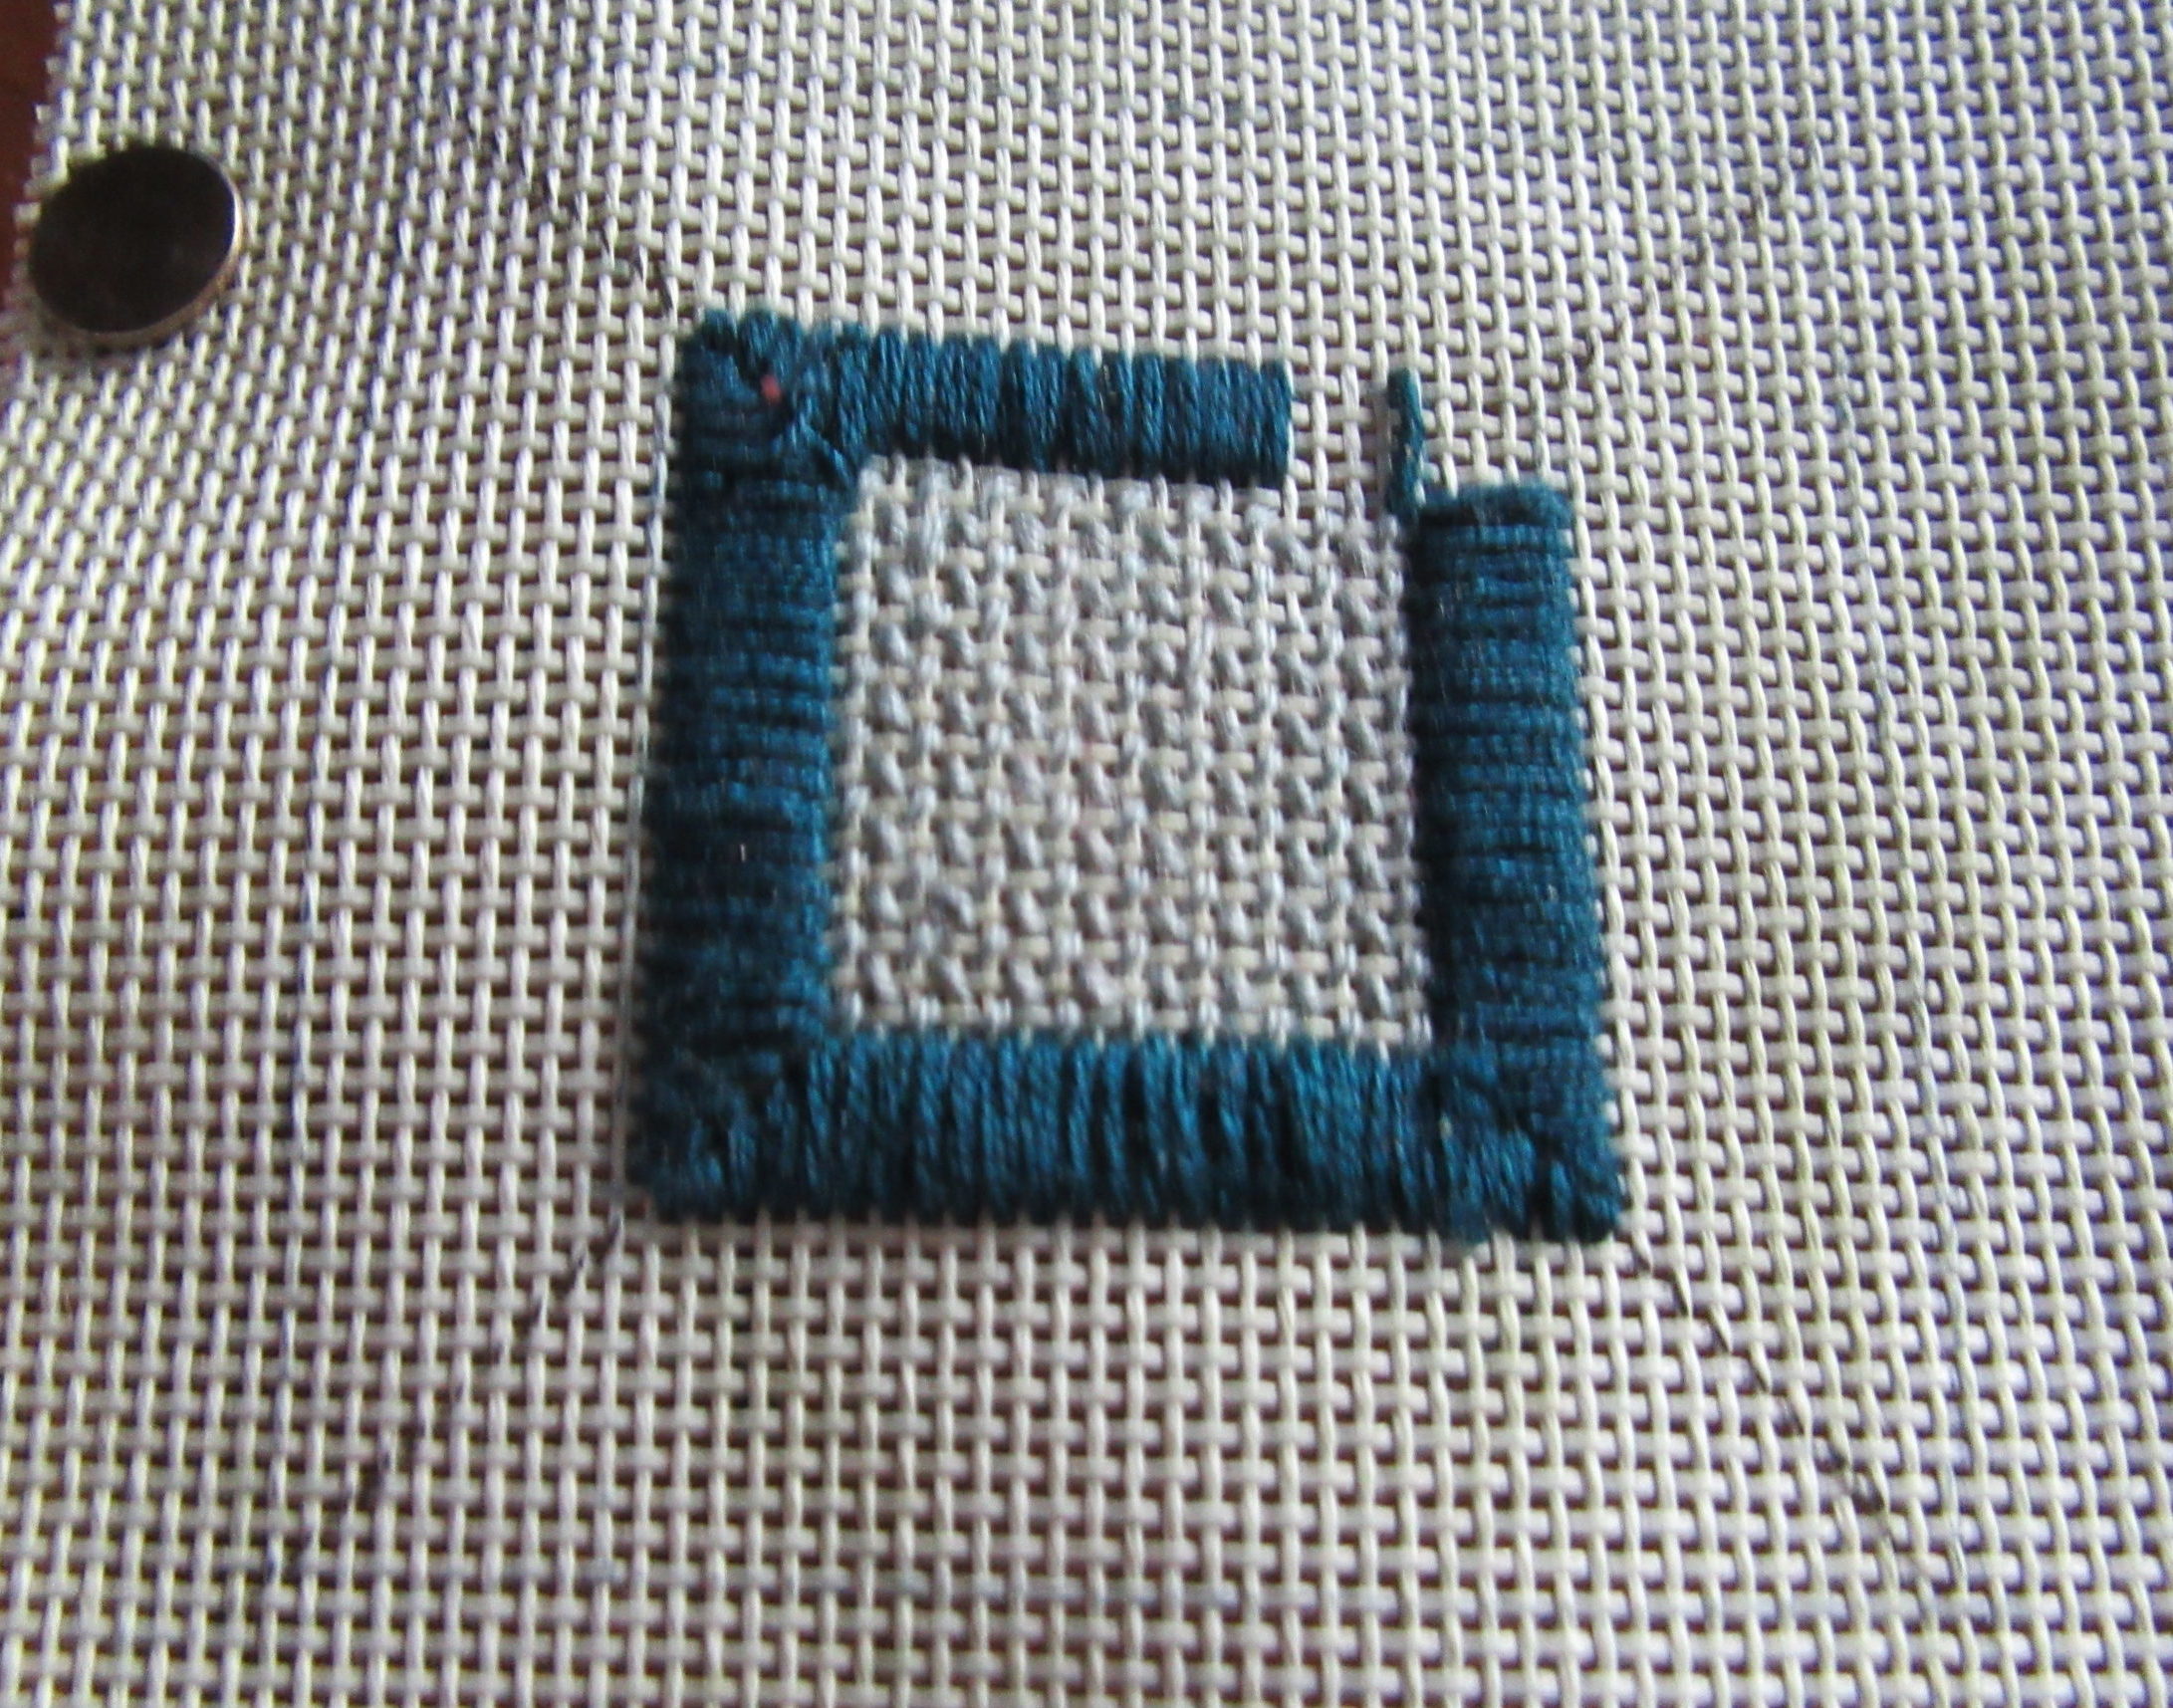
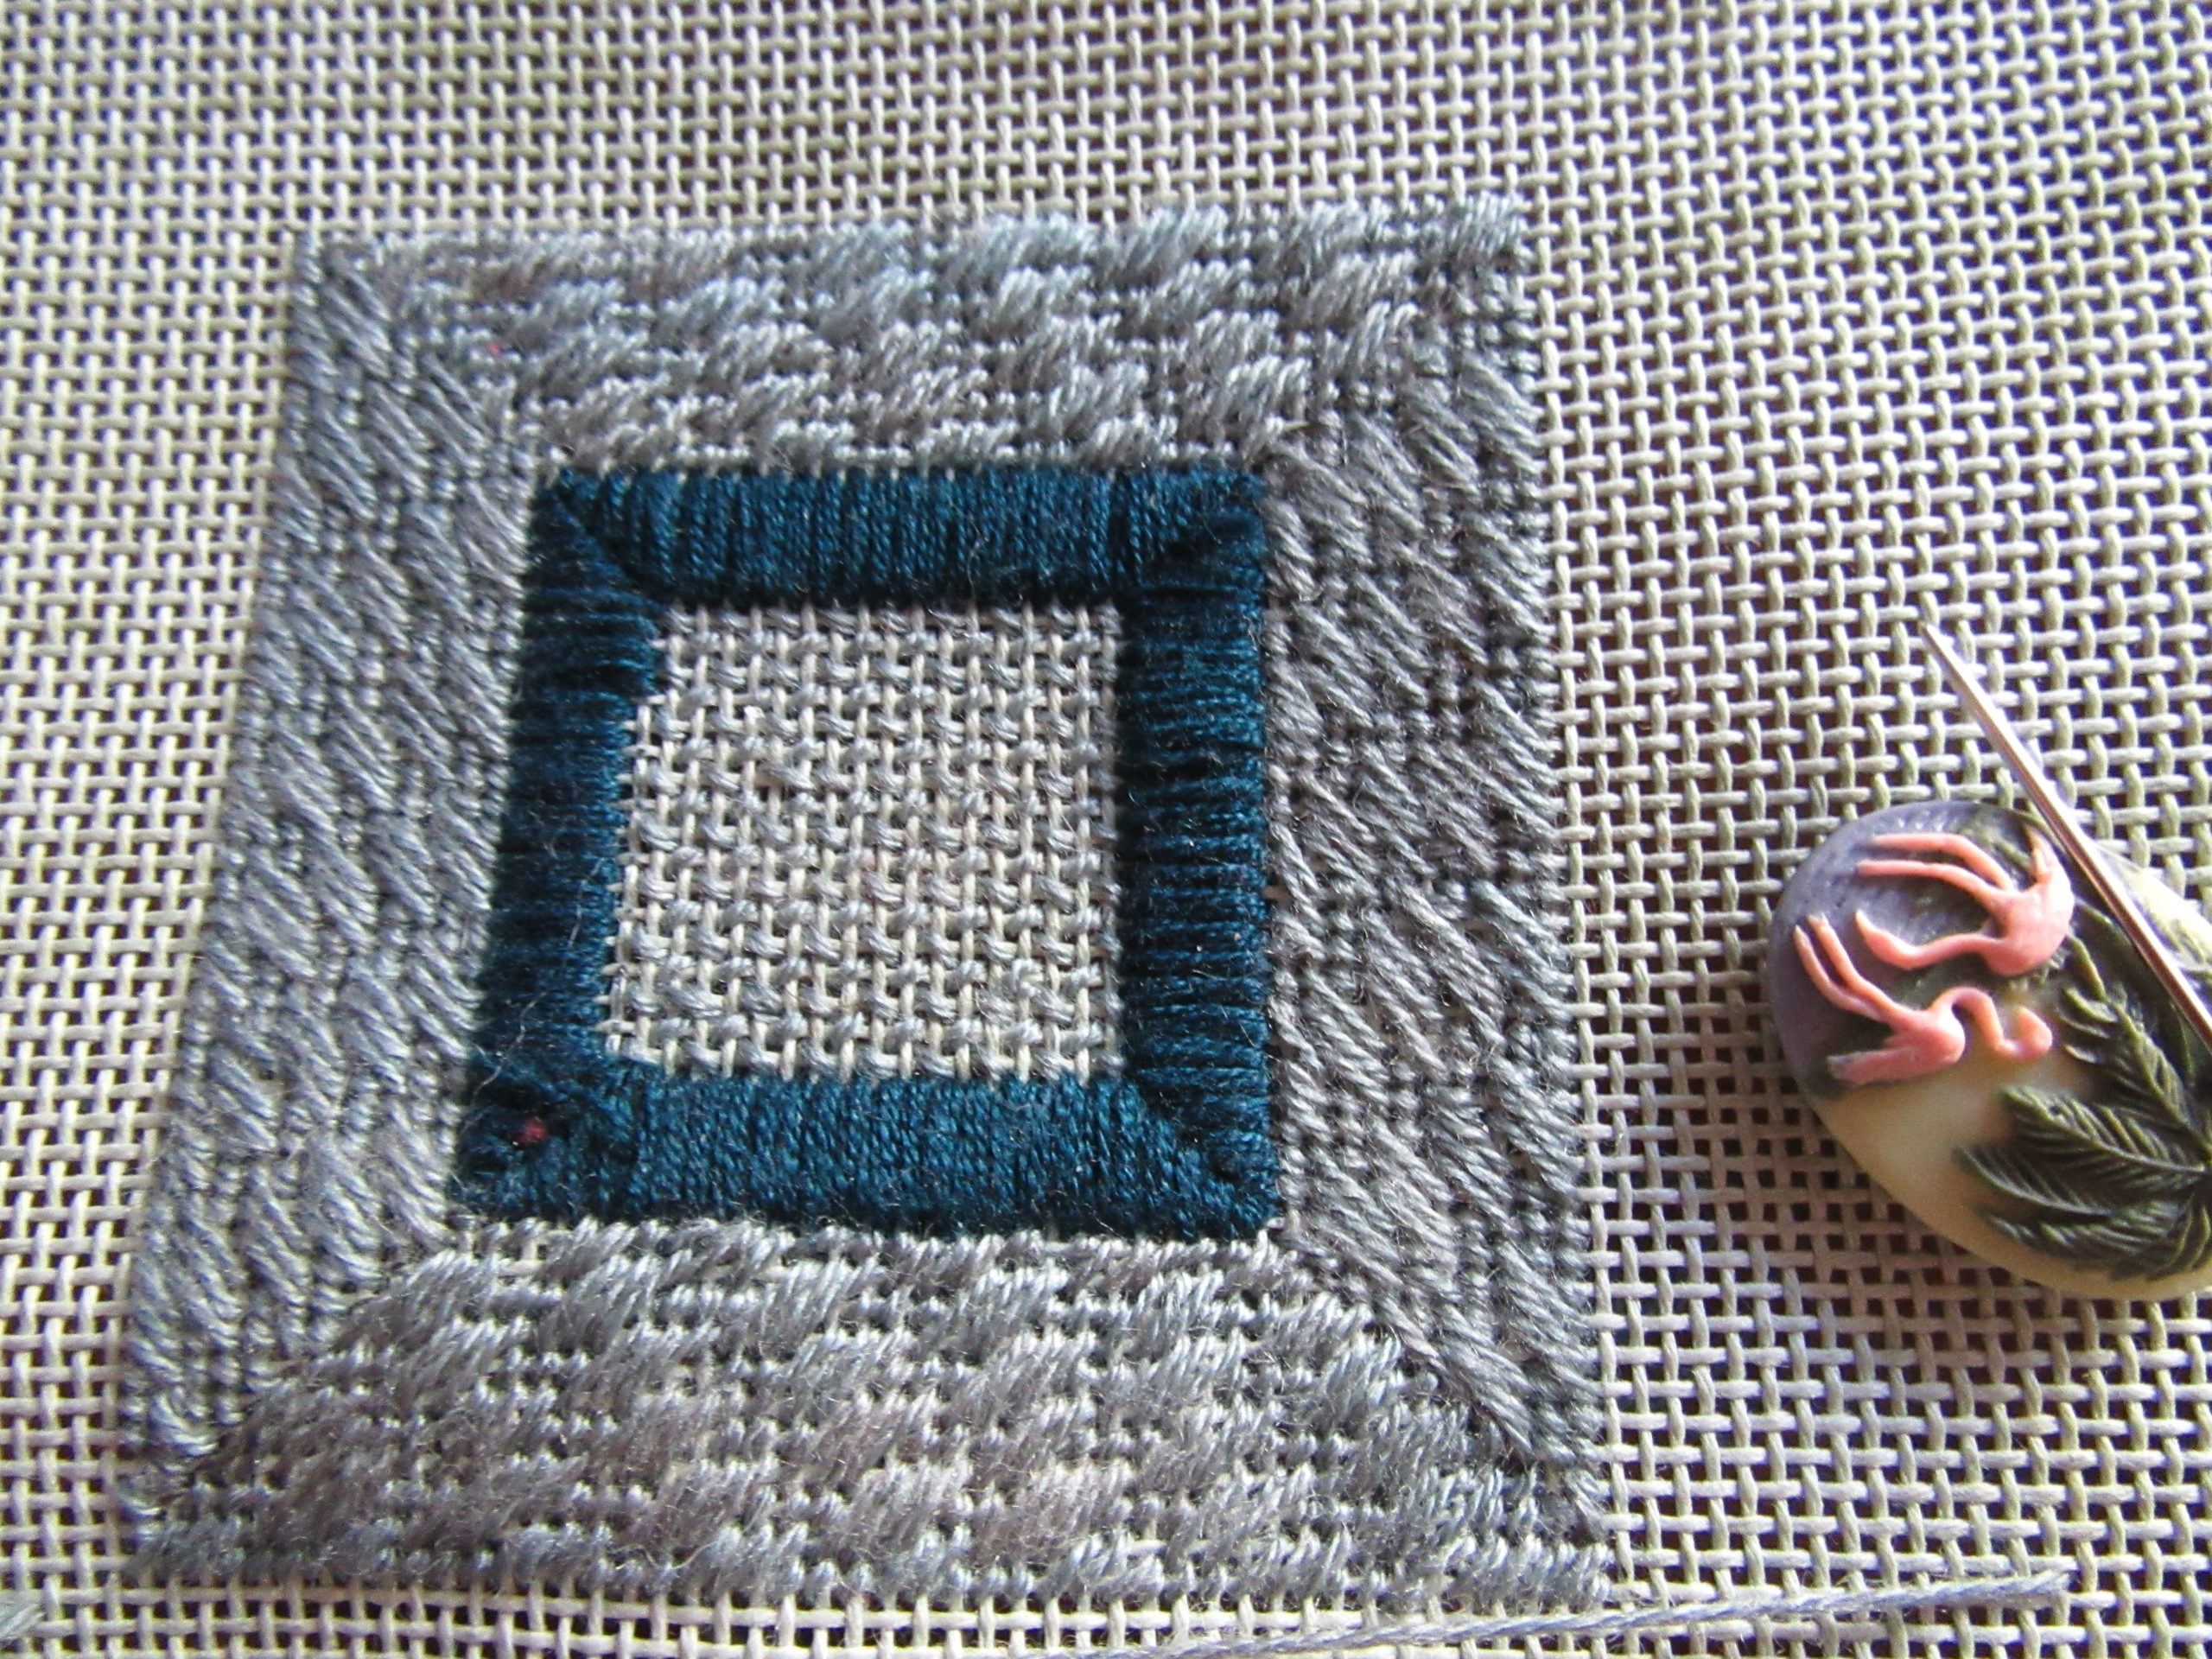
Begin to stitch one side of the border. This border is stitched in Triple Diagonal Parisian using Moss Impressions from The Caron Collection.
End each side of the border along the mitered lines you have drawn. Once this is complete, stitch the border on the opposite side. You can see how the first borders look both a single line and with the entire side stitched.
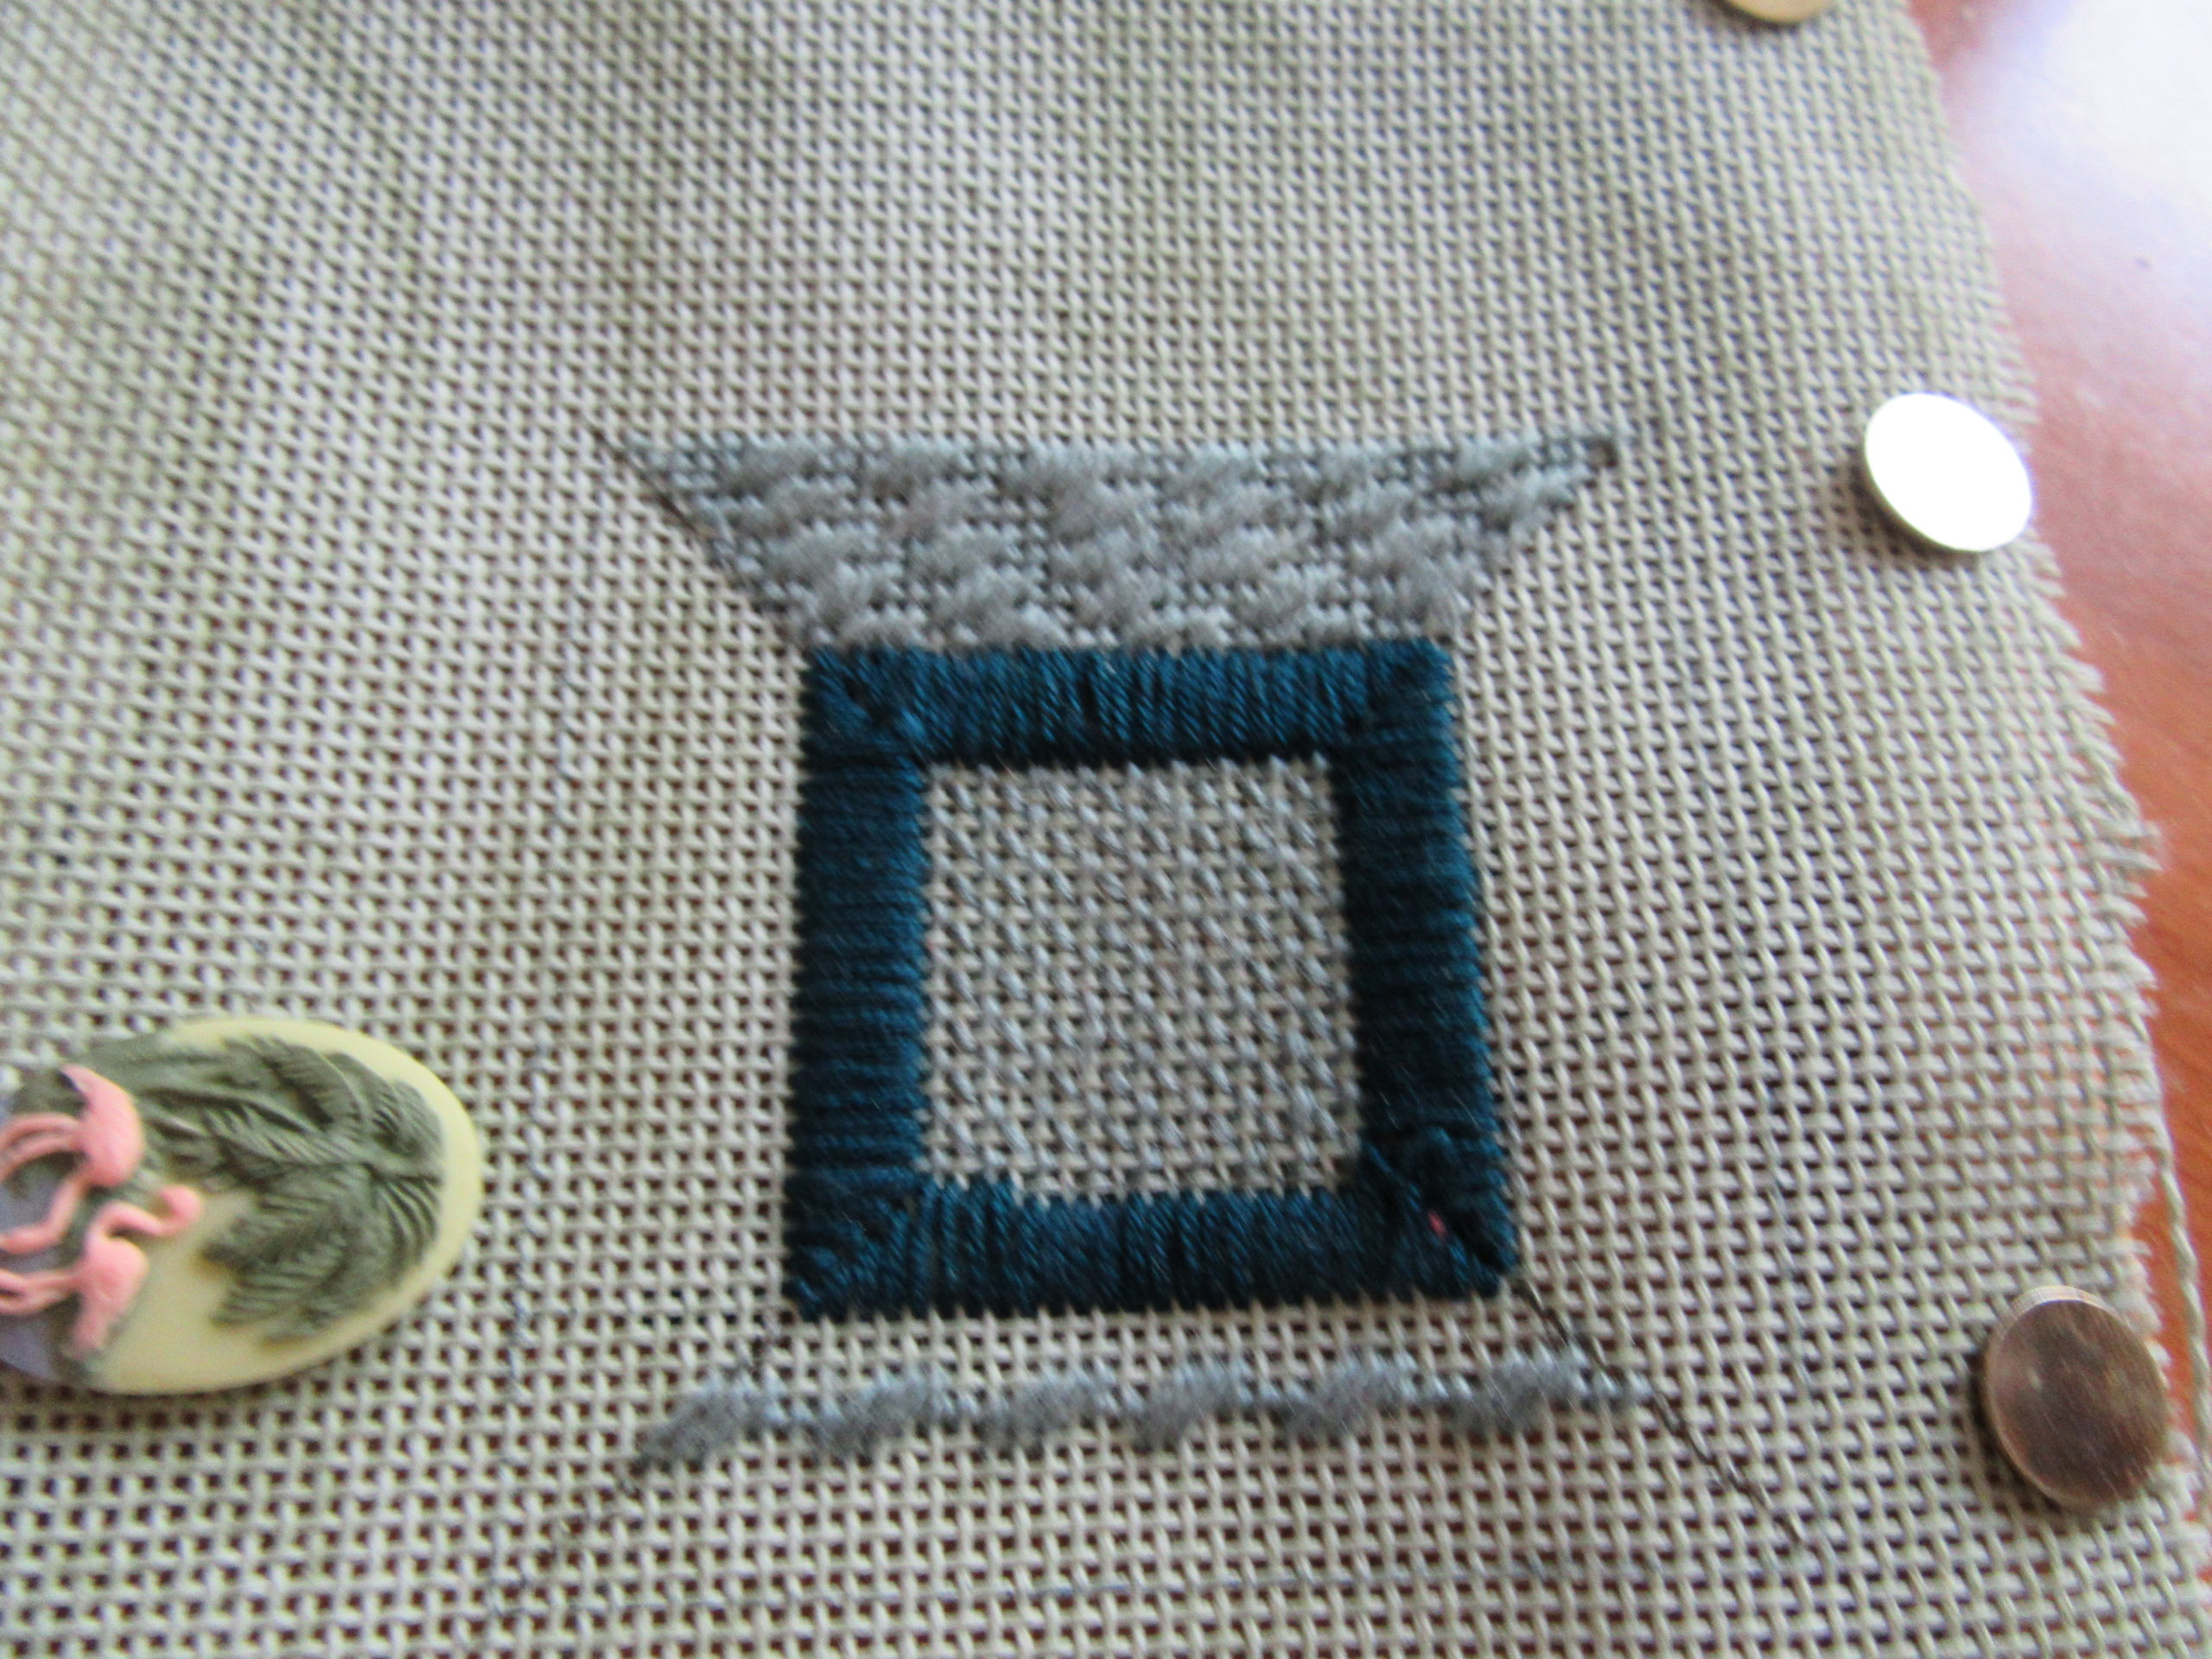
After the first two sides are stitched, you will stitch the other two sides. In order to make the border wrap properly, these sides will be the same stitch but slanting in the opposite direction. Once again, complete one side before stitching the remaining side, below.
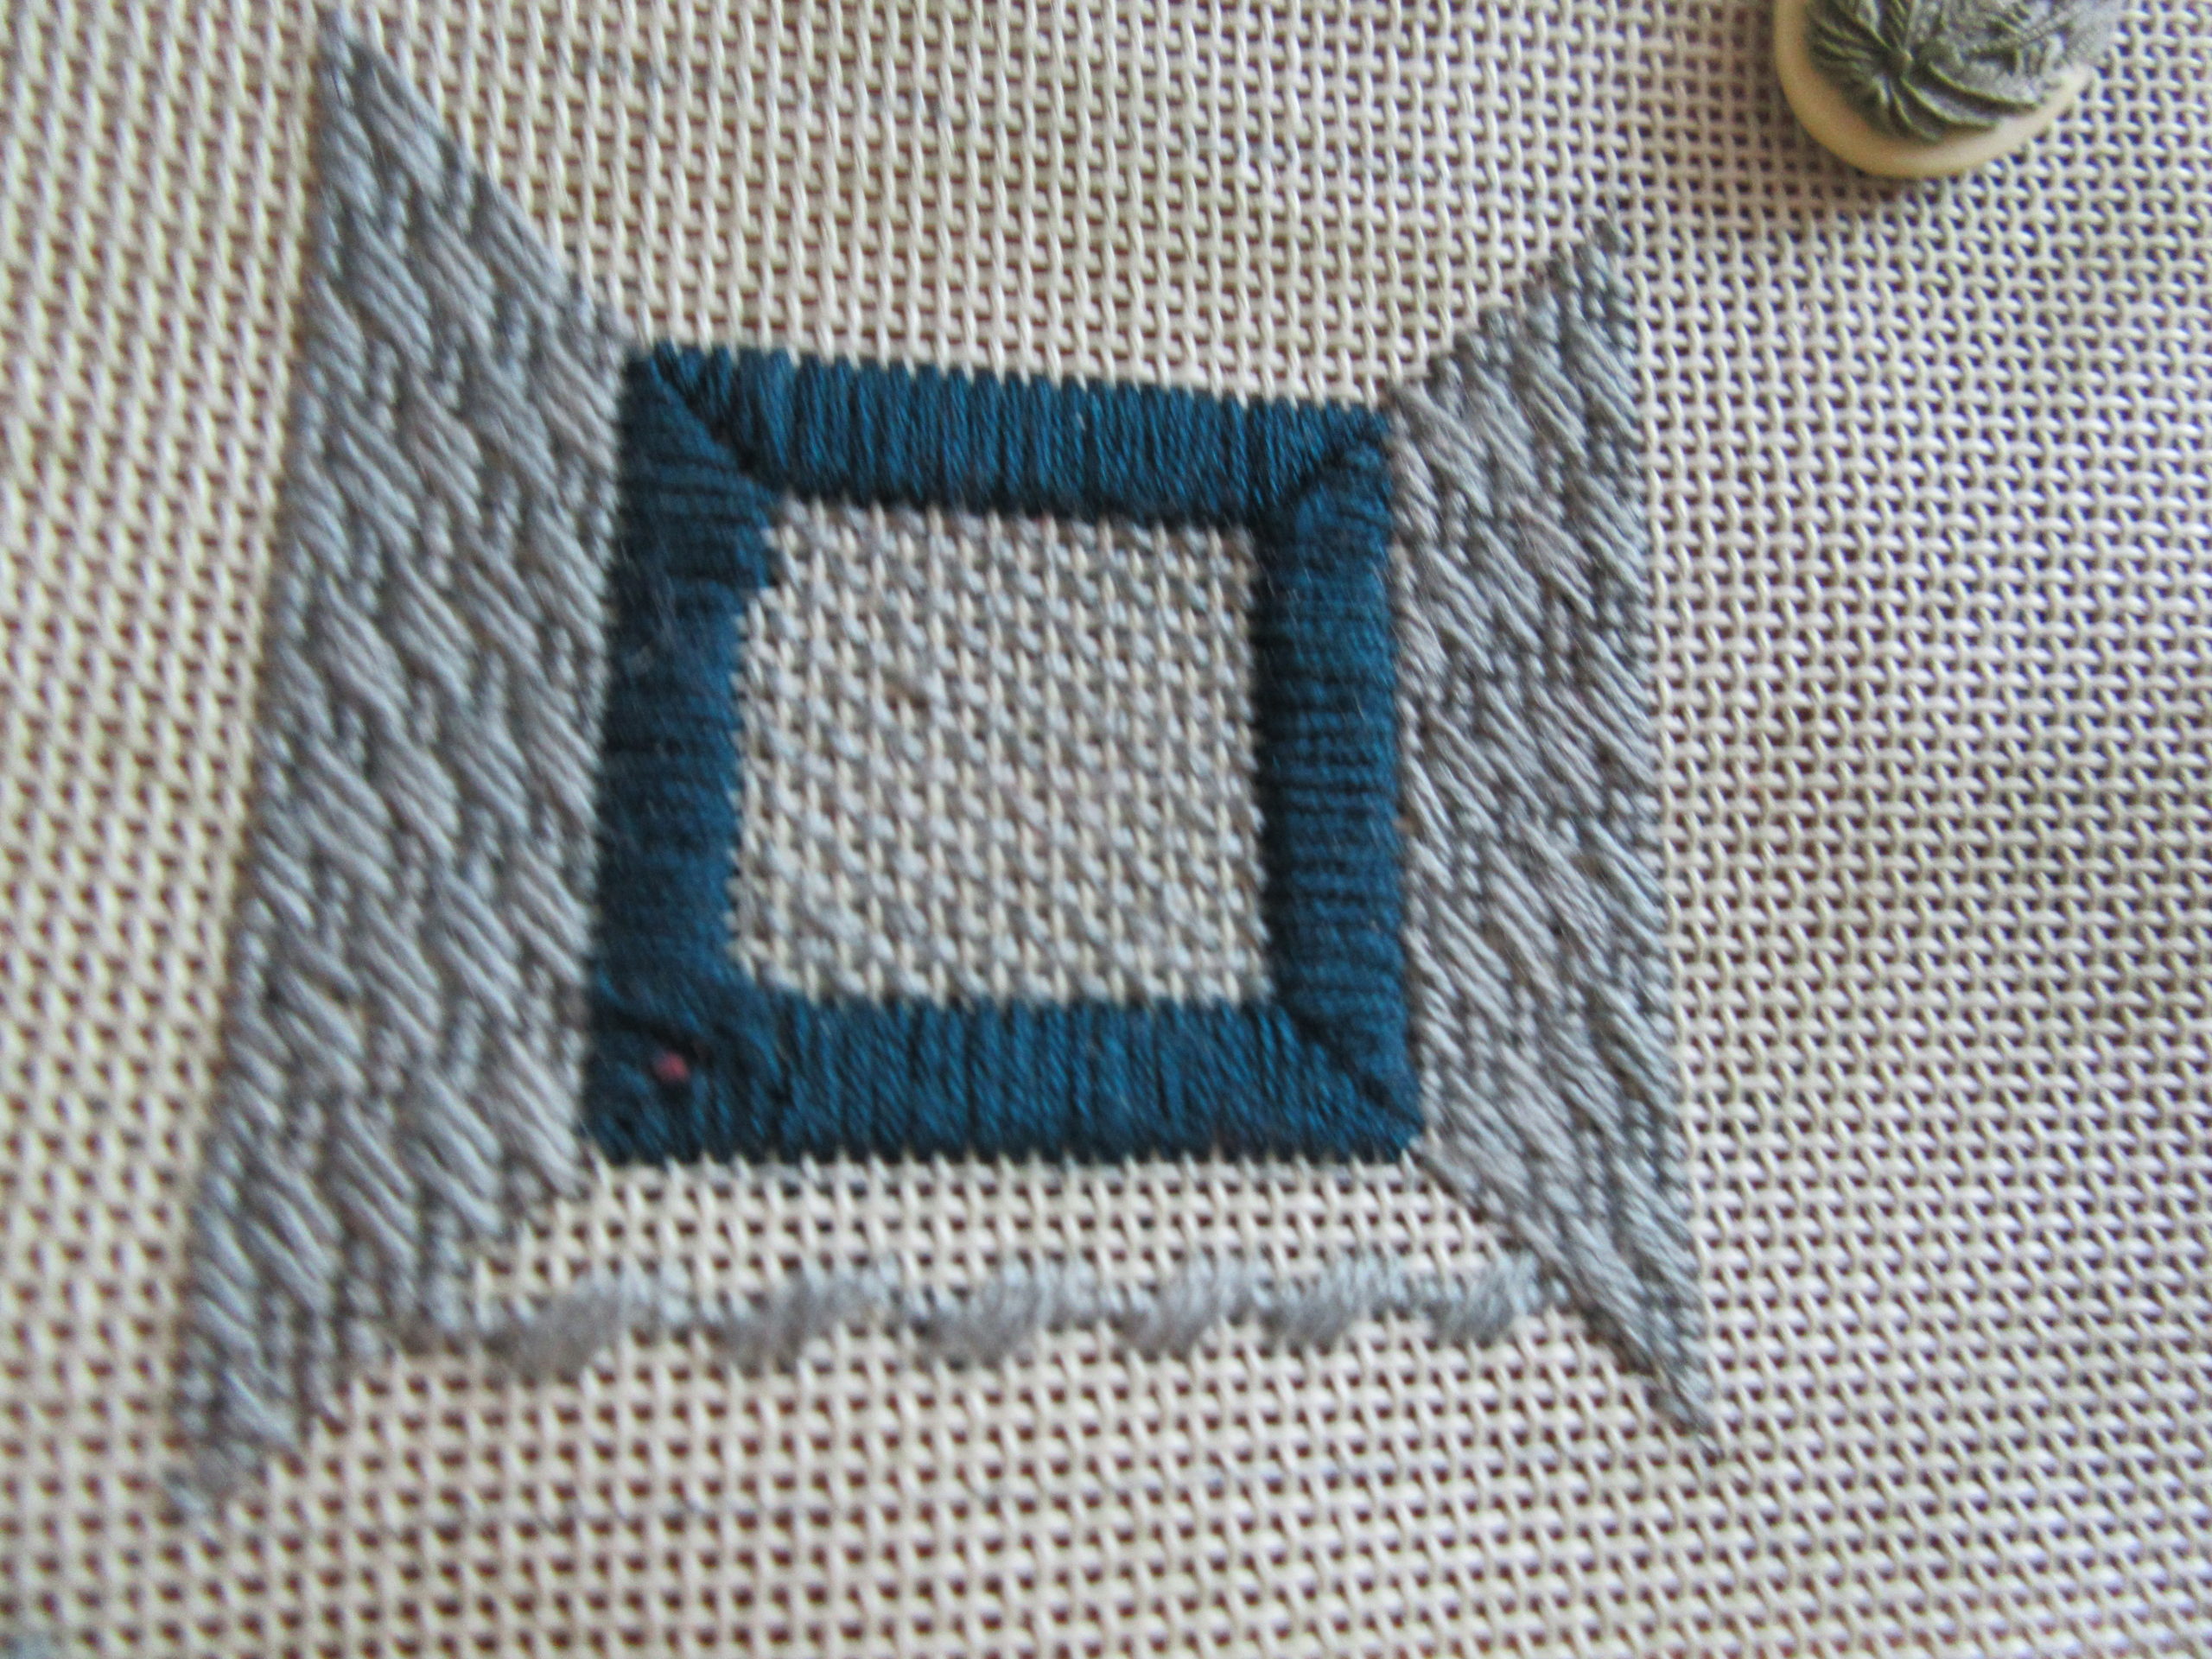
By mitering the corners, you get a border that is always oriented the same way on each sid. Here the stitch is always parallel to the darker border. Not all stitches are effetive when done this way. Square stitches don’t work because they are the same side in both directions. Stitches such as Criss-cross Hungarian don’t work because the structue of the stitch allows the border to wrap without mitering.
TIP: Do not worry if your stitch pattern or rows do not line up on the corners. The diagonal lines created by the miters will make any mismatches less noticeable.
Mitering corners when your border is diagonal is a little bit tricky, but the effect is really striking.

About Janet M Perry
Janet Perry is the Internet's leading authority on needlepoint. She designs, teaches and writes, getting raves from her fans for her innovative techniques, extensive knowledge and generous teaching style. A leading writer of stitch guides, she blogs here and lives on an island in the northeast corner of the SF Bay with her family
Leave a Reply