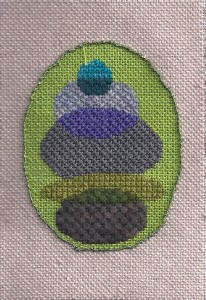
Framing needlepoint can be one of the nicest ways to finish your projects. With custom mats and frames, however, it can also be very expensive. A fantastic way too cut down on the expense, especially for quick projects and gifts, is to use ready-made frames.
I love this method of finishing and throughout this article you’ll se pictures of projects I have framed this way.
You can find frames in many places that work for needlepoint. Some of these include mass marketers such as Target or Wall-mart, chain hobby stores such as Michael’s or Hobby Lobby, and discount chains such as Ross or TJ Maxx. All these can have great frames. You can also sometimes find frames that will work at thrift shops and dollar stores.
The first step in using these frames is to know standard frame sizes. While you can find many frames in additional sizes on-line, knowing what sizes are most common helps you to stitch and shop wisely. You can find these sizes easily by going to one of the stores mentioned above and noting what frames sizes are common.
You’ll notice some things:
- Rectangular frames are far more common than square frames. Round and oval frames are the rarest.
- The smaller the frame the less likely it is to have a hanger for the wall.
- Some sizes are more common than others. It’s easy to find 8×10 frames, but 5×7 frames are less common, though still easy to find.
Knowing what’s out there gives you an idea of what size and shape your needlepoint needs to be. Pre-cut mats also come in standard sizes both inside and out. If the frame you love, for example is 8×10 but your needlepoint could only be 5×7, you could buy a pre-cut mat and put your needlepoint in it.
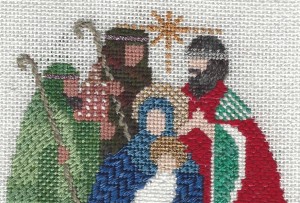
The next step is to size your needlepoint. Measure the design without any background unless it is painted or has borders. Find the nearest standard frame size that will fit the needlepoint comfortably (at least 1/4″ bigger all around). That will let you know how much background you need to add. If you are not sure if you have enough canvas to do this, measure the canvas. If the canvas is not big enough for the frame, you’ll have to finish this piece another way.
Once you know the size you need to draw the edges of the background on the canvas with the design centered. If you have already bought the frame and it has a paper photo, put that under your needlepoint and make sure the design is centered on it. Find the next the outside the paper and draw the outline on your canvas using a Pigma Micron or SC-UF extra fine pen.
With the outline marked, you’re ready to stitch!
Adding your Needlepoint to the Frame
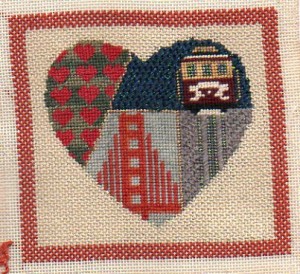
Once your needlepoint is stitched, block it if needed and let dry.
Disassemble your frame. You should have:
- frame
- back, possibly with easel or hangers
- glass
- paper/photo for display
Depending on the frame you may also have padding which can be cardboard or thin foam.
You also need to decide right now if you want glass over your needlepoint or not. I usually display my needlepoint without glass. Often the glass is too thick to allow your needlepoint to be framed with glass. Discard the glass if you have decided not to use it.
Cut the needlepoint about 2-3 threads outside the lines you have drawn for the finished size. Yes this is too big for the frame. With the frame empty, test fit the needlepoint, centering the design. You will be able to see at the edges where the needlepoint needs to be trimmed. Trim a side, test fit and trim another side. Proceed in this way until your needlepoint just fits the frame.
Now you are ready to do the final assembly. Make a sandwich of: glass (if used), needlepoint, and frame back. Put it into the frame so that the top of the needlepoint is at the top of the frame. If the back is and easel back or has the hanger, make sure it is oriented correctly.
Is the back flush with the surround of the frame? If so, secure the back and you are ready to go.
Is the back higher than the front? If so, your sandwich is too thick for the frame. Remove the glass and/or padding and try again. If you have removed everything but the back and the needlepoint, you probably need to find a different frame. Sometimes the back can be left off, but this isn’t very secure for the needlepoint.
Is the back lower than the frame surround? Then you need to add padding. Use the padding that came with your frame first. If you need to make some of your own use the thin cardboard cereal boxes are made from. Add layers of padding until the back is flush, secure and enjoy your framed needlepoint.
While this is a wonderful budget method for framing needlepoint, please remember that it does not use archival methods and is not suitable for heirloom or special work.
Some Gotchas
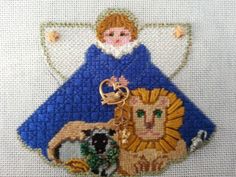
In years of framing this way, I have found several things you need to take into consideration:
- Not all frames are exactly the size marked. If your needlepoint is finished to be too small, you’ll have unstitched canvas showing. If it’s too big, you’ll have to cut away stitched needlepoint. It’s best to have the frame in hand.
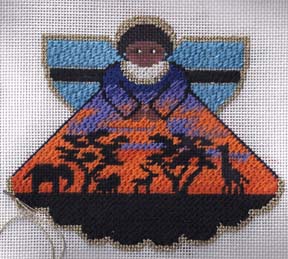
- Not all frames can be used in both directions. Some are specifically made to go one way. You can tell this because there is writing or because one side, the intended bottom, is wider than the others. The Botswana angel pictured earlier is in a frame like this.
- Beware of plastic Dollar Store frames. My local ones often have plastic ones that have four sides that are not connected. The picture is put on a piece of Masonite and the sides are clamped to both. This works for paper & photos but will not work for needlepoint.
- Don’t buy frames without backs. Yes, these can still be used, but. . . You will need to find backing, hangers, ways to hold the backing and needlepoint in the frame and, possibly, hangers. It’s lots of work.
One final tip: If your needlepoint won’t fit a standard frame, you can always buy a standard frame and get a custom mat to fit it. Mats are significantly less expensive than frames, so this saves you money. All the samplers for the 25 Stitches series were done this way. They are 8″ square. I used LP frames (12″ square) and had mats cut. They look as good as custom frames.
About Janet M Perry
Janet Perry is the Internet's leading authority on needlepoint. She designs, teaches and writes, getting raves from her fans for her innovative techniques, extensive knowledge and generous teaching style. A leading writer of stitch guides, she blogs here and lives on an island in the northeast corner of the SF Bay with her family

Leave a Reply