You may not think about it much, but you have a powerful tool to create needlepoint letters, words, and saying right there on your computer. It’s called your word processor. Today I’ll show you how to do this step-by-step.
Bewgin by typing your words in plain old type. I’m using this quote from Padre Pio, “Pray, hope, and don’t worry.” It will look something like this:

Now change the font to the interesting one you want to use. Change the font to this. My saying now looks like this:

Better, but it’s too small to use as needlepoint. At this point, you need to consider how big you want the letters to be. Think about your project and the space for the letters. Multiply to size in inches of your letters by 72. 72 is approximately the number of points in a letter one inch high. That’s the point size you want to start with for your saying. Use the format menu to make your saying this size. It will just be bigger than the earlier words. Like this (partial):
Please print it out & measure it. Is it the right size? Great! You are ready to start transferring the design to canvas.
Is it too big? Pick a slightly smaller point size (about 5 points less) and repeat the sizing process.
Is it too small? Pick a slightly larger point size (about 5 points less) and repeat the sizing process.
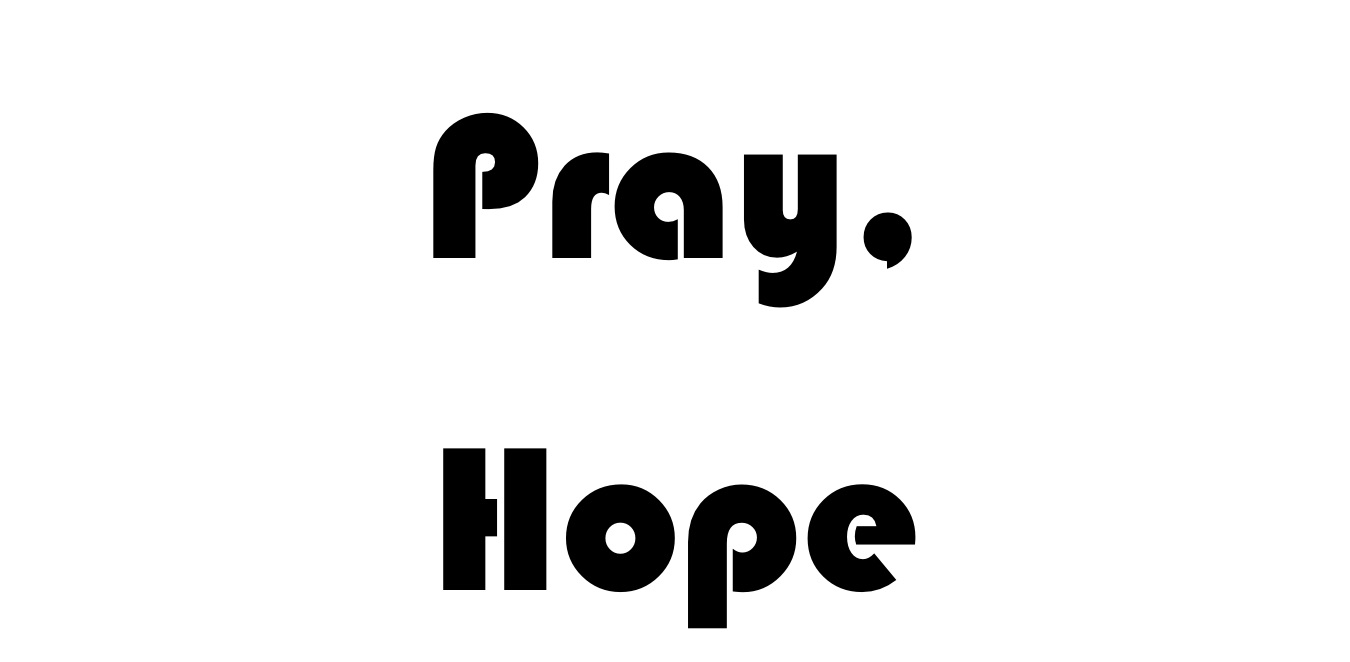
Once the size is right, you’re ready to put the saying on canvas. If you want the saying to be in one line, you can go to the transfer process. If it will need to be on more than one line, cut apart & rearrange the words until you like the look. Then stick them to another piece of paper with double-sided tape. It will look like this:
Use masking tape to tape your saying to a window. Tape your canvas over it so that a single canvas thread runs along the bottom of one line of your saying. Using an extra-fine pen made for marking fabric, trace the outline of the letters. Once everything is traced, use a wider pen in a color near the color your thread will be (use a marker made for fabric) and color in the letters.
Let dry overnight and you are ready to stitch.
If you prefer, you could also use this to chart the saying by tracing the outline of your letters onto thin gridded paper with the same mesh as your canvas.
To learn more about charting saying, read my article about quotable quotes. This process can also be used to make lovely initial ornaments. (a free pattern).

About Janet M Perry
Janet Perry is the Internet's leading authority on needlepoint. She designs, teaches and writes, getting raves from her fans for her innovative techniques, extensive knowledge and generous teaching style. A leading writer of stitch guides, she blogs here and lives on an island in the northeast corner of the SF Bay with her family
Thank you — this will be really helpful. But is there maybe a photo missing after the paragraph that starts with “Once the size . . . ” ?
Nope.
Keep stitching,
Janet
I too wonder why no picture after “look like this” . . .
The pictures are all there. However, the first two images are quite small.
Keep stitching,
Janet