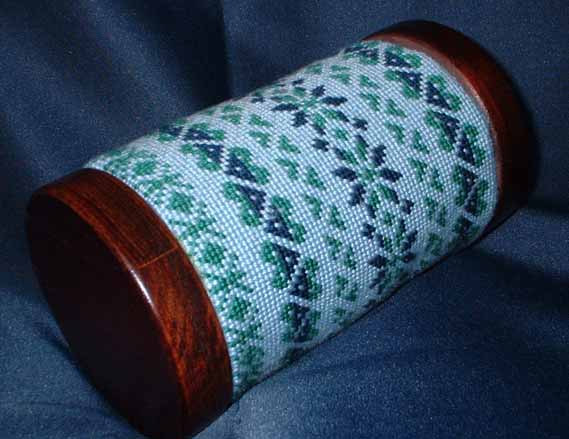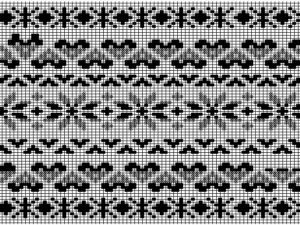
Fair isle patterns are so classic that I used several of them to make this classic design. It’s a rectangle before it’s finished. I put it into a Sudberry pincushion that is no longer available. You could easily finish it as a rectangular pillow or add some fabric to the long sides and create a bolster pillow.
The complete instructions and charts are below.
Materials
The original was stitched using Silk & Ivory. However if the project will be gettingf lots of use, you might want to switch to similar colors in Planet Earth Silk or Vineyard Silk. Both these threads have a similar texture.
14 mesh mono canvas 11 x 17
Silk and Ivory silk/wool blend in the following colors:
- 4 skeins True Blue (32)
- 1 skein Classic Navy (10)
- 1 skein Teal (20)
Stitching

Using the chart above (which is only one half of the completed design) stitch the Fair Isle patterns of your sampler. The finished project is 11 wide. As you establish the first line (the center line with the snowflakes and crosses), check it repeatedly with a ruler to make sure it is the right size. When it is 11 inches wide — stop.
Then stitch the rows on either side, working from one side to the other. The vertical measurement should be 5 inches, but you should make it larger if it will be a rectangular pillow..
As is the case with most knitting patterns, Fair Isle patterns are done in horizontal rows. The colors change on a row by row basis. I stitched the patterns in a similar fashion, doing all the rows of a particular color in a pattern first, finishing that stripe with the other color and then moving onto the next row of designs.
Now you are ready to do the background. There are subtle variations in Tent Stitch depending on the method you use to stitch it. For the patterns, I made the design in horizontal rows, so I used Continental. For the background, I wanted it to be very smooth and seamless, so this called for Diagonal Tent (Basketweave). Being left-handed, I worked from the lower right corner to the upper left corner, in diagonal rows all they way across the design, going over the patterns as I went, instead of stitching around them. This makes for an unusual-looking back, but it does assure that seamless look.
Finish as desired.
About Janet M Perry
Janet Perry is the Internet's leading authority on needlepoint. She designs, teaches and writes, getting raves from her fans for her innovative techniques, extensive knowledge and generous teaching style. A leading writer of stitch guides, she blogs here and lives on an island in the northeast corner of the SF Bay with her family

Leave a Reply