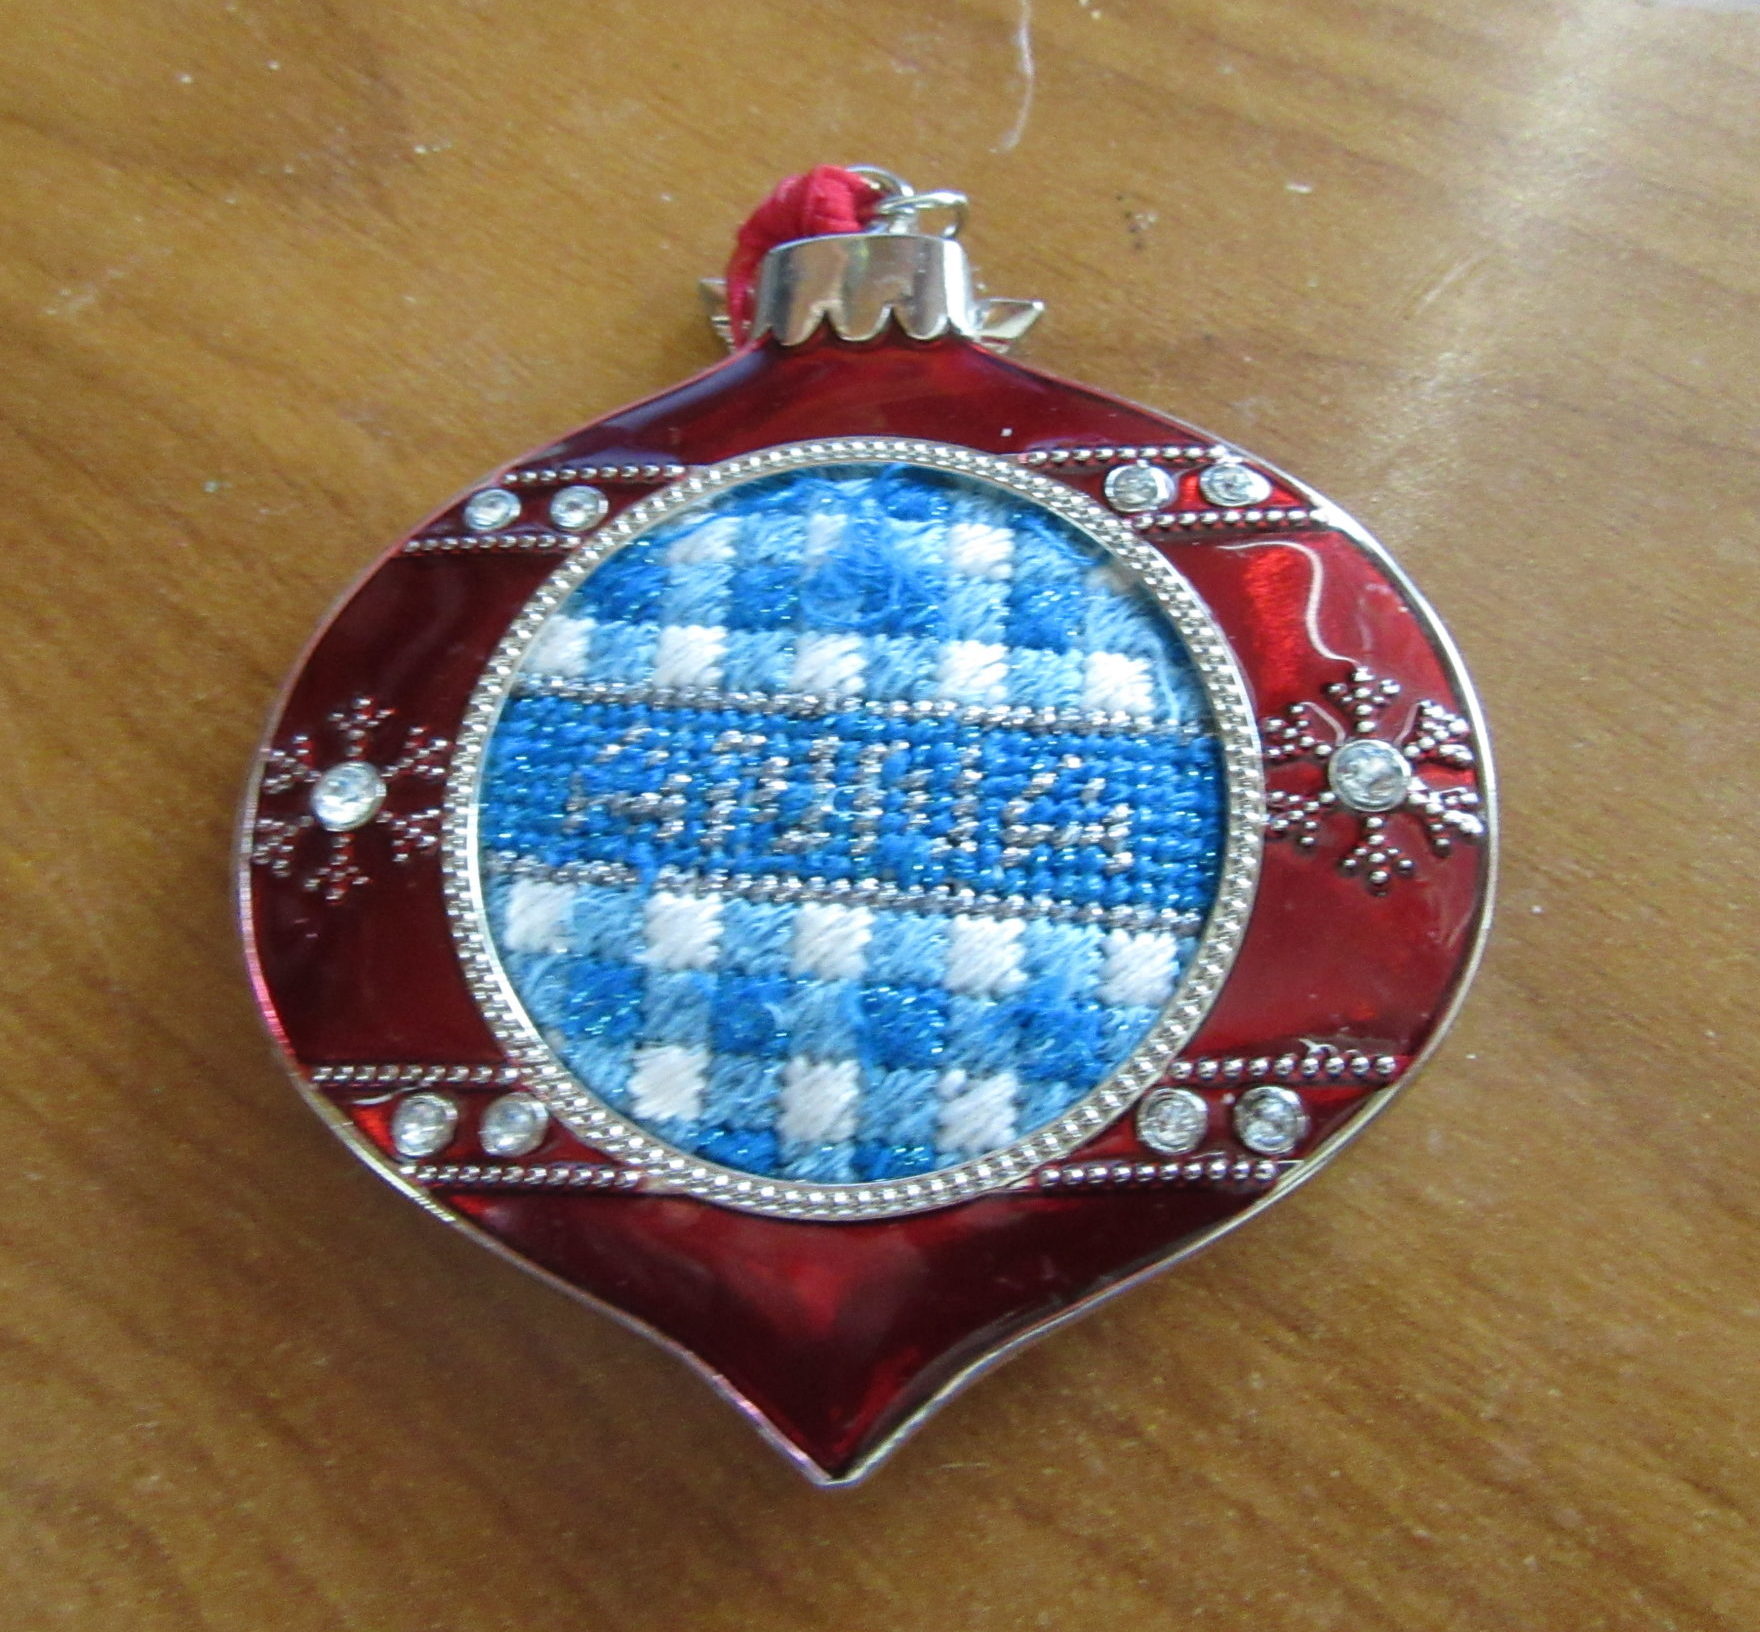
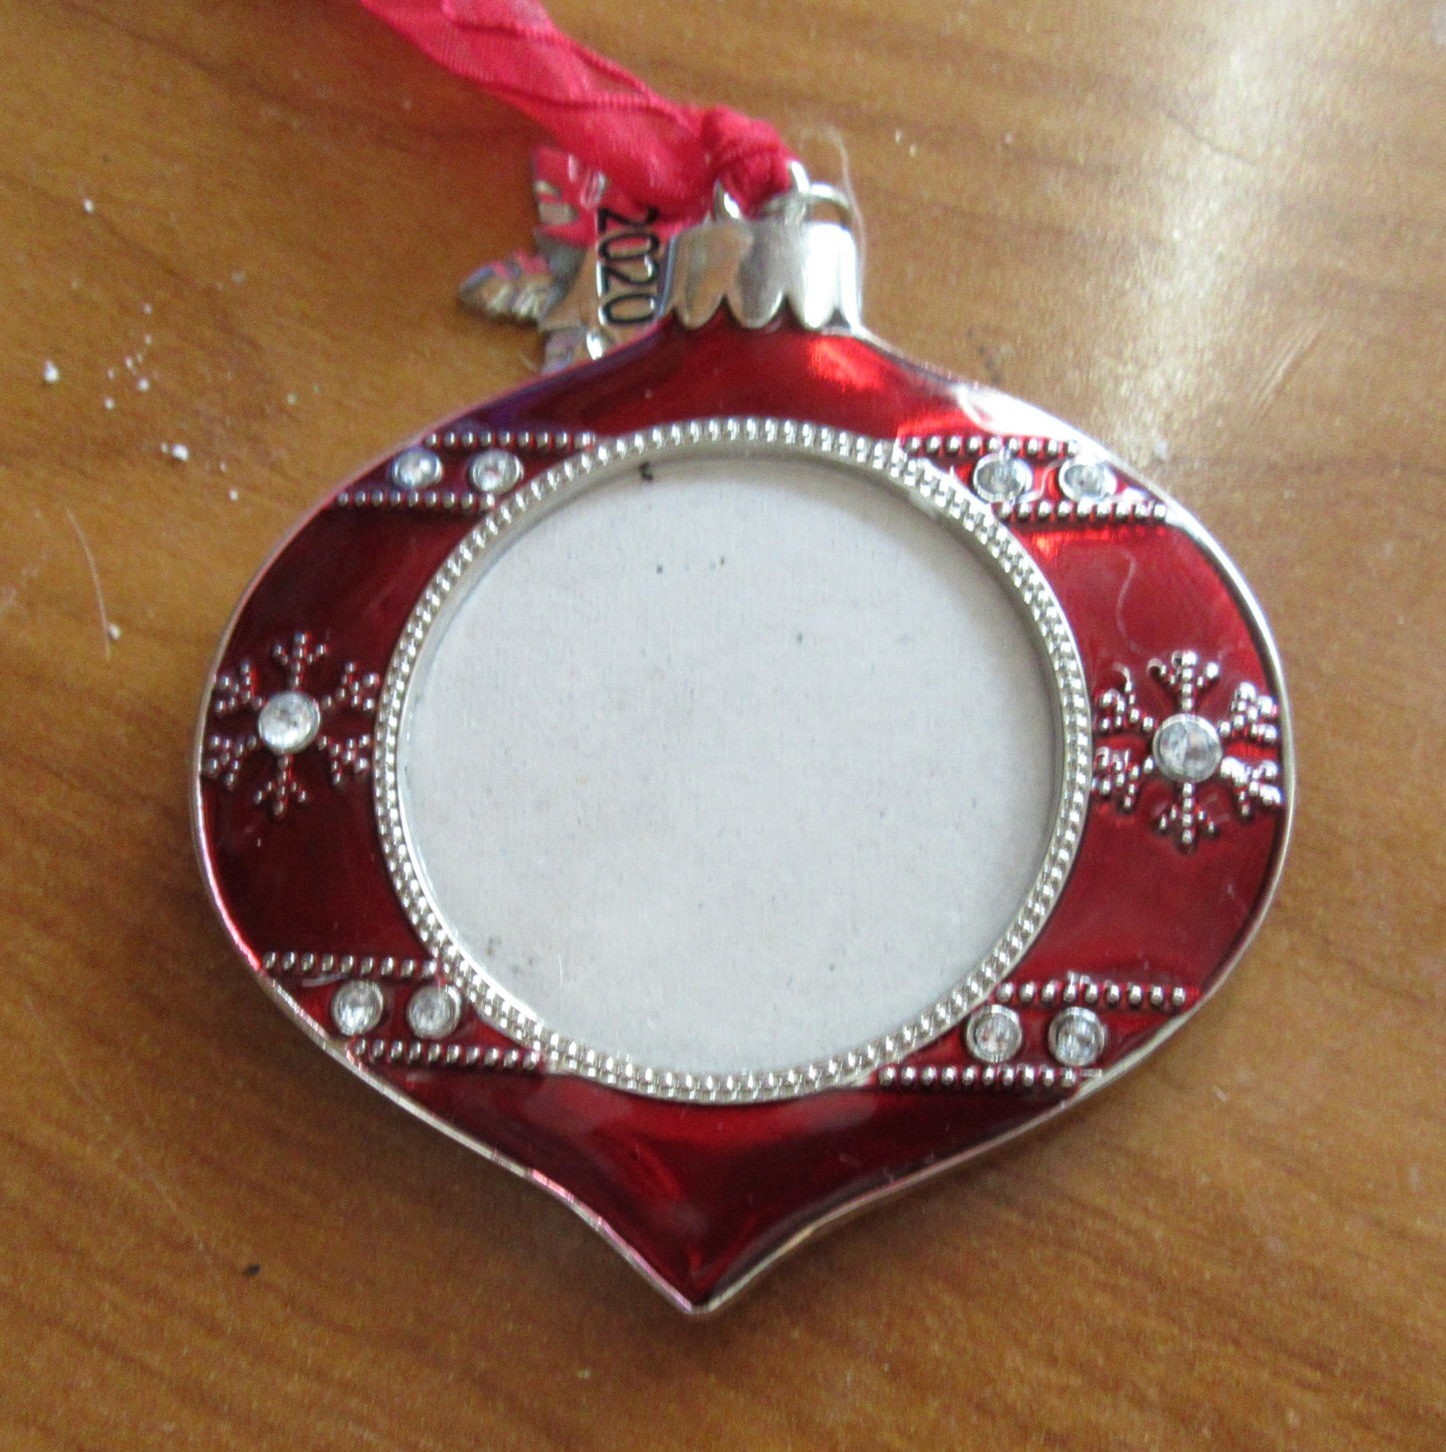
You don’t need to buy a painted canvas to make a delightful gingham needlepoint ornament. You’ll see step-by-step how to make one in this tutorial. My ornament will be fitting into this Studio Decor bauble ornament, below. I have a couple of them, so I plan to make them as a set.
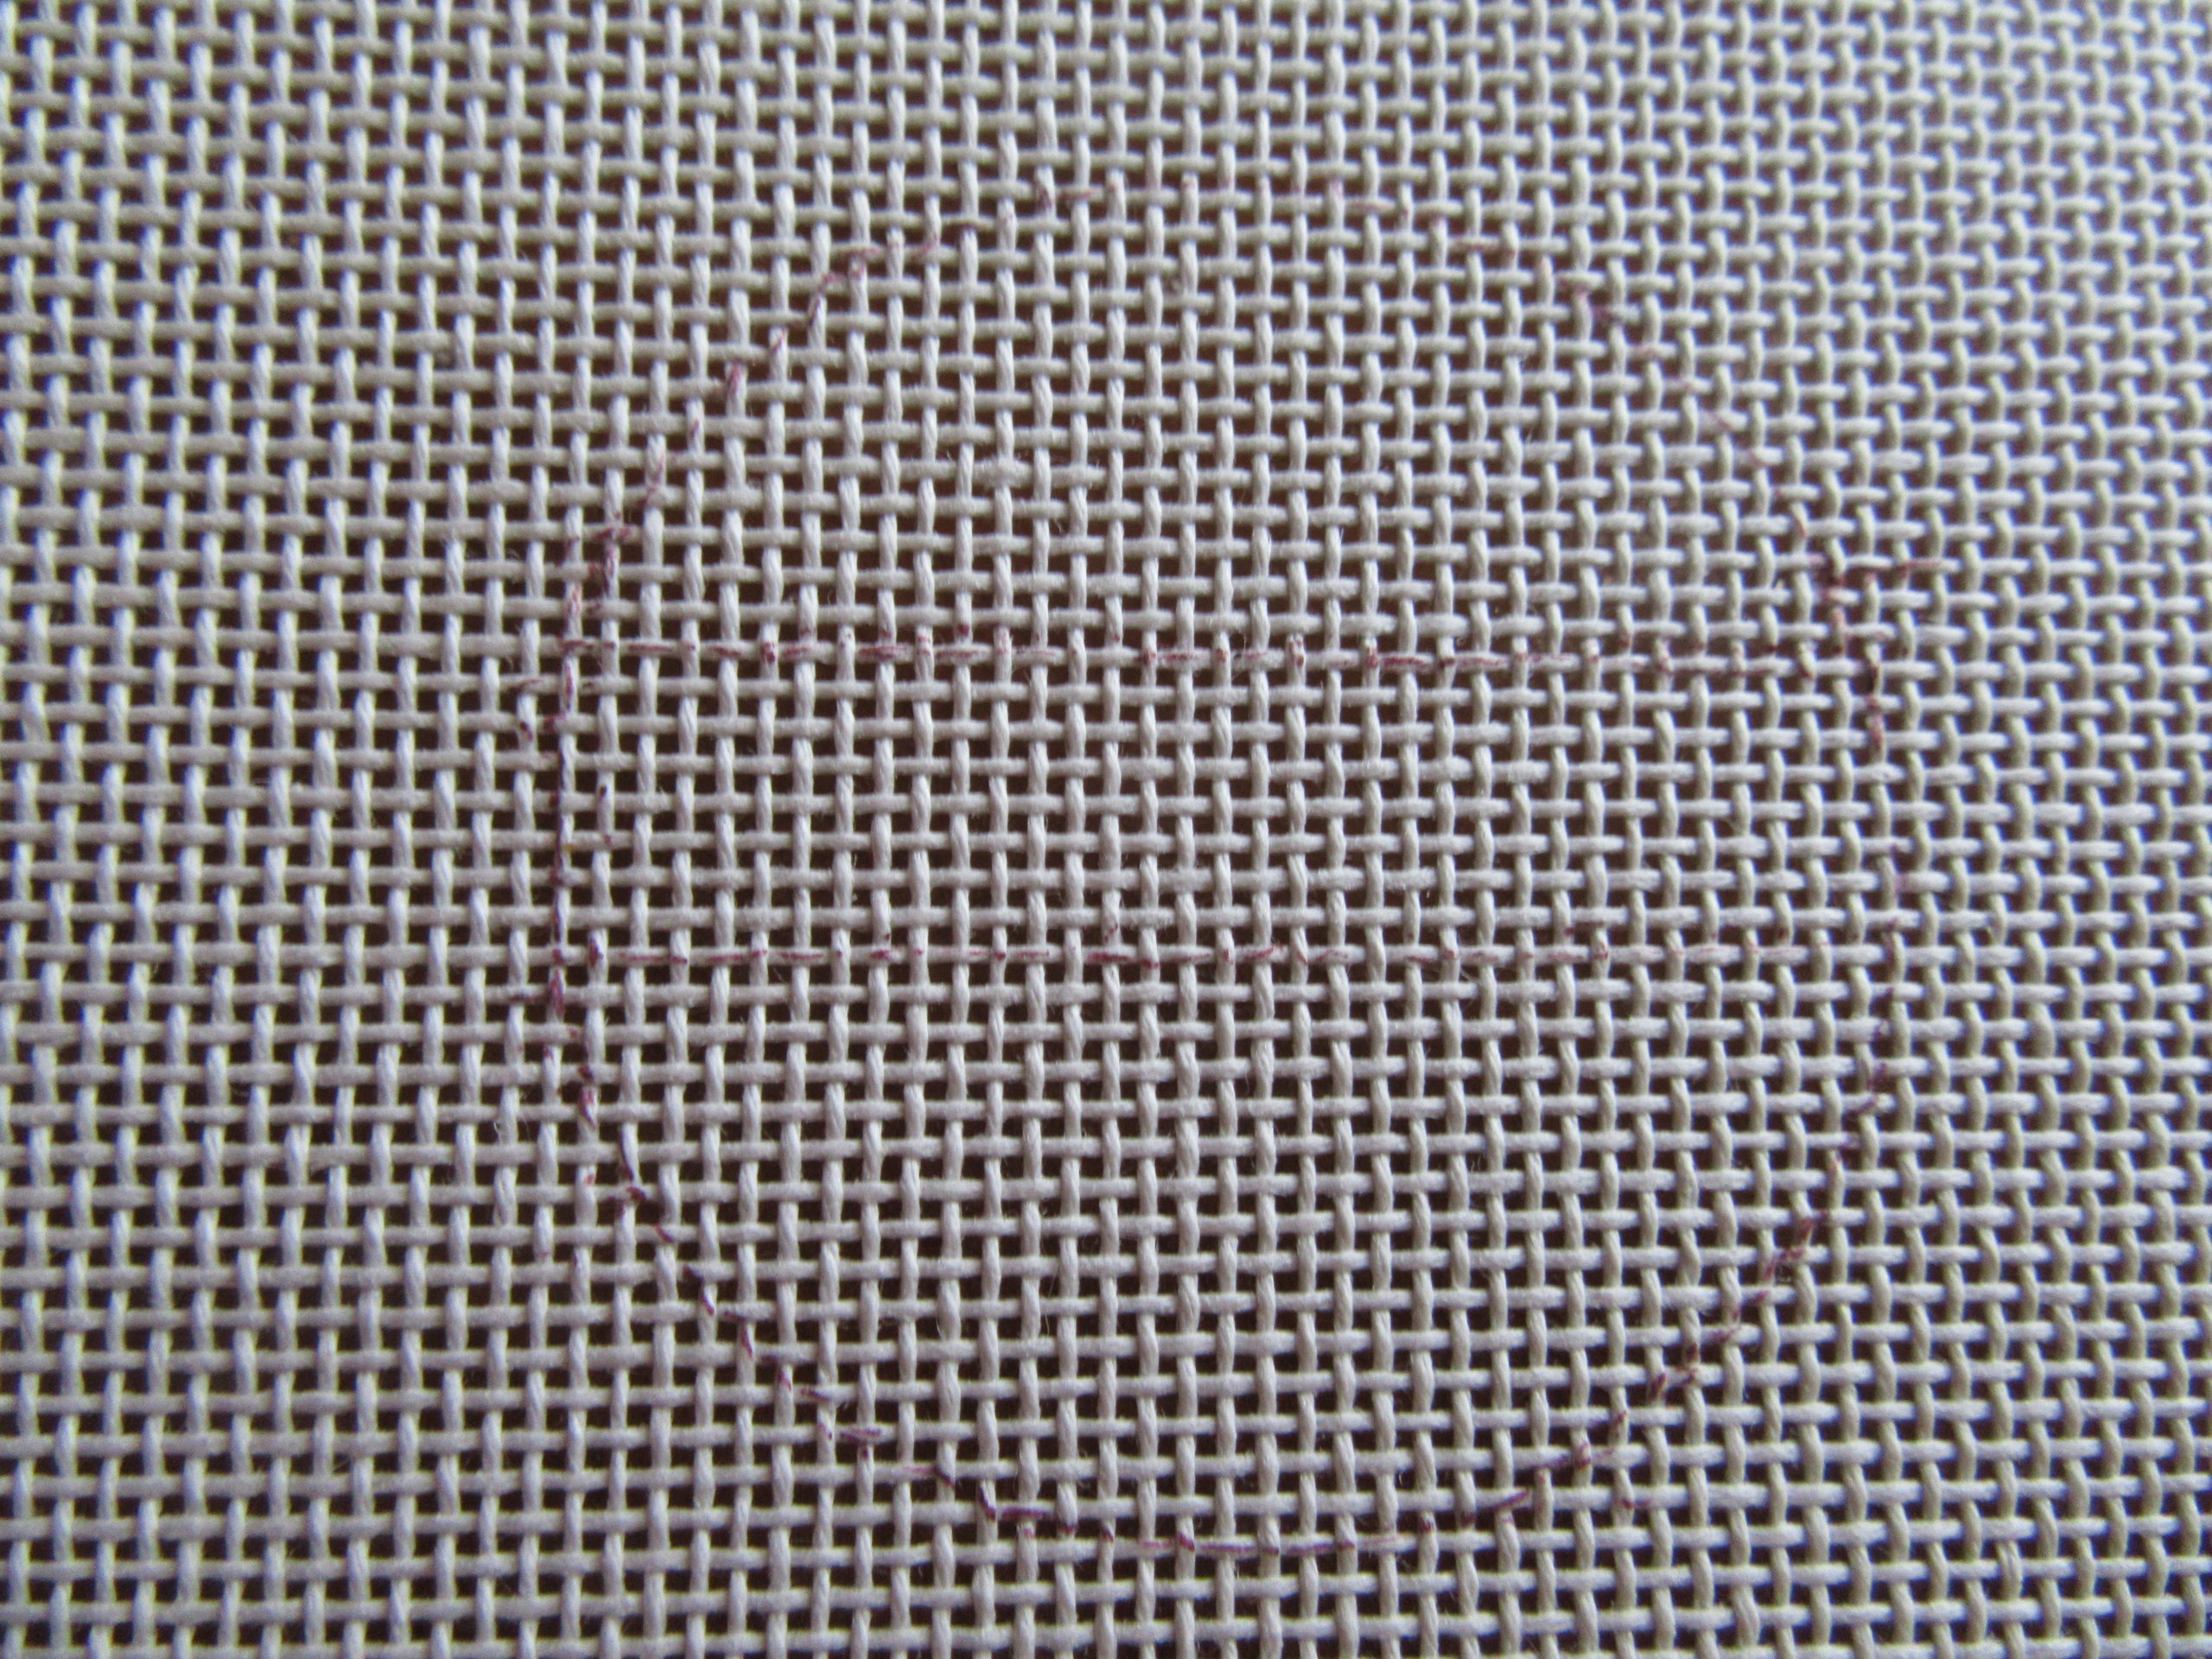
Using a template, trace your shape onto the canvas. For the word, draw two lines across the width of your shape going through the middle of the shape. This will be the ribbon with the word, below.
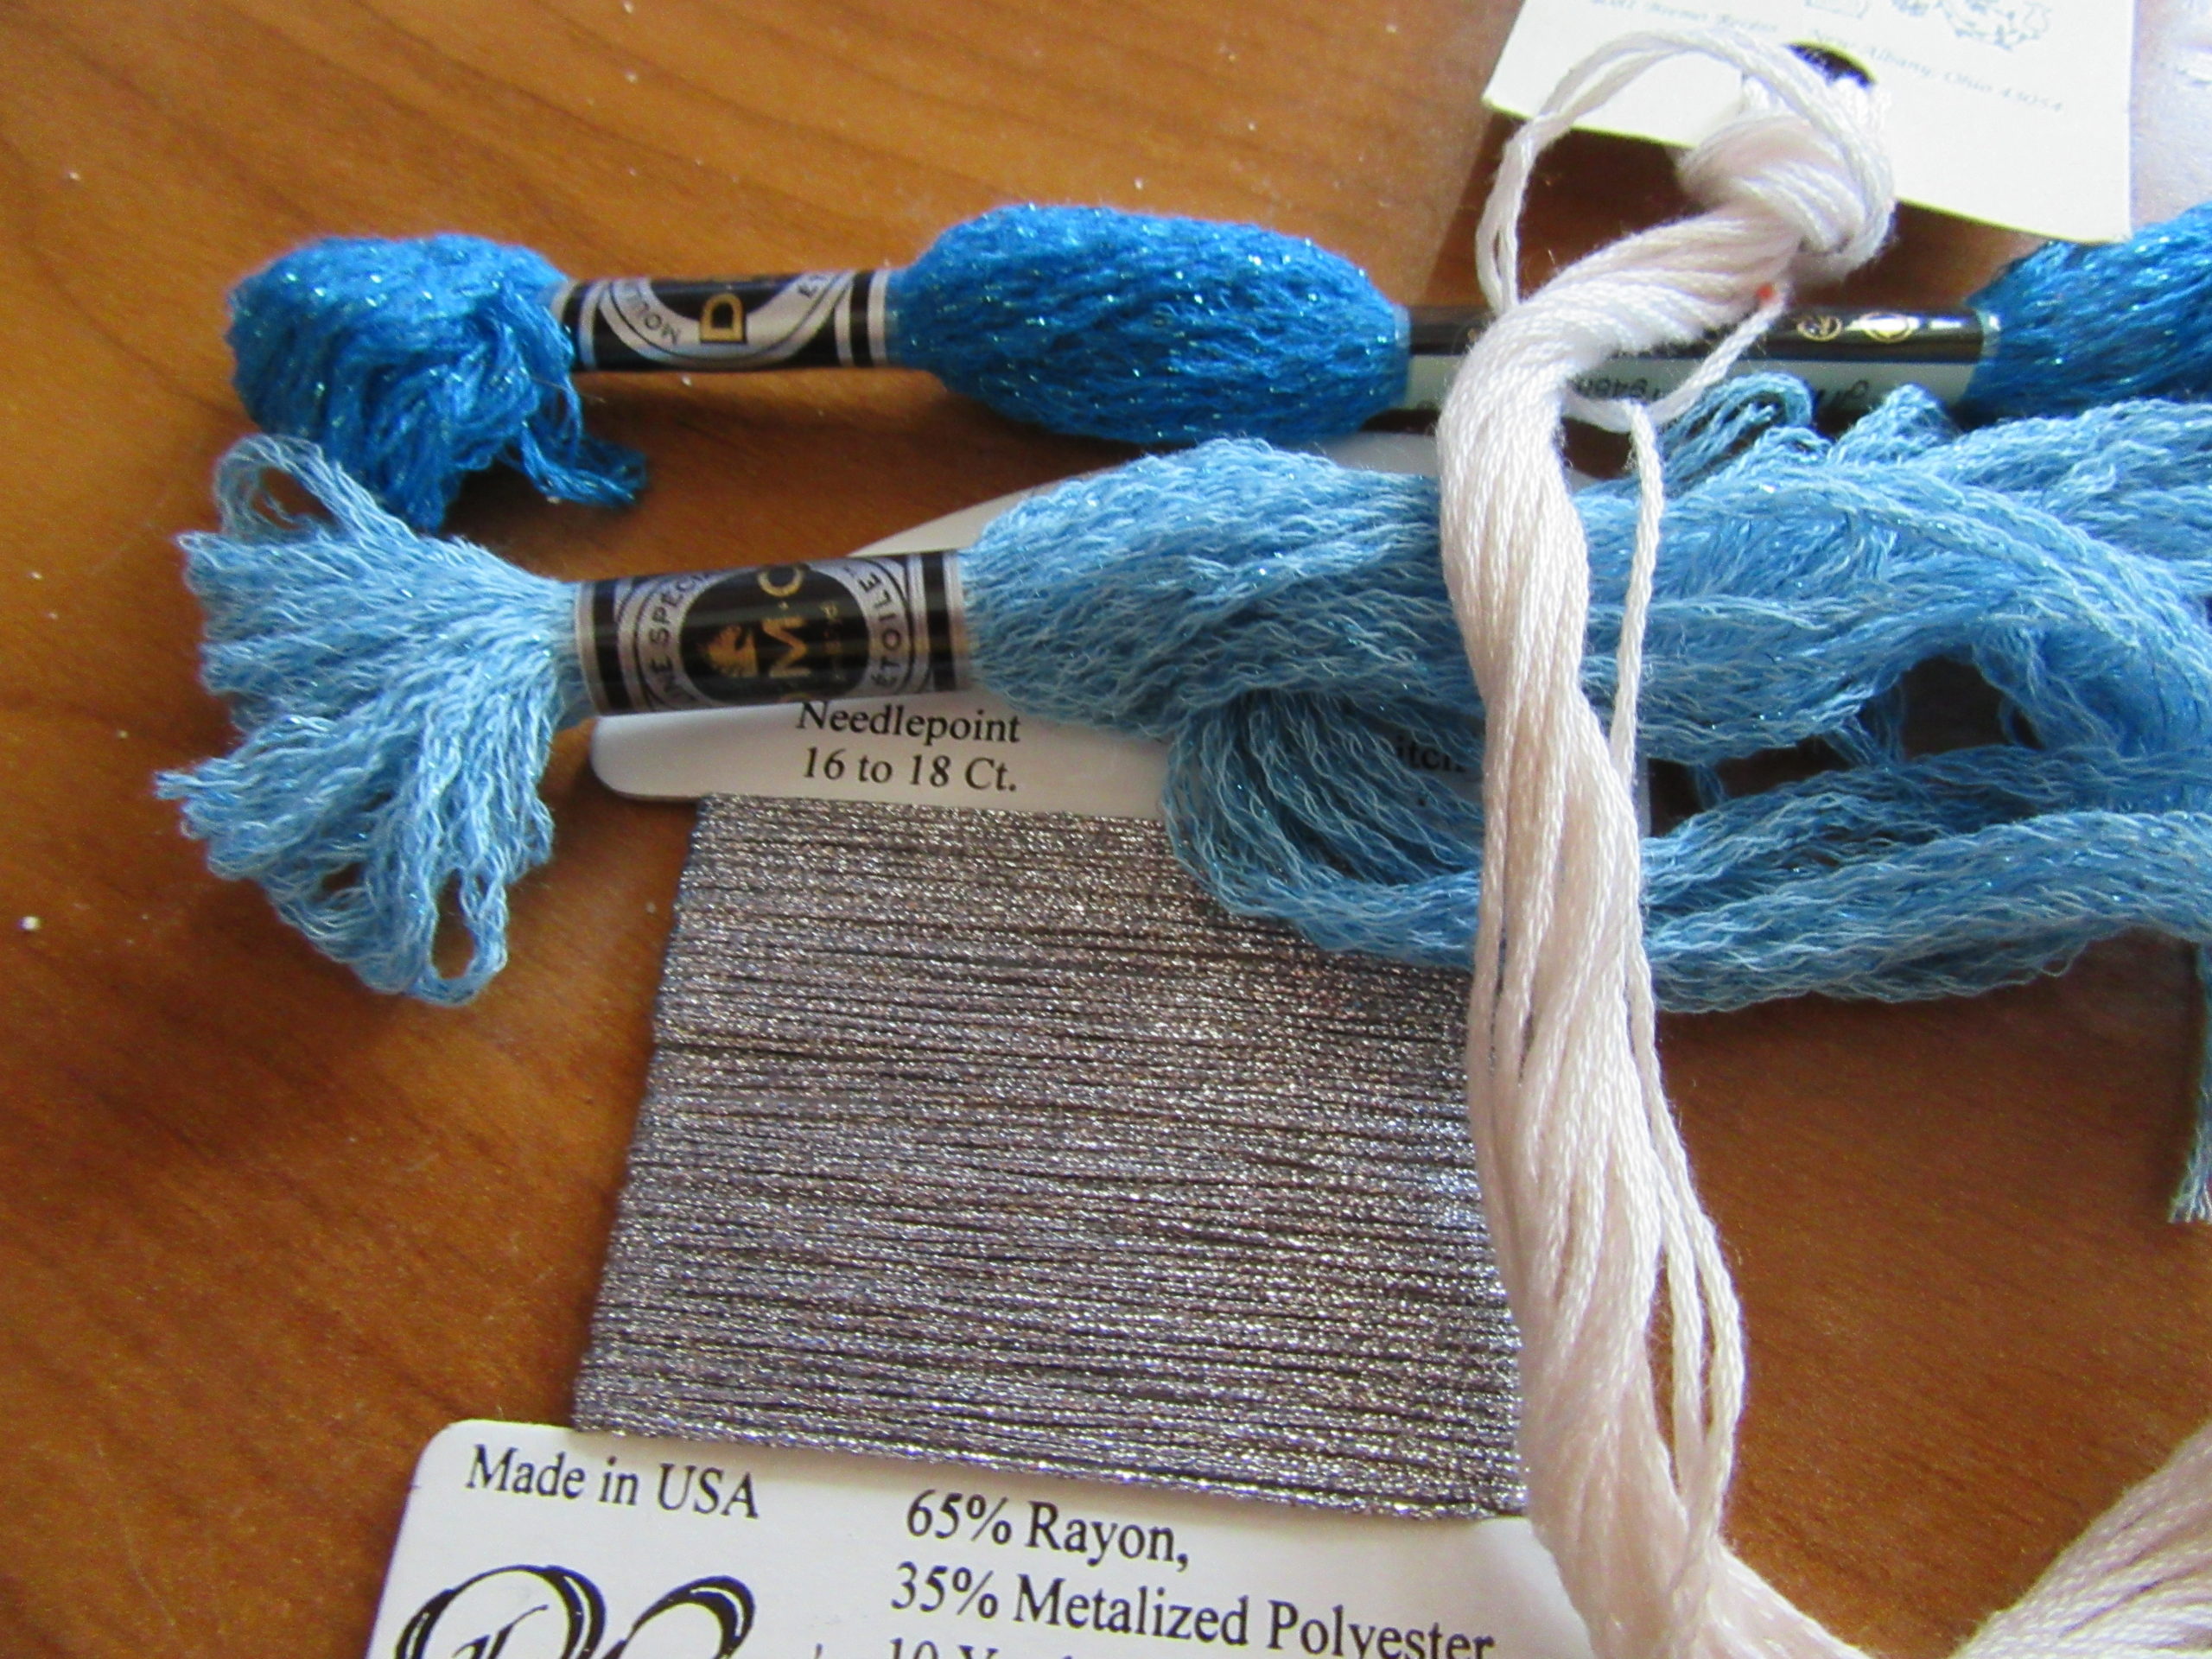
I will be using floss, Treasure Braid, and two shades of Etoile for the project, below.
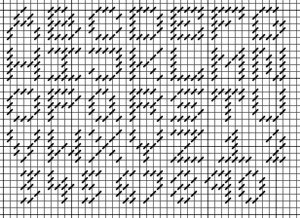
The first step is to chart the name. I used this 5×55 alphabet, below. Click for the full-size hart. I like this alphabet because the letters are5x5 threads, so it’s easy to center.
Stitch the word and the top and bottom lines of the ribbon in Tent using the metallic.
Fill in the ribbon in Twnt or a stitch of your choice using the darker of the two colors of thread.
Stitch the remaining parts of the ornament in your choice of gingham, following the instructions to stitch gingham..
Once the shape is stitched, finish it as desired. The Studio Decor ornaments are finished following this tutorial.

About Janet M Perry
Janet Perry is the Internet's leading authority on needlepoint. She designs, teaches and writes, getting raves from her fans for her innovative techniques, extensive knowledge and generous teaching style. A leading writer of stitch guides, she blogs here and lives on an island in the northeast corner of the SF Bay with her family
Leave a Reply