
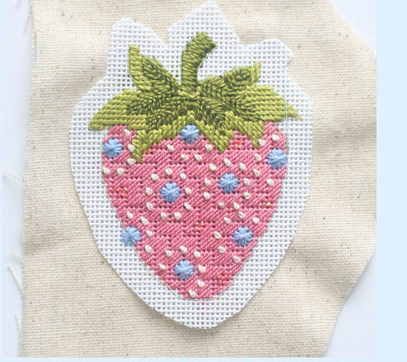
Today’s post has a great DIY from Abigail Cecile. The instructions were originally circulated as part of her email newsletter. She has graciously given permission for me to include them here as a guest post.

Cut out the stitched canvas 1/4″ around the design.
Sew the needlepoint to a piece of linen, using a sewing machine.
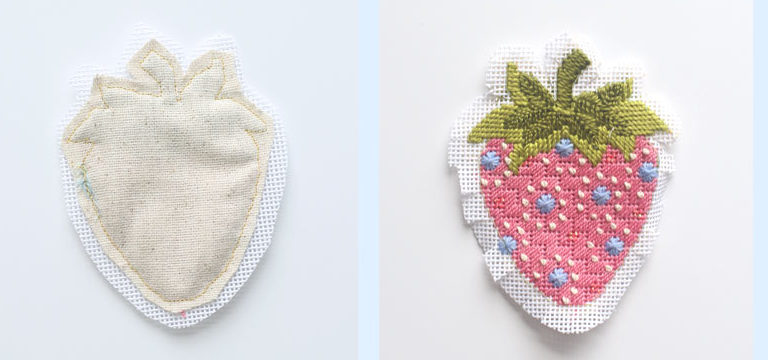
Trim the line (left picture) and make little cuts on the canvas to the edge of the fabric (right picture).
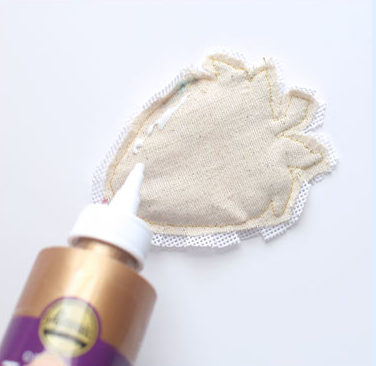
Put Tacky Glue along the linen edge. [I prefer Turbo Tacky Glue – jmp]
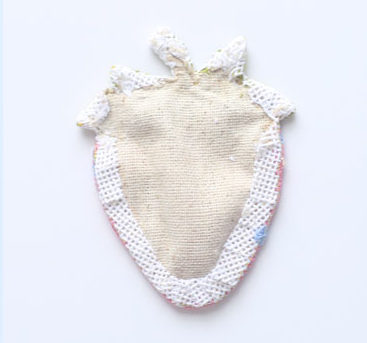
Fold over the tabs and glue them to the linen.
At tight corners makeextra cuts to pull the canvas around to the back and glue.
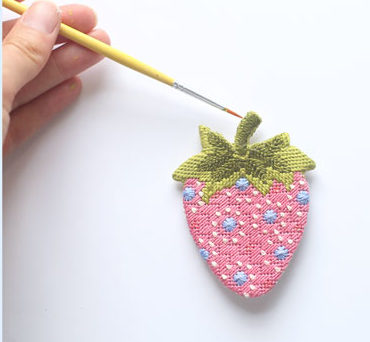
Use paint to cover any canvas that shows.
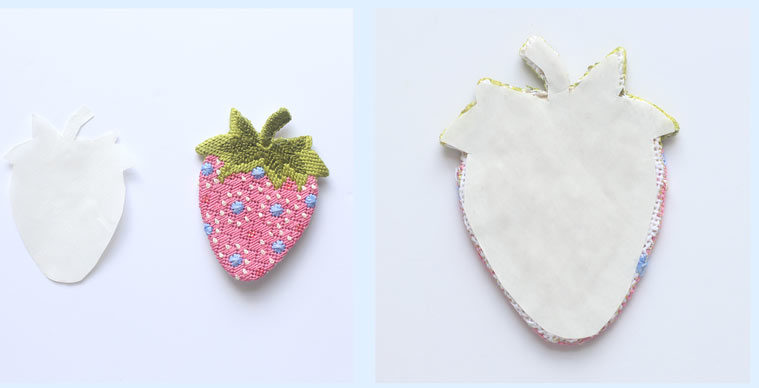
Cut heavy-duty double-sided fusible interfacing the size of your piece (left picture). Following the manufacturer’s instruction put the interfacing onto the back of the needlepoint (right picture).
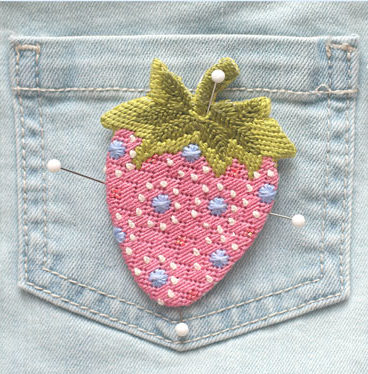
Place and pin the canvas onto your overalls or jacket.

Then iron the canvas down to the jeans, following the instructions on the packaging. Reinforce with Tacky Glue.
Use this DIY to attach your needlepoint to any type of jean or canvas — think jackets and cute market bags!
[Editor’s Note: Be sure if the garment will be washed to use only threads you know to be colorfast.]
Thanks so much for letting us share this!

About Janet M Perry
Janet Perry is the Internet's leading authority on needlepoint. She designs, teaches and writes, getting raves from her fans for her innovative techniques, extensive knowledge and generous teaching style. A leading writer of stitch guides, she blogs here and lives on an island in the northeast corner of the SF Bay with her family
Makes me so happy to see this…when I made an needlepoint applique earlier this year I couldn’t find any information about how to do it. So I went my own way with a design that I framed. Seeing this I see that my instincts were right…nothing like an affirmation! My framed piece turned out very well and actually ended up winning a competition…this article is just the icing on my cake!!