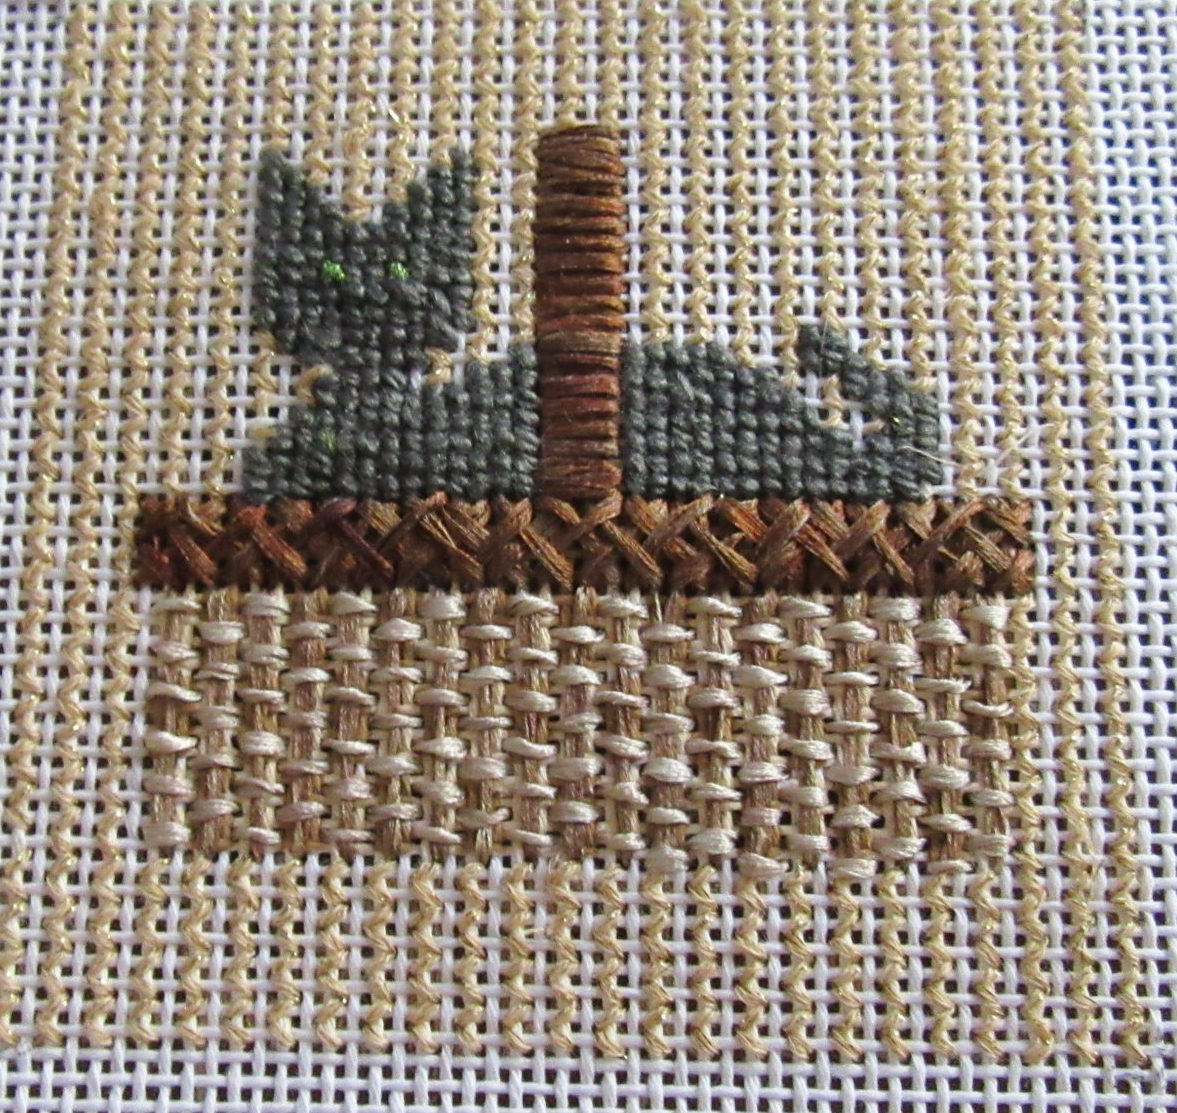
I bought this vintage canvas from Sekas & Co on eBay for two reasons, the gray cat reminded me of my cat Astro and I wanted to stitch a small basket to tr6y out some ideas. I really like the rustic look of the finished basket and I want to share with you how to get the same effect. You’ll need three colors of thread. I use Straw Silk here, which was a bit thin for the 13-mesh canvas. This added to the rustic look, so it wasn’t a problem.
The darkest shade of thread is used for the handle and rim. You could use one color instead of two for the body of the basket, but I think the texture of the stitch looks better with two colors.
First, stitch the handle. Handles are usually attached inside or through the rim. Stitching this first will give your basket more realism.
For the handle use Straight Gobelin going across the handle. If you like the handle can be padded slightly to make it more rounded.
Next stitch the body of the basket. I used Burden Stitch for this. The first step was to use my middle color of thread and to stitch the vertical stitches, one in every other hole.
Over this is stitched straight stitches going over every other laid thread, creating the stitch. This layer can be stitched either in horizontal or vertical rows. If you stitch in horizontal rows, you can use Running Stitch.
I did not put stitches in the top row of holes so the rim would be easier to stitch.
Finally, stitch the rim. Often these will be made with a different pattern than the body of the basket.
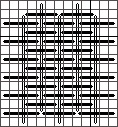
The rim is stitched using the darkest color of Straw Silk in Two-pass Herringbone, below. Because I wanted the rim to be raised a bit and because the Straw Silk did not cover will, my first step was to put a vertical stitch in every other hole. This also made it easier to count the Herringbone. Two passes were enough to make a textured rim that sets off the rest of the basket.

To see the second pass, just flip the diagram. This puts the crosses in the openings on each side.
These three steps give the basket great texture, help it to look realistic, and were stitched in one evening.
About Janet M Perry
Janet Perry is the Internet's leading authority on needlepoint. She designs, teaches and writes, getting raves from her fans for her innovative techniques, extensive knowledge and generous teaching style. A leading writer of stitch guides, she blogs here and lives on an island in the northeast corner of the SF Bay with her family
Leave a Reply