This technique, two-color stitches, is a lovely way to solve the dyelot problem, especially if you have about equal amounts of both dyelots.
Why the Dyelot Problem Occurs
Thread is dyed in batches called dyelots. Because the actual color of the thread is dependent on many things, including the water supply and the composition of the base thread, the color of the thread, any thread, can vary from batch to batch. Most dyers make efforts to keep the color consistent, just like the tasters at Anhieser-Busch keep the taste of Budweiser consistent. Even so, changes from dyelot to dyelot can happen.
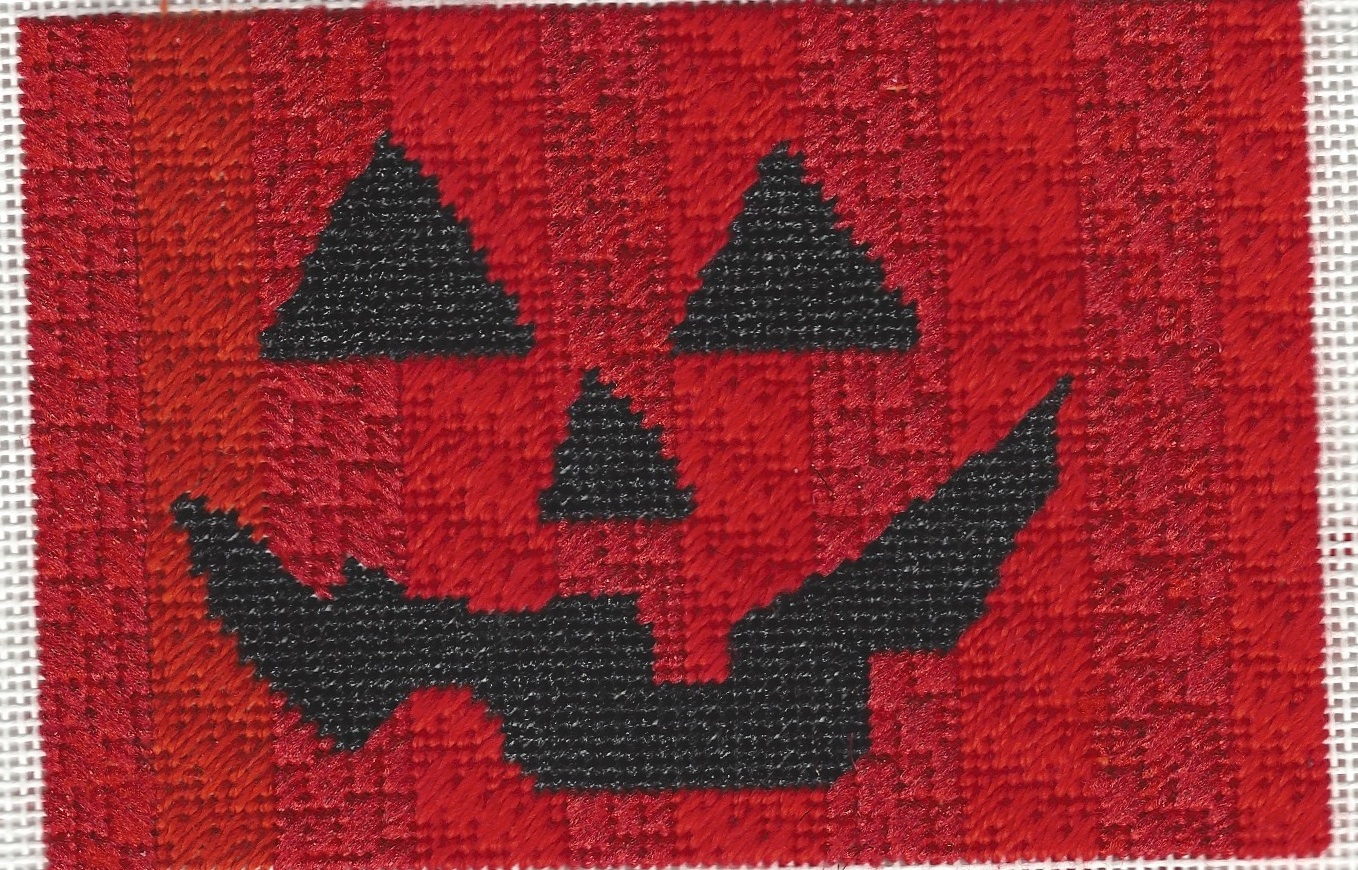
If you don’t plan ahead for this possibility you can end up with the unhappy result pictured below. Because I only partially planned for different threads, the dyelot change looks bad, marring an otherwise nice design.
Planning ahead is the key to making a dyelot change look good. If you do this and the dyelot changes, then it will seem as if this was your plan from the beginning. If the dyelot doesn’t change then the needlepoint just looks normal.
The Two-color Stitch
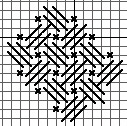
One way to solve this problem is to pick a stitch that can be done in more than one color and then stitching it that way. These could be stitches with accents, such as Criss-cross Hungarian with Crosses, below.
But they also can be any stitch that can be done in rows or columns.
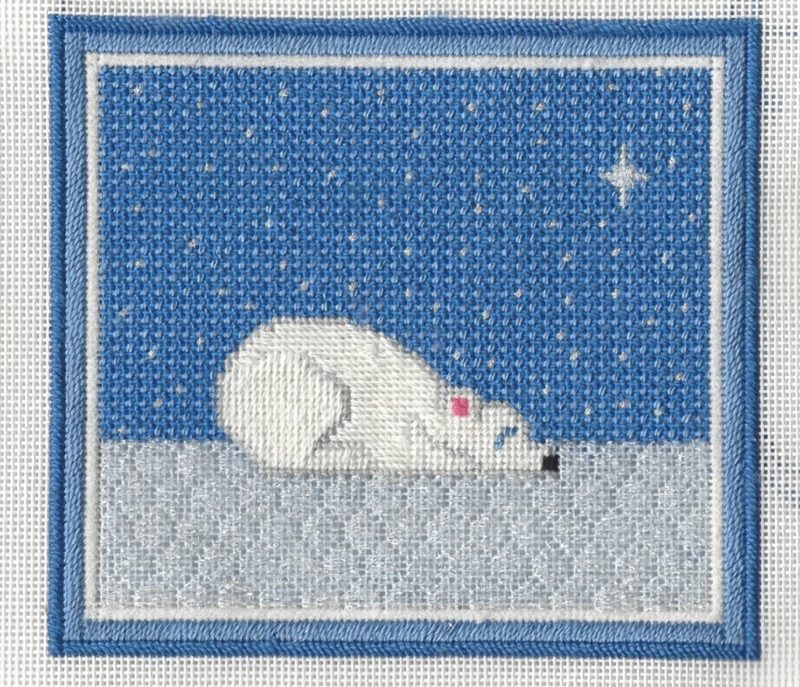
On the background of this polar bear cub from Edie & Ginger at the top of the article, I stitched T Stitch in alternating rows using pearl cotton. So the effect of two dyelots was heightened to make it easier to see, I actually used two shades. With a dyelot change the effect would be very subtle. The close match between the darker Pearl Cotton and the canvas color would tone down the change even more.
What if You Have More of One than the Other?
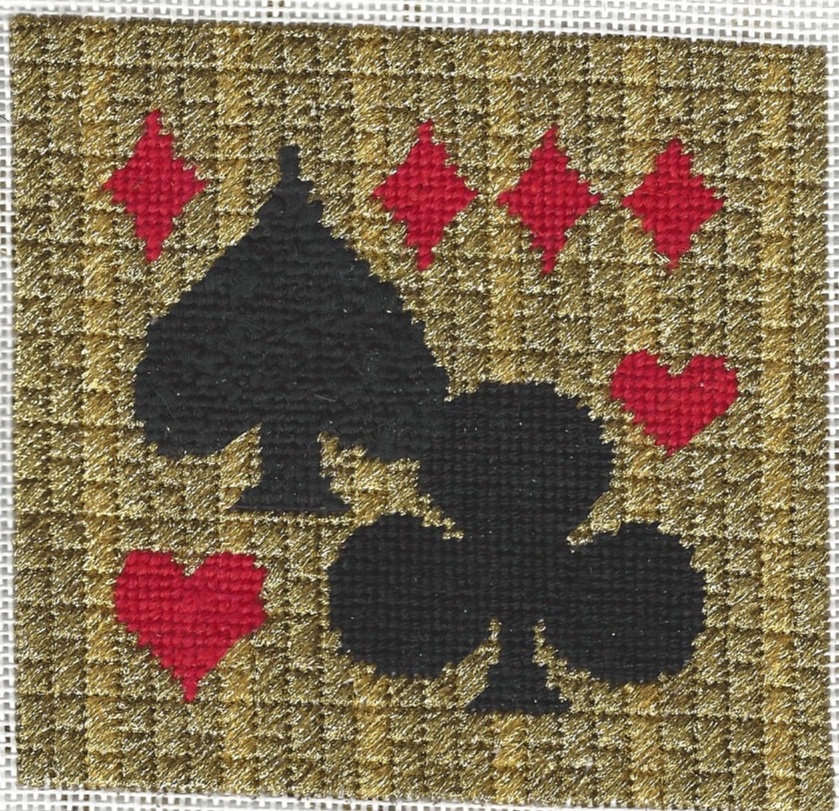
When a stitch is made in rows of any kind, it doesn’t really matter if the amounts are even. Make your first pass skipping every other row. When you are done if you still have lots of thread in this dyelot (at least half of the amount the first pass took), stitch every other row in the skipped rows. You’ll get a result similar to the picture below with wide stripes of one color and narrow stripes of the other.
If you still have more thread, do every other row of the remaining open rows.
You can continue in this way until the canvas if filled. Wherever you have to change to the new dyelot, it will look good because the change was planned.
Borders & Dyelot Changes
On the outside of the piece you see another strategy to make the change look intentional. The outside border was wide (5 threads). Instead of making one wide border using only one of the dyelots, I made two, one in each dyelot.
Anther option would include using both dyelots in a regular way in one border stitch. I also think alternating blocks or stripes in the two dyelots could be nice. I also considered stitching a multi-pass stitch, such as Herringbone, using both threads plus several others. Ultimately I discarded this because I thought that border was too busy fire this piece, but I love the idea.
As you can see, even simple borders and stitches can work with dyelot changes if you plan ahead.

About Janet M Perry
Janet Perry is the Internet's leading authority on needlepoint. She designs, teaches and writes, getting raves from her fans for her innovative techniques, extensive knowledge and generous teaching style. A leading writer of stitch guides, she blogs here and lives on an island in the northeast corner of the SF Bay with her family
Leave a Reply